How To Melt Milk Chocolate In Microwave: Quick Safe Tips
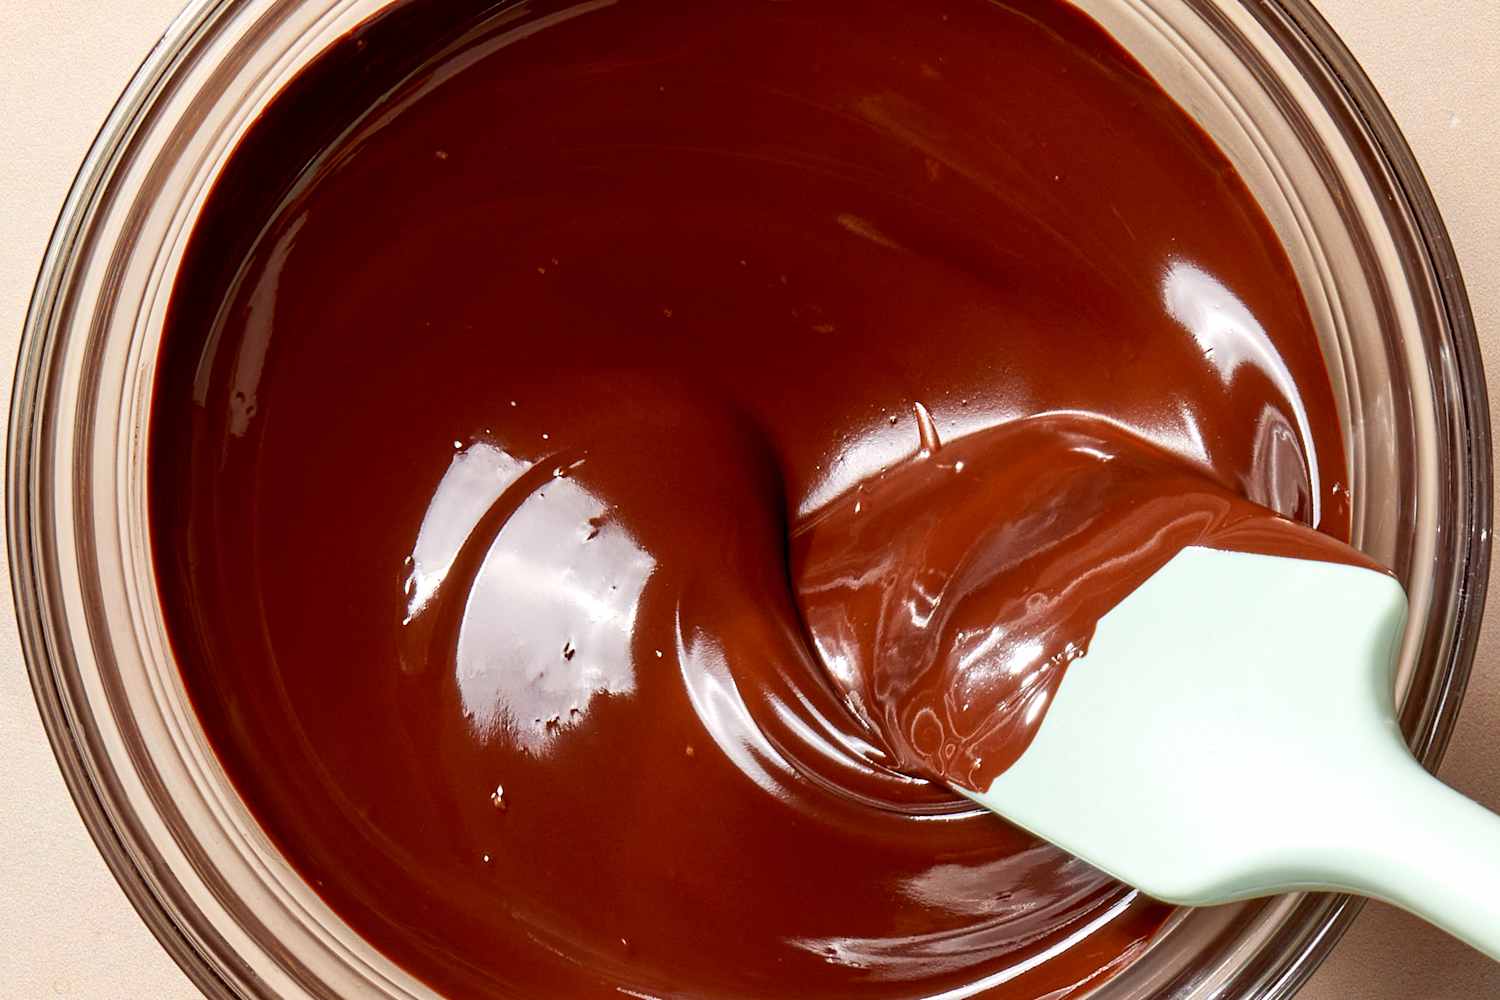
Microwave milk chocolate in short bursts, stirring every 10–20 seconds until smooth and glossy.
I’ve melted milk chocolate in a busy home kitchen and in small pastry labs. I know how to melt milk chocolate in microwave without burning it, seizing it, or losing shine. This guide walks you through tools, exact timing, common mistakes, recipe uses, and safe reheating—so you can melt milk chocolate in microwave with confidence and repeatable results.
:max_bytes(150000):strip_icc()/how-to-melt-chocolate-521583_FINAL-5ba14c6f46e0fb005014105f.png)
Why melting milk chocolate correctly matters
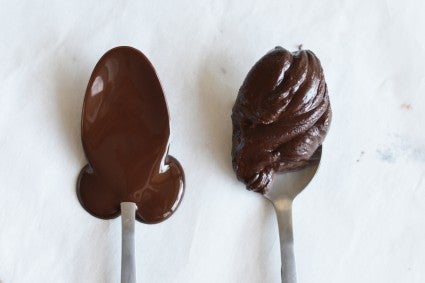
Milk chocolate has less cocoa solids and more milk and sugar than dark chocolate. That makes it softer and easier to scorch. Learning how to melt milk chocolate in microwave keeps the chocolate shiny, smooth, and usable for dipping, drizzling, or baking.
If you melt milk chocolate in microwave too fast, it can seize into grainy lumps. If you heat too little, it won’t become fluid for coatings or molds. Proper technique gives better texture and flavor every time.
Tools and ingredients you need
Use simple gear you already own. The right tools make learning how to melt milk chocolate in microwave fast and reliable.
- Microwave-safe glass or ceramic bowl, preferably heat-resistant and dry
- Dry spoon or flexible spatula for stirring
- Chop or break chocolate into even pieces or use chocolate chips
- Optional: a small bowl for a double-boiler finish if needed
- Clean, dry towel or oven mitt to handle hot containers
Always choose good quality milk chocolate. Cheaper bars may have stabilizers that change melting behavior. I prefer chocolate chips or chocolate bars labeled for baking. They melt predictably when learning how to melt milk chocolate in microwave.

Step-by-step: how to melt milk chocolate in microwave
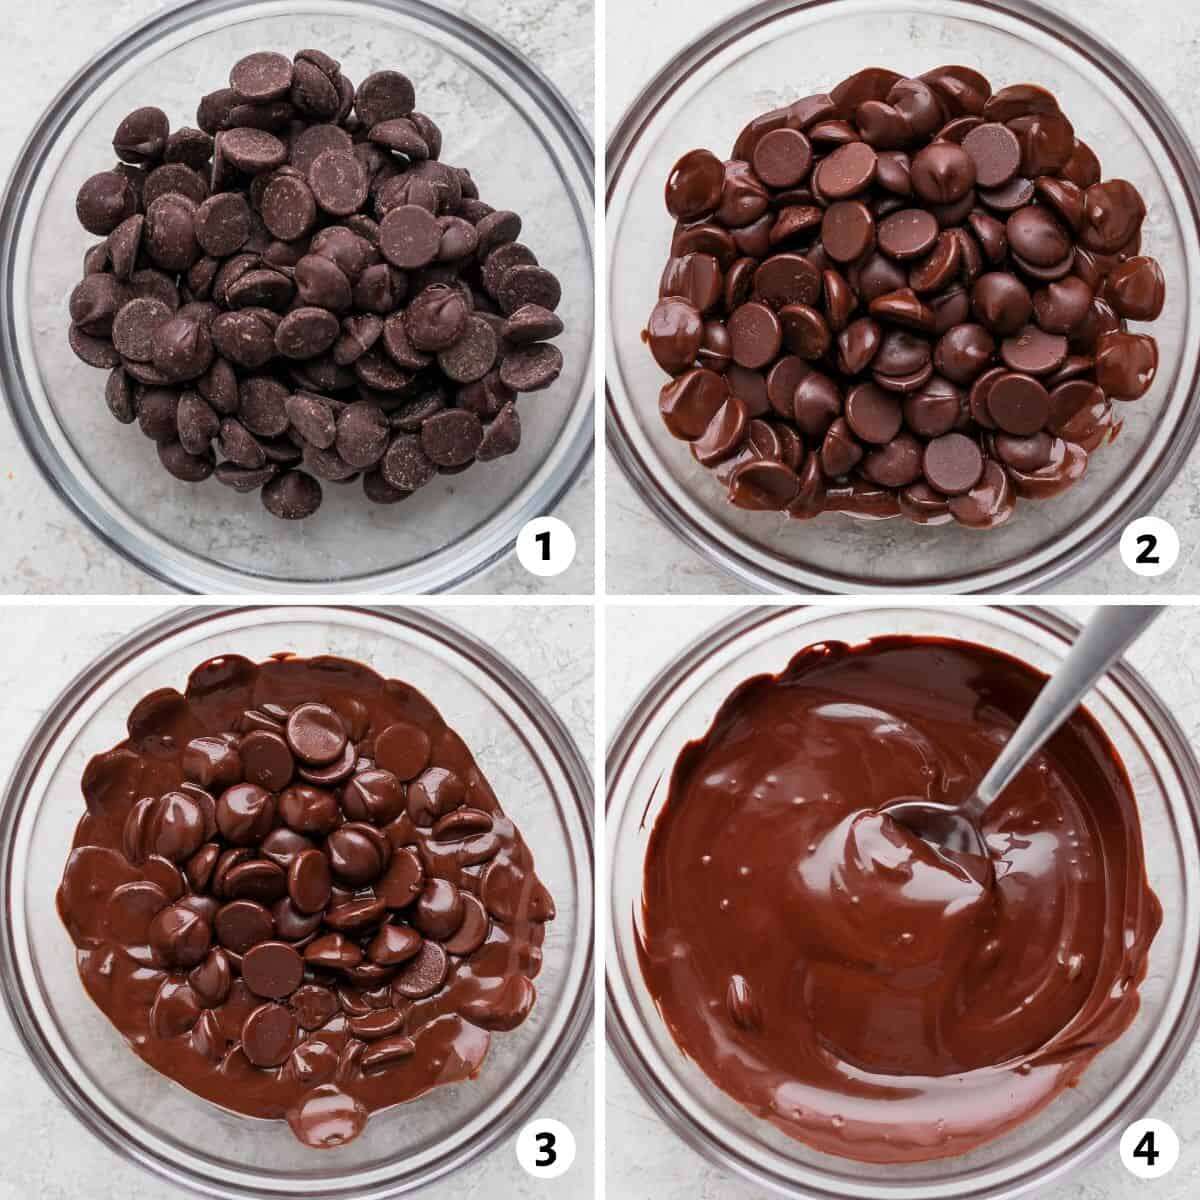
Follow these clear steps to melt milk chocolate in microwave without drama. Short bursts and stirring are the key.
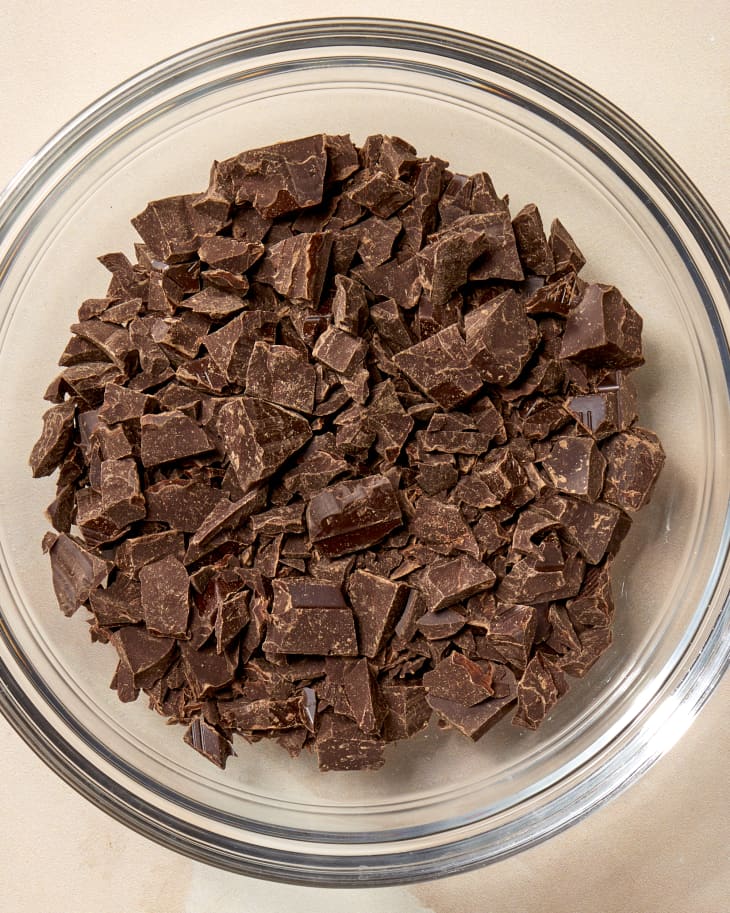
- Prepare chocolate
- Chop or break chocolate into small, even pieces. Smaller pieces melt evenly. Use chips for an easy start.
- Use a dry bowl
- Moisture will make chocolate seize. Wipe the bowl dry before use.
- Microwave in short bursts
- Heat on medium power or 50% power for 15–20 seconds. Stir after each burst.
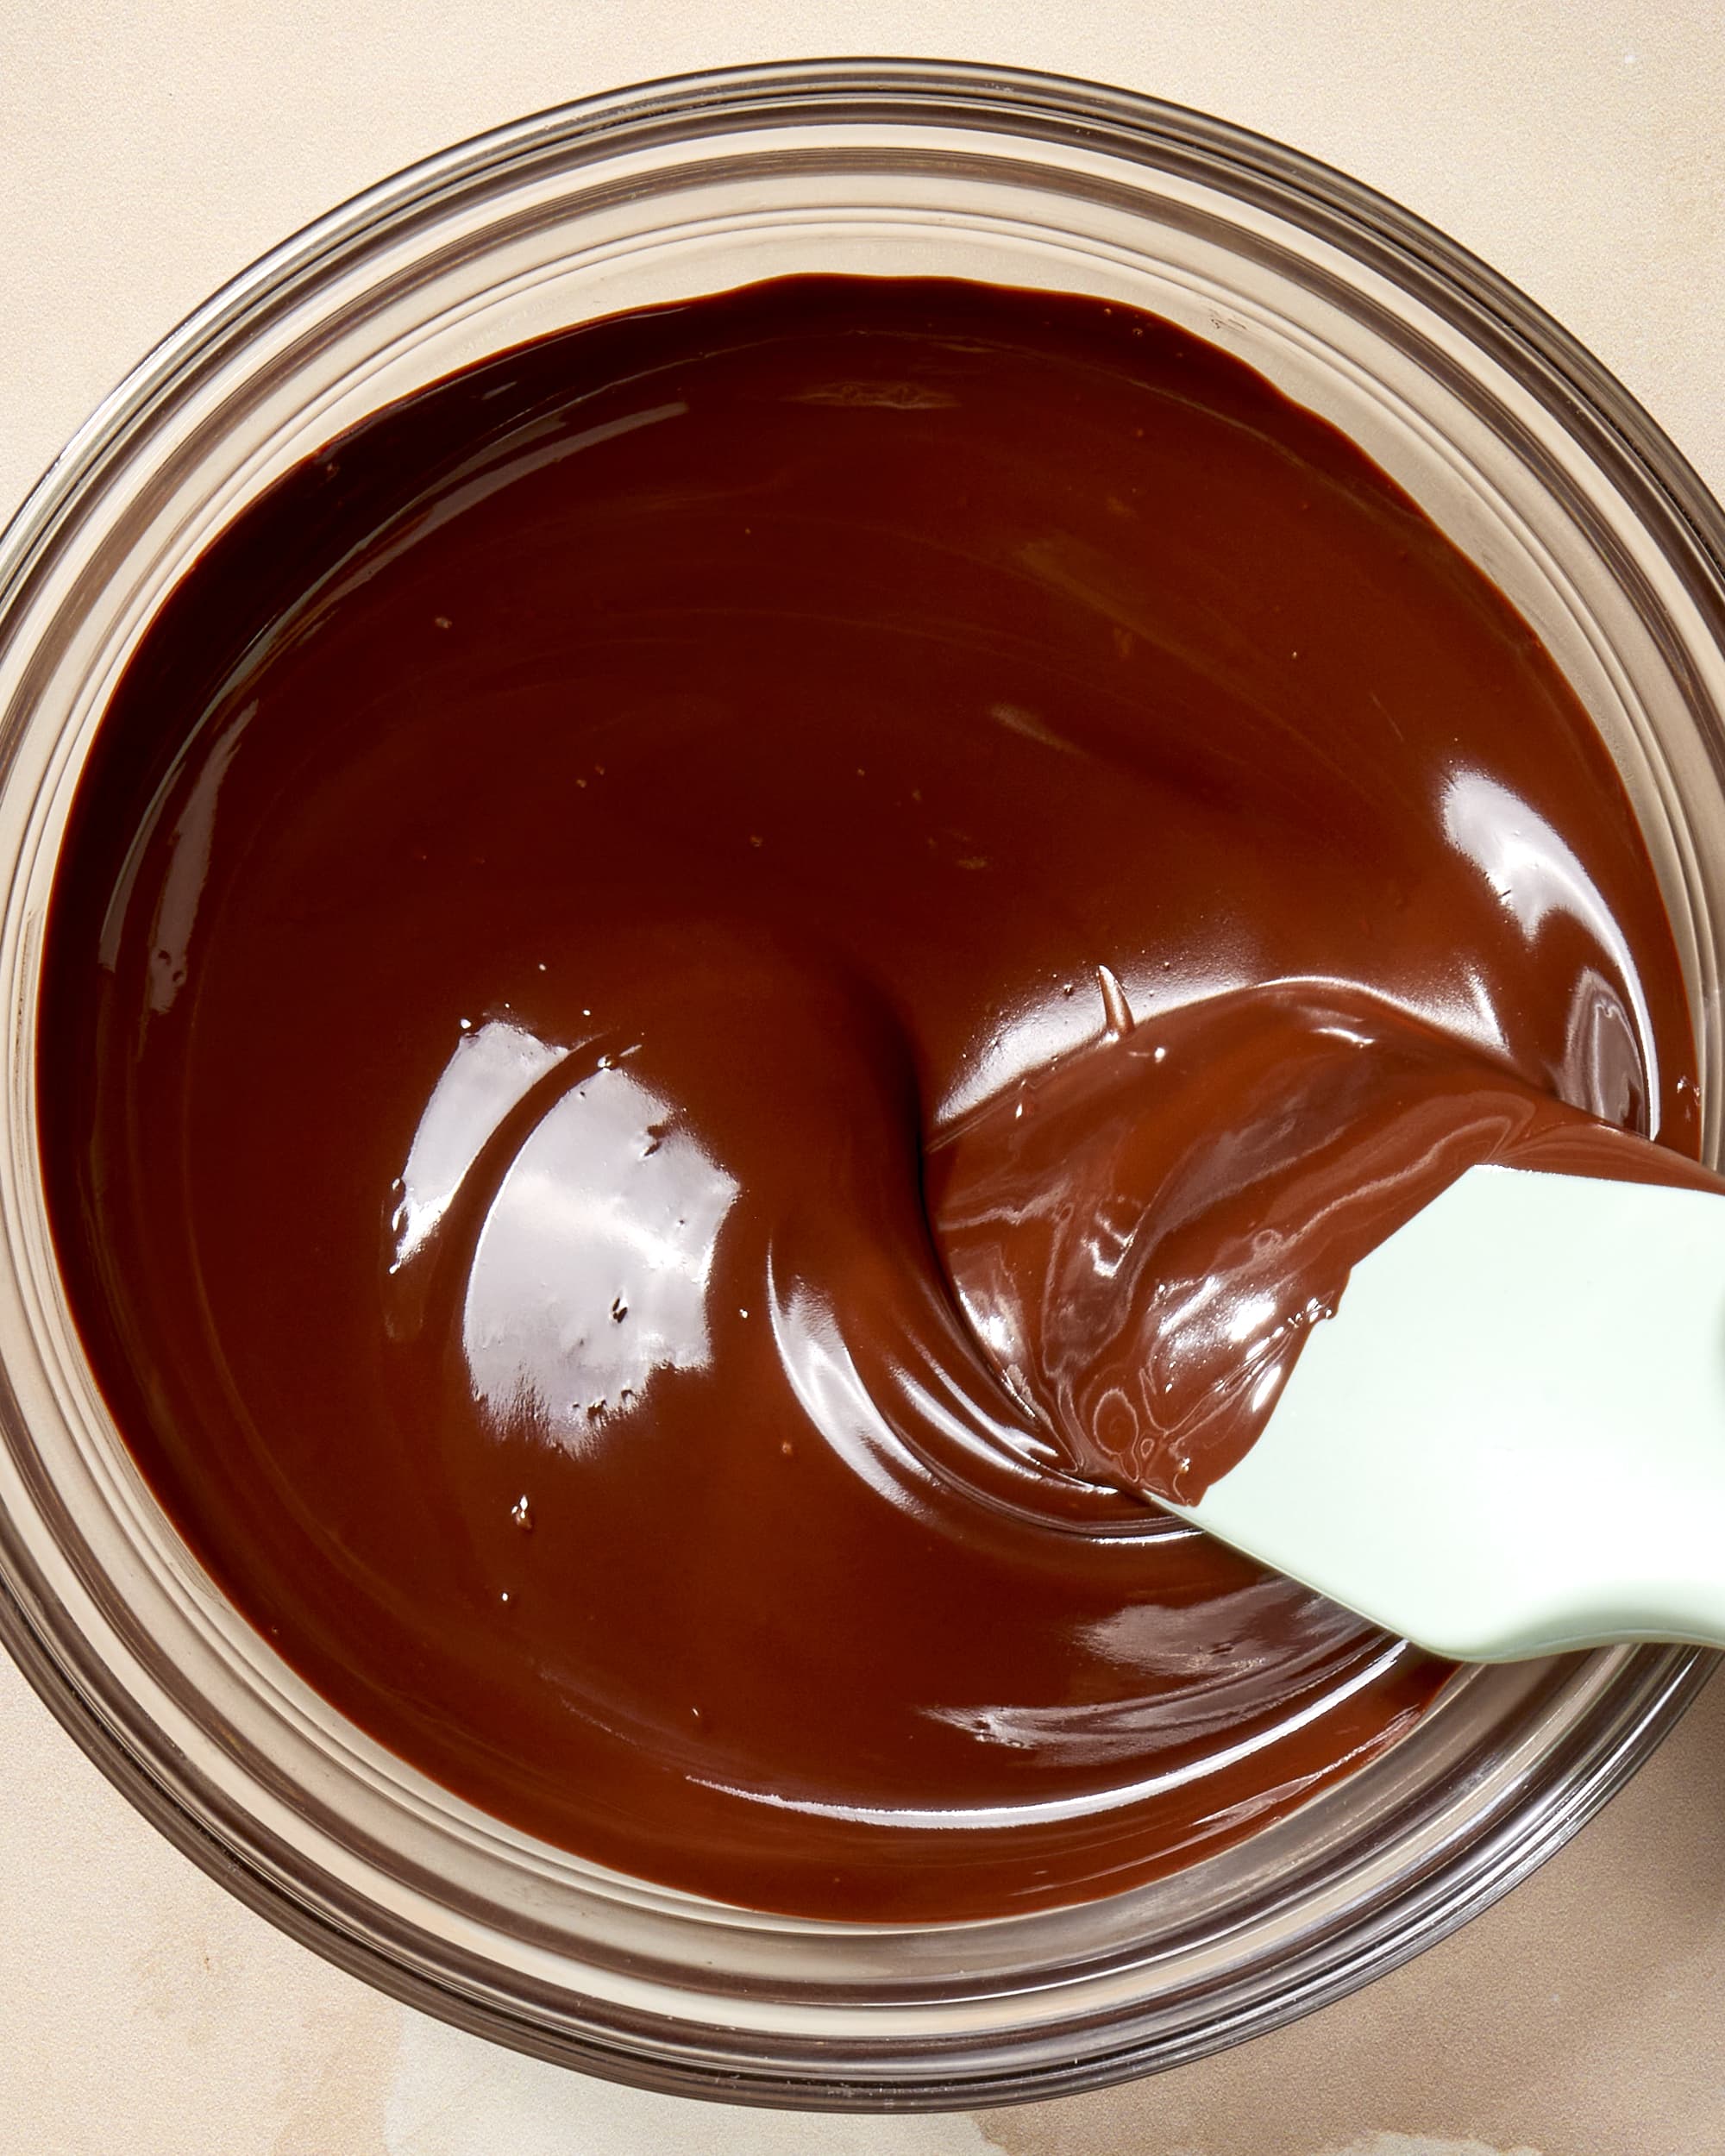
- Stir thoroughly
- Stir every time you stop the microwave. Stirring distributes heat and melts residual pieces.
- Stop while there are small un-melted bits
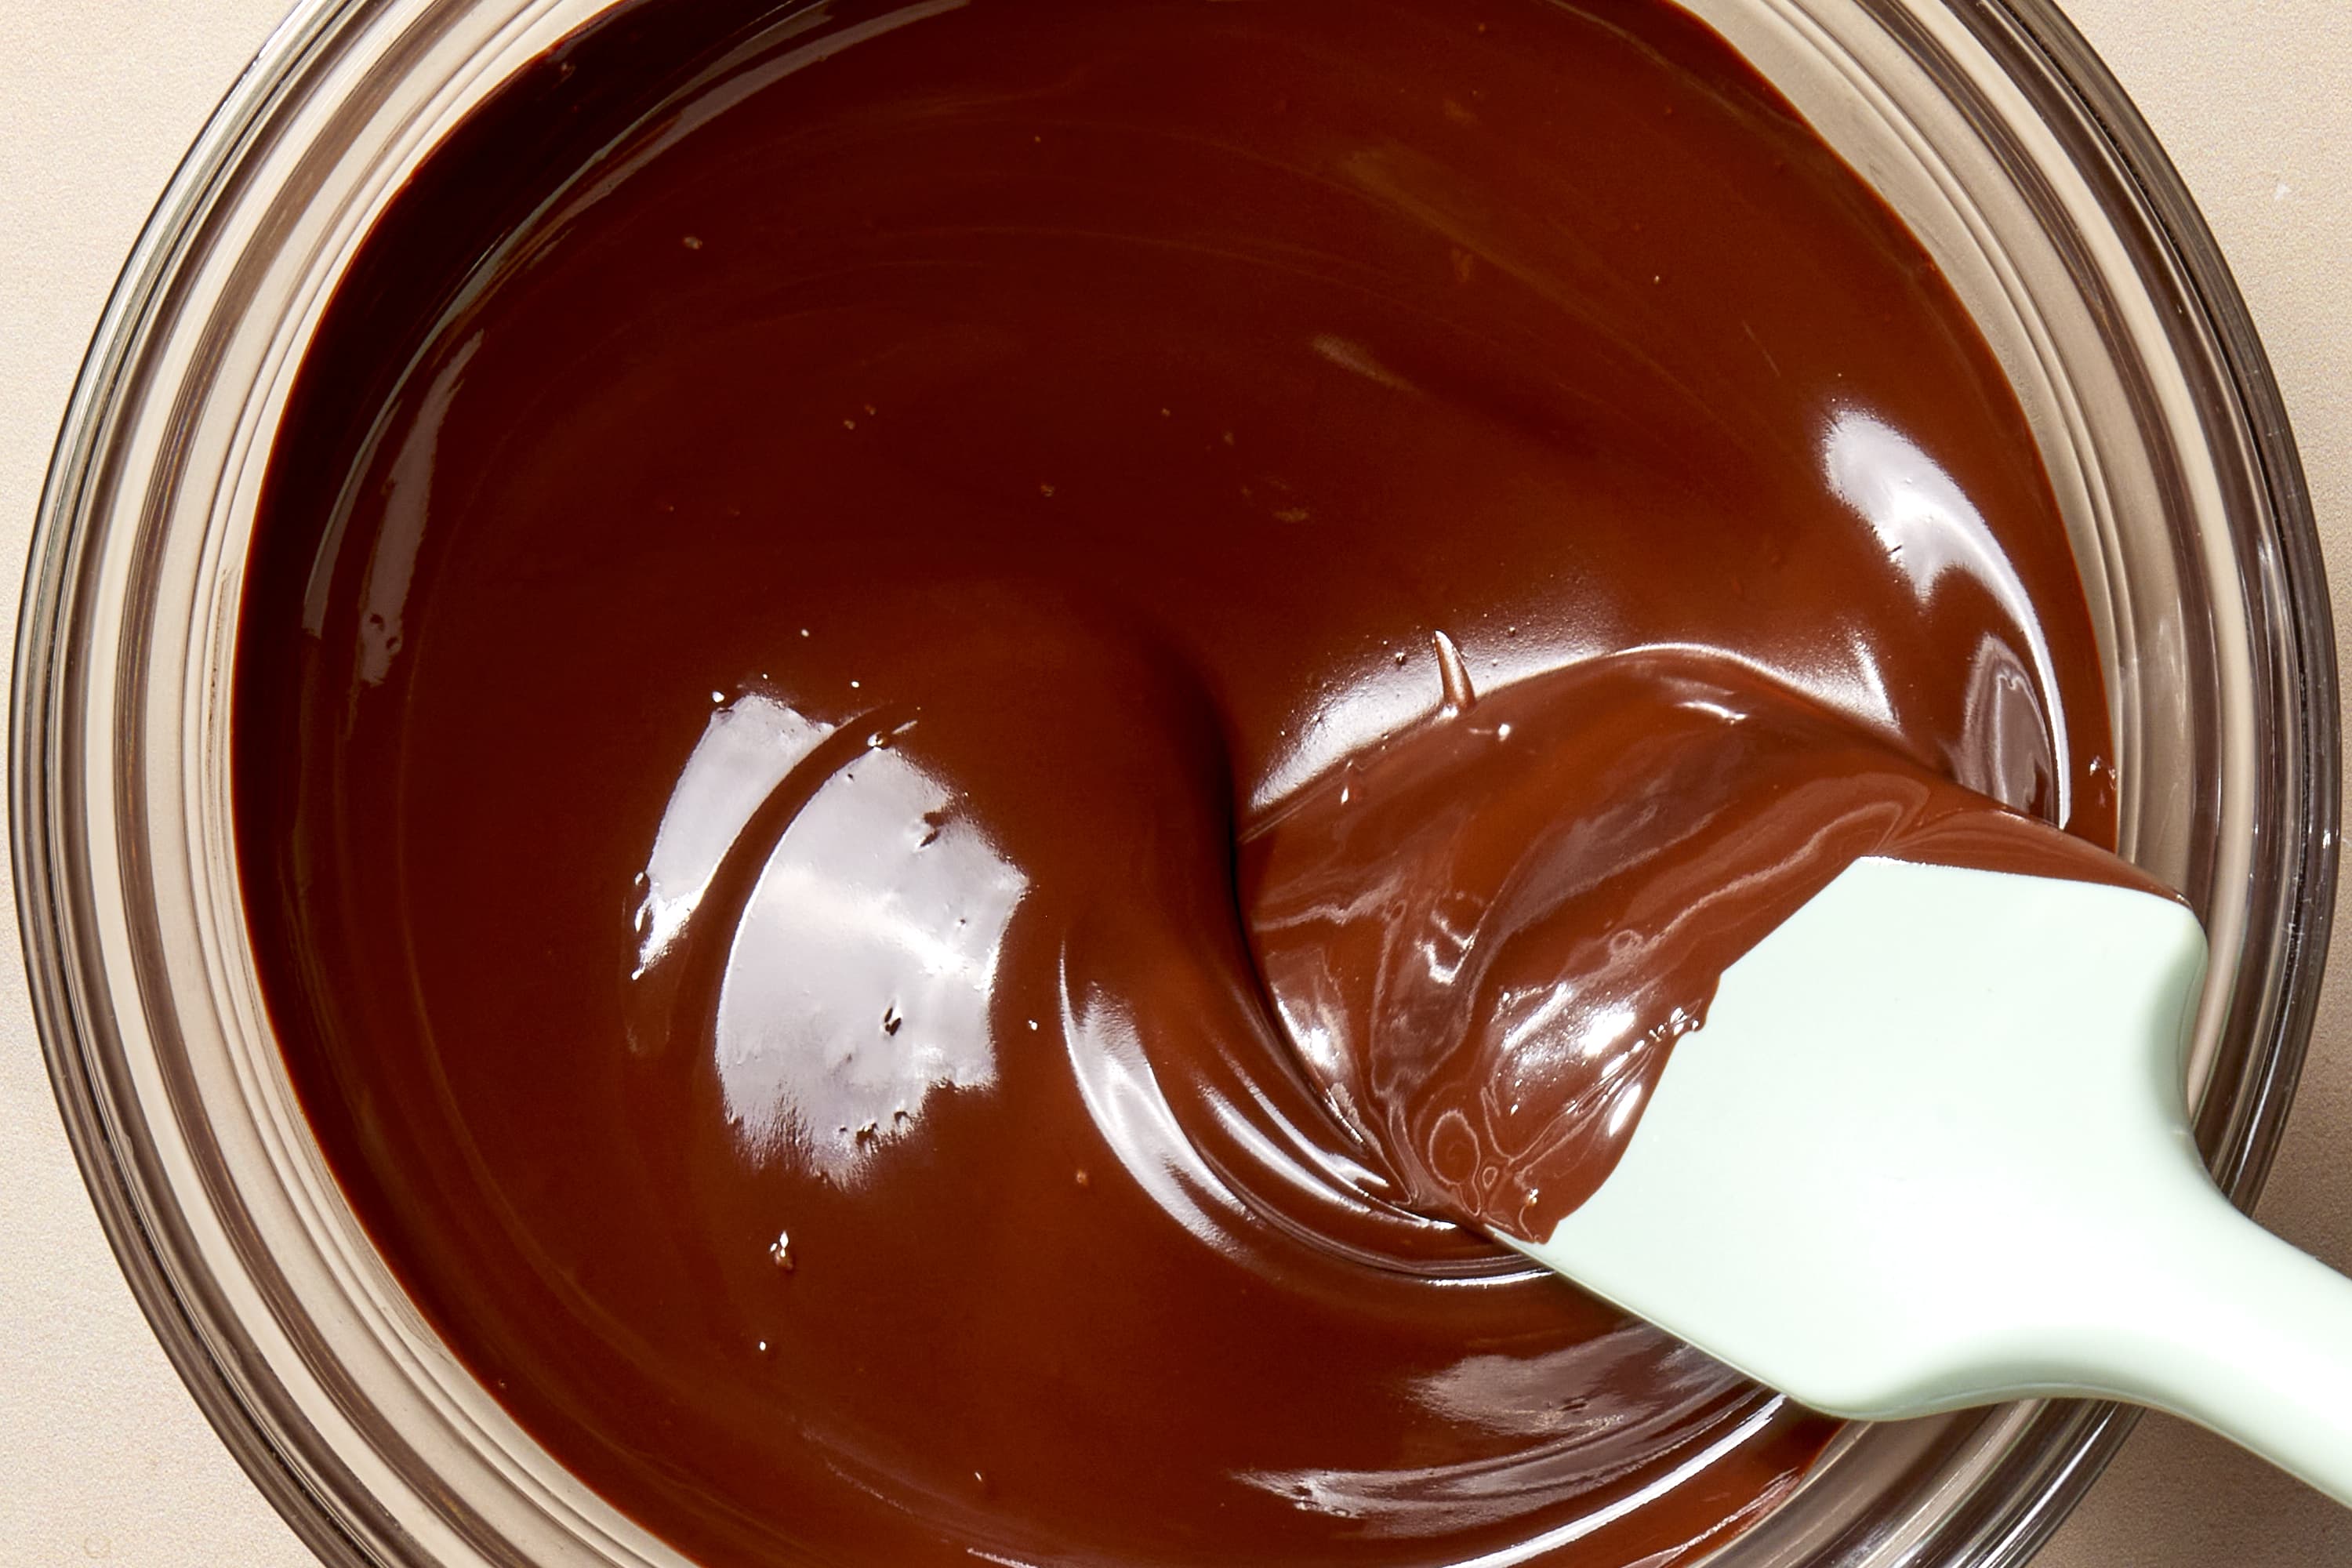
- Remove from microwave when most pieces are soft. Stir gently and residual heat will finish melting.
- Finish by hand if needed
- If a few bits remain, stir until smooth. Avoid more microwave cycles unless necessary.
I once overheated a full bar by running long cycles. The top burned and taste turned bitter. Short bursts fixed that problem for me and that’s why I always recommend this method when teaching how to melt milk chocolate in microwave.
Common problems and fixes
Even with care, issues happen. Here are quick fixes based on real kitchen tests.
- Chocolate seizes and becomes grainy
- Add a small splash (1–2 teaspoons) of neutral oil or warm cream and stir. If the chocolate seized from moisture, try a gentle double-boiler finish.
- Chocolate scorched or tastes bitter
- Scorched chocolate cannot be fixed. Start over and use shorter microwave intervals next time.
- Chocolate too thick for dipping
- Warm a small spoon of neutral oil or cocoa butter to loosen texture. Add 1 teaspoon at a time.
- White streaks or bloom
- Bloom happens from fat or sugar separation. It’s safe to eat but not ideal. Use for baking where appearance doesn’t matter.
My rule: when learning how to melt milk chocolate in microwave, assume less heat and more stirring.
Tips for using melted milk chocolate in recipes
Melted milk chocolate can be used for many treats. These tips help you get the right result.
- Dipping fruit or cookies
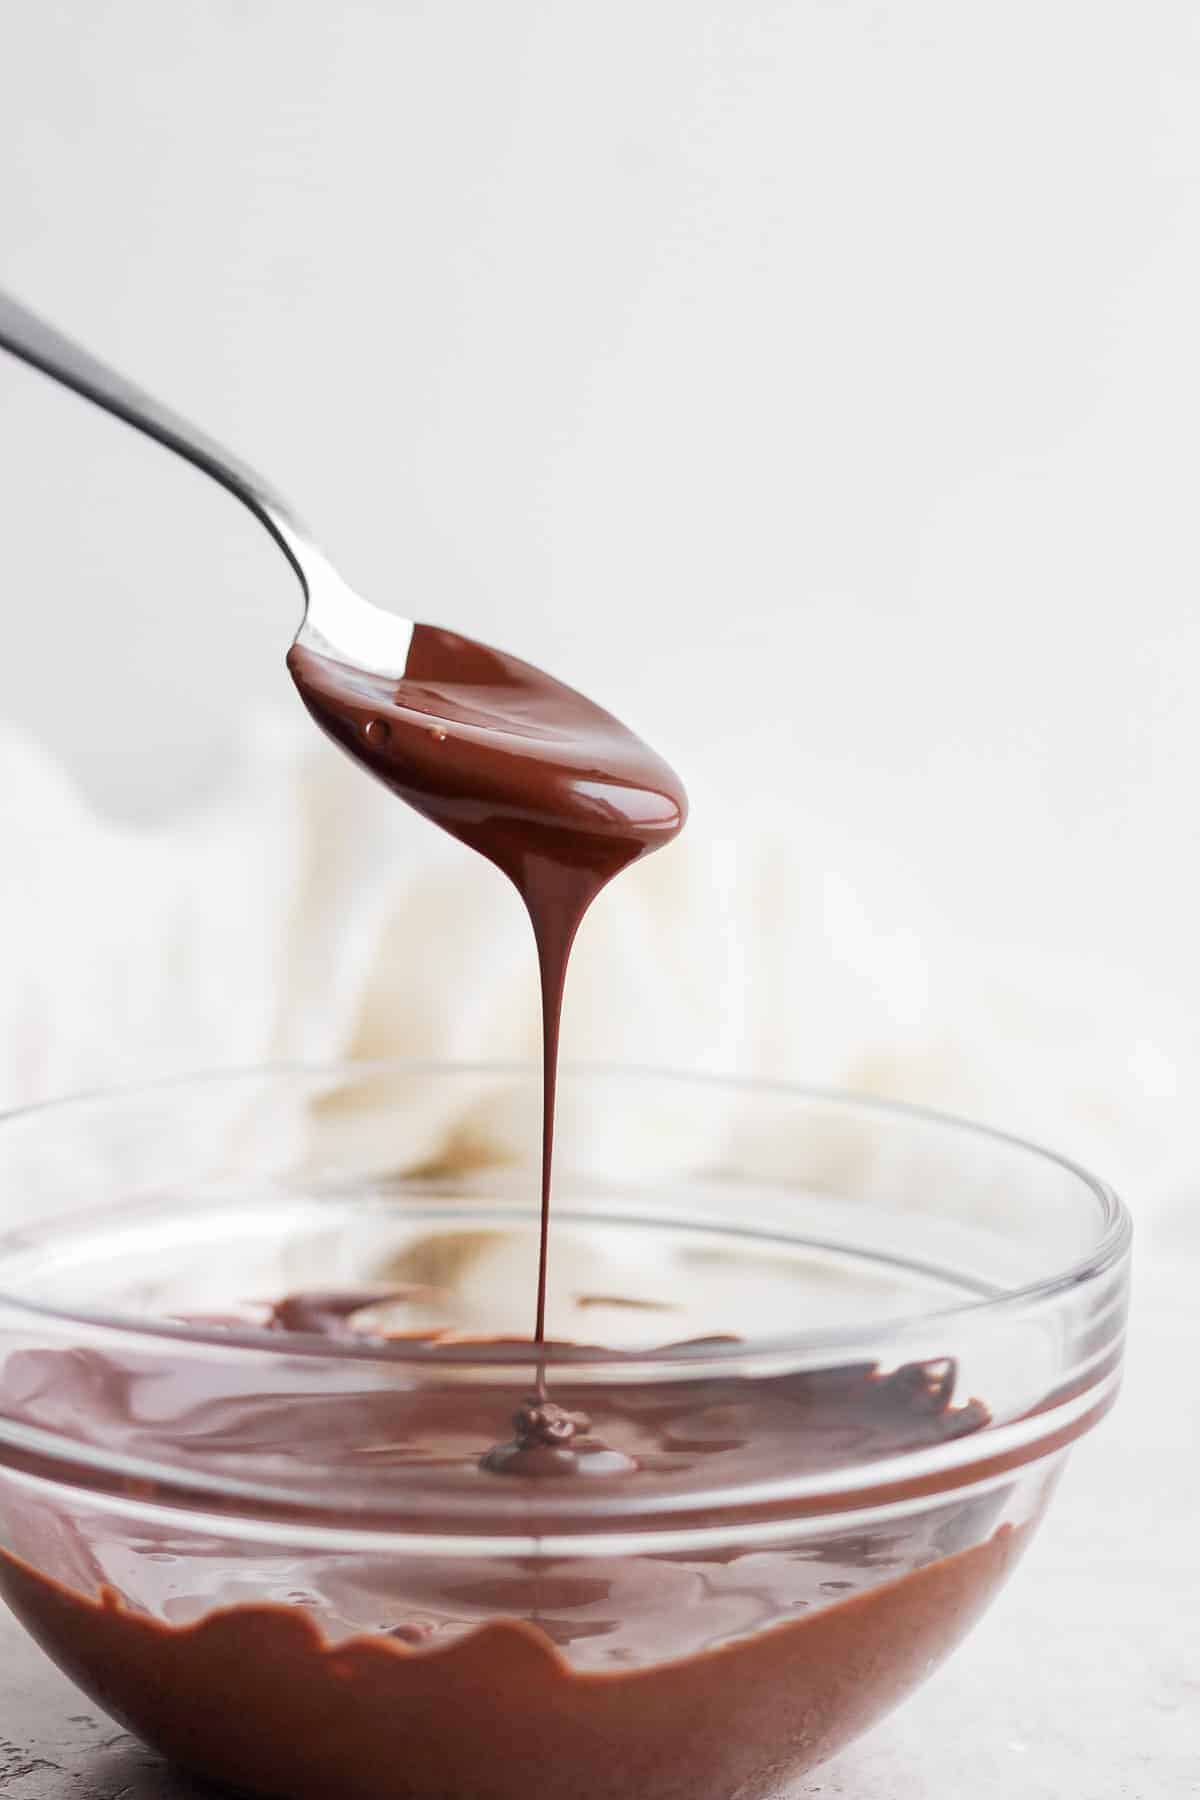
- Keep chocolate at a warm but fluid temperature. Work in batches and rewarm briefly if it thickens.
- Drizzling and decorating
- Use a small piping bag or fork. If the chocolate cools, rewarm in 5–8 second bursts and stir.
- Baking or folding into batters
- Cool melted chocolate slightly before folding into egg mixtures to avoid cooking eggs.
- Making ganache
- Use warm cream with melted milk chocolate for a soft ganache. Heat cream separately and pour over chocolate, then stir.
I test each use case before sharing recipes. That hands-on experience helps me recommend the best approach for how to melt milk chocolate in microwave for each task.
Storage and reheating
Store and reheat correctly to keep texture and flavor.
- Storing
- Keep leftover melted chocolate in a cool, dry container for up to 48 hours. Refrigeration can cause bloom and stiffness.
- Reheating
- Reheat in the microwave on medium in 8–12 second bursts, stirring between bursts. Always stop when a few soft bits remain to finish by stirring.
- Long-term
- For long storage, solidify it on parchment and store as chips or blocks. Re-melt when needed using the microwave method.
When you reheat, remember how to melt milk chocolate in microwave: low power, short bursts, and lots of stirring.
Safety and best practices
Handle hot bowls and melted chocolate safely. These habits protect you and your chocolate.
- Avoid steam and water
- Never let water touch chocolate. Even a drop can cause seizing.
- Use oven mitts
- Bowls get hot quickly. Use a towel or mitt to prevent burns.
- Test temperature before using
- Chocolate should be warm but not scalding. Test with a small dab.
- Quality and labeling
- Use chocolate suitable for melting. Some candies contain stabilizers that change melt behavior.
Follow these rules and you’ll consistently know how to melt milk chocolate in microwave without waste or accidents.

Troubleshooting quick checklist
If something goes wrong, run through this list fast.
- Seized? Add warm cream or oil and stir gently.
- Grainy? Try a double-boiler finish or restart with fresh chocolate.
- Burnt? Discard burned chocolate and begin again with lower power.
- Too thick? Add small amounts of warm cream or oil while stirring.
These tips are from repeated kitchen trials. I share them so you waste less chocolate while mastering how to melt milk chocolate in microwave.
Frequently Asked Questions of how to melt milk chocolate in microwave
How long does it take to melt milk chocolate in microwave?
On medium power, small pieces usually melt in 45–90 seconds total. Heat in 15–20 second bursts and stir between bursts to avoid overheating.
Can I melt milk chocolate in the microwave without stirring?
You should stir frequently; stirring evens heat and prevents burning. Never leave it to run without checking.
What microwave power is best for melting milk chocolate?
Use medium power or 50% to control temperature. High power risks scorching the chocolate.
Can I add milk or water to thin melted milk chocolate?
Avoid water; it will seize. Use warm cream, butter, or neutral oil to thin the chocolate instead.
Is microwave melting better than a double boiler?
Microwave melting is faster and works well for small batches. Double-boiler offers more control for large or delicate jobs; either method is fine if done correctly.
What do I do if the chocolate seizes?
Add 1–2 teaspoons of warm cream or oil and stir gently. If moisture caused seizing, try finishing over a double-boiler.
Can I melt chocolate chips the same way as a bar?
Yes. Chips are sized for melting and are convenient. Break bars into even pieces to match chip performance.
Conclusion
Mastering how to melt milk chocolate in microwave is simple when you use small pieces, low power, short bursts, and steady stirring. Practicing these steps will save chocolate, time, and frustration. Try a small test batch today, note the timing for your microwave, and then scale up for recipes or decorations. If this guide helped, leave a comment, share your results, or subscribe for more kitchen tips.

Appliance Review Expert
Lucas Ramirez is a trusted voice at HomeFixGrid.com, known for his clear, practical, and creatively written guides that simplify appliance care for everyday homeowners. With a strong focus on hands-on testing and real-world problem-solving, Lucas brings expert insight into appliance reviews and troubleshooting techniques. Her work empowers readers to confidently maintain, repair, and choose the right appliances for their homes.