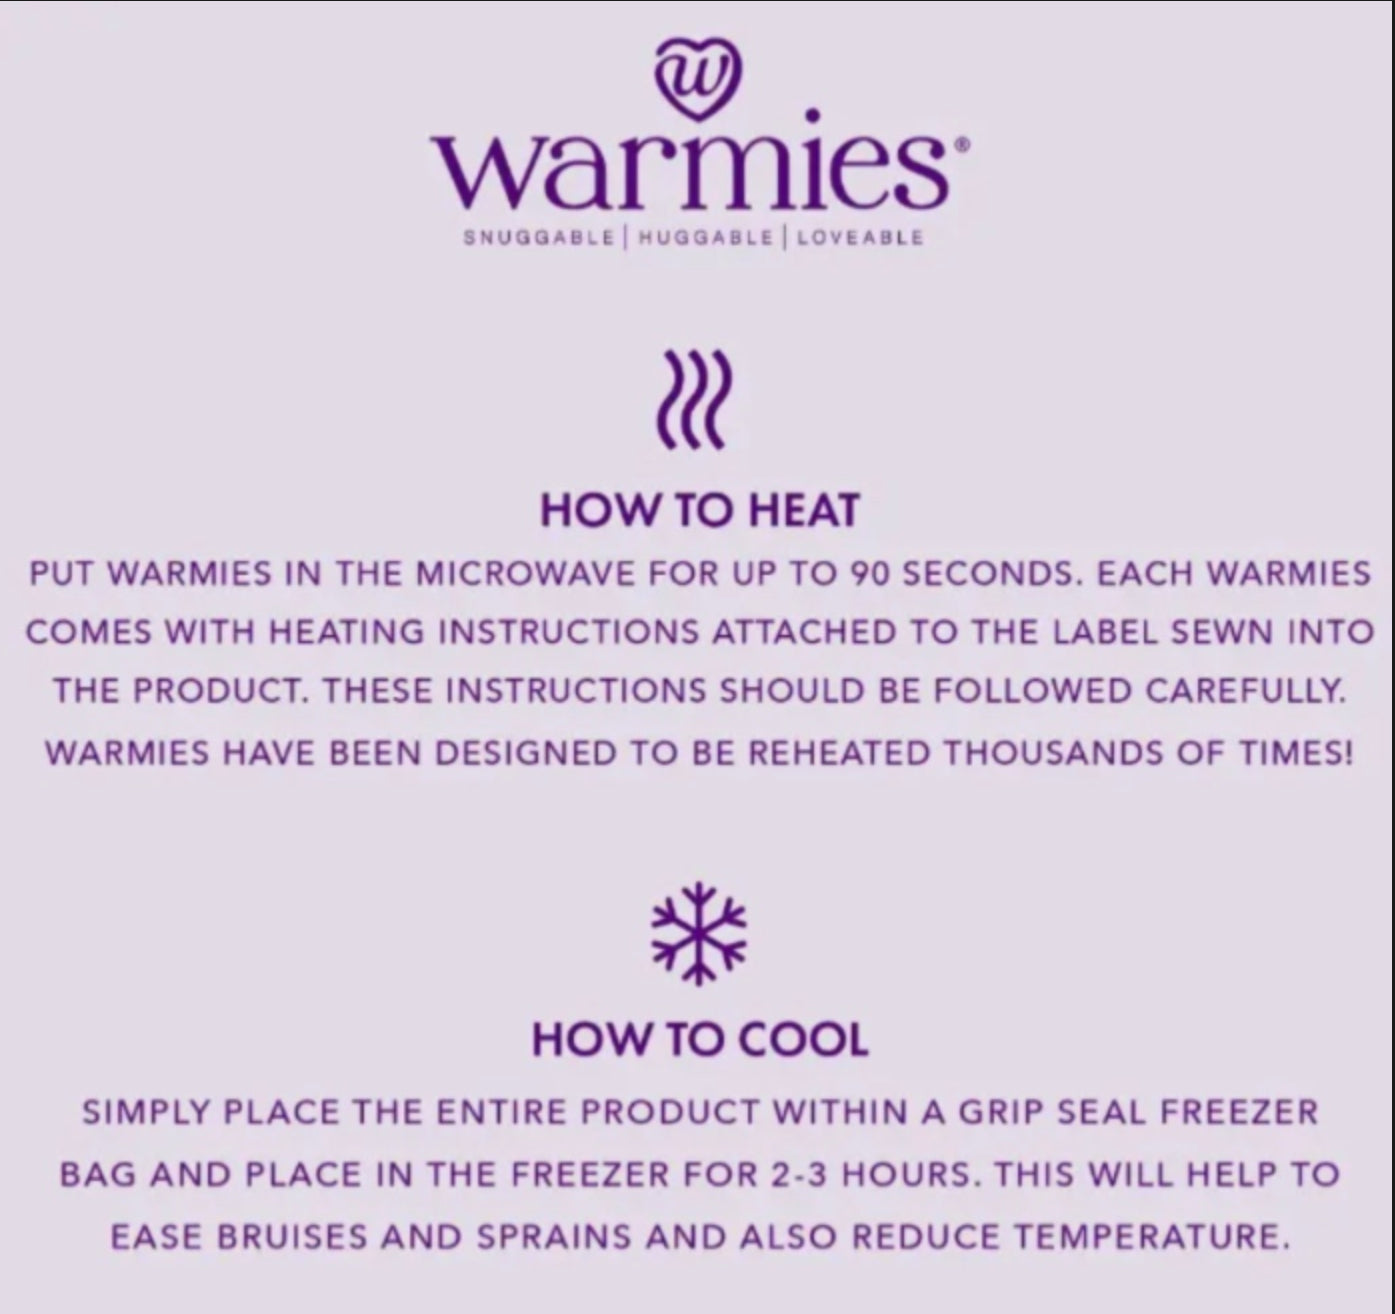
How Long To Put Warmies In The Microwave: Quick Tip
Most Warmies heat in 90 seconds to 2 minutes—follow the label and your microwave wattage.
I’ve tested dozens of Warmies and helped friends avoid hot spots and scorched fabric. This guide explains exactly how long to put Warmies in the microwave, why timing varies, and simple steps to get a warm, safe, and cozy result every time. Read on for clear times, safety tips, troubleshooting, and my real-world tips from hands-on experience.

Quick heating times at a glance
Warmies come in different sizes and fillings. Typical heating ranges are short and depend on microwave power and product size. Use this as a quick reference, then read the full steps below for best practice.
- Small Plush (hand warmers, neck wraps): 60–90 seconds on high for a 1000W microwave.
- Standard Plush (medium Warmies): 90–120 seconds on high for a 1000W microwave.
- Large Wraps or Blankets: 2–3 minutes on high for a 1000W microwave, tested in short bursts.
- Lower-watt microwaves: reduce power or add 10–30 seconds per listed time.

Why correct timing matters
Heating is about comfort and safety. Overheating can scorch the fabric or burst inner pouches, while underheating gives a lukewarm result. Knowing how long to put Warmies in the microwave protects the product and keeps you comfortable.

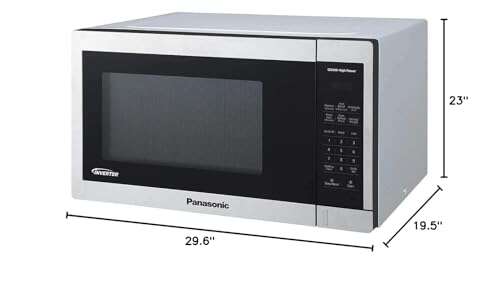
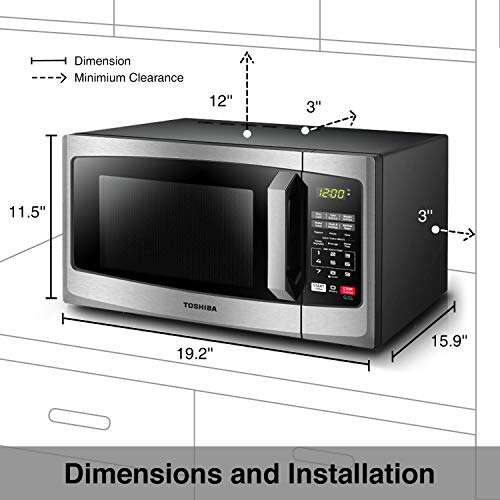
Microwave heating times by size and microwave wattage
Microwave wattage affects heat buildup a lot. Most manufacturer times assume a 1000W microwave. If your microwave is weaker or stronger, adjust times.
- 800–900W microwave: increase listed time by about 10–20 seconds for small items and 20–40 seconds for larger items.
- 1000W microwave: use the standard 60–120 second ranges listed earlier.
- 1100–1200W microwave: reduce times by 10–30 seconds and check early.
How long to put Warmies in the microwave also depends on the filling. Grain or lavender mixes hold heat differently than flaxseed. Expect grain-filled Warmies to feel hotter and retain heat longer than puff fillings.
Step-by-step heating instructions
Follow these steps for predictable results and fewer surprises.
- Check the label. Manufacturer times are the best starting point.
- Place the Warmie flat in the center of the microwave. Avoid folding.
- Heat in short bursts. Start with 60–90 seconds, then check temperature.
- Redistribute filling by kneading gently between bursts.
- If more heat is needed, add 15–30 second intervals and recheck.
- Never exceed recommended total time on the label.

Safety tips and precautions
Safety keeps Warmies cozy, not dangerous. Simple steps prevent burns and product damage.
- Always read the product instructions before heating.
- Do not leave the microwave unattended while heating.
- Check for hot spots by pressing lightly and feeling the surface.
- Do not heat damp or wet Warmies; moisture can cause steam burns.
- Replace if inner seam is damaged or filling smells burned.

Common mistakes and troubleshooting
People often skip the label or assume every microwave is the same. That causes bad outcomes. Here’s how to avoid common errors.
- Mistake: Heating too long in one go. Fix: Use short bursts and feel between intervals.
- Mistake: Folding item in microwave. Fix: Lay flat to ensure even heat.
- Problem: Cold center after recommended time. Fix: Redistribute filling, then add short bursts.
- Problem: Fabric smells burned. Fix: Stop heating and inspect seam; do not reuse if inner filling is damaged.

Personal experience and practical tips
I learned the hard way by overheating a large Warmie once. The outside was fine but the inner filling scorched after a single long cycle. Now I always heat in short bursts and rotate items. My tips:
- Use a kitchen timer and start conservative. Short checks save a Warmie.
- Keep a note near your microwave with tested times for your wattage.
- If you warm it for neck use, err on the cooler side to avoid skin burns.
- For gifts, include a small card with the tested heat times and your microwave wattage.
How long to put Warmies in the microwave becomes intuitive after a few tries. Track results and you’ll rarely need more than two brief cycles.
Frequently Asked Questions of how long to put warmies in the microwave
How long should I microwave a standard Warmies plush?
Most standard Warmies need 90–120 seconds in a 1000W microwave. Start at 90 seconds, then add 15–30 second bursts until warm.
Can I microwave Warmies on full power?
Yes, use full power but heat in short intervals and check often. Full power works best if you monitor to avoid overheating.
What if my Warmies smells burnt after heating?
Stop using it immediately and inspect for seam damage or charred filling. Replace the Warmie if you see damage or smell persistent burning.
Is it safe to microwave Warmies every day?
Yes, daily use is fine if you follow label guidance and avoid overheating. Regular checks for wear and damage keep it safe.
How do I adjust times for a weaker microwave?
Increase the recommended time by about 10–30 seconds depending on how low the wattage is. Heat in bursts and test frequently before more time.
Conclusion
Getting the timing right for Warmies is easy with labels, short heating bursts, and a quick check between intervals. Apply the simple steps here, note times for your microwave, and keep safety top of mind. Try the recommended approach on your next warm-up, leave a comment about your wattage and result, and subscribe for more practical home tips.

Appliance Review Expert
Lucas Ramirez is a trusted voice at HomeFixGrid.com, known for his clear, practical, and creatively written guides that simplify appliance care for everyday homeowners. With a strong focus on hands-on testing and real-world problem-solving, Lucas brings expert insight into appliance reviews and troubleshooting techniques. Her work empowers readers to confidently maintain, repair, and choose the right appliances for their homes.