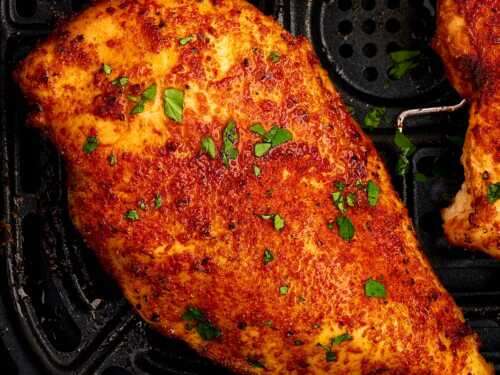
How To Clean Ninja Air Fryer: Step-By-Step Guide
Clean the basket and tray with warm soapy water; wipe the unit and dry completely before reusing.
I’ve cleaned dozens of air fryers and tested methods that work fast and last. This guide on how to clean Ninja air fryer walks you through safe, practical steps. You’ll learn quick daily care, deep-clean tricks, what to avoid, and simple fixes for smoke or smells. I’ll share hands-on tips I use in my own kitchen so you can keep your Ninja running like new. I also add guidance for Ninja Foodi owners and general air fryer maintenance so you get a complete picture.
src="https://i.redd.it/m5n0phxjmju81.jpg"
alt="Why cleaning your Ninja air fryer matters"
style="max-width: 100%; height: auto; border: 2px solid black; border-radius: 10px; display: block; margin: 0 auto;”
loading=”lazy”
/>
Why cleaning your Ninja air fryer matters
Regular cleaning keeps food tasting fresh and cuts down on smoke and fire risks. A greasy basket or blocked airflow will make the fryer run poorly. Cleaning also extends the life of your Ninja air fryer and saves energy. Small, steady care prevents big messes and costly repairs later. This matters whether you own a compact Ninja model, a Ninja Foodi, or a larger multi-function air fryer oven.
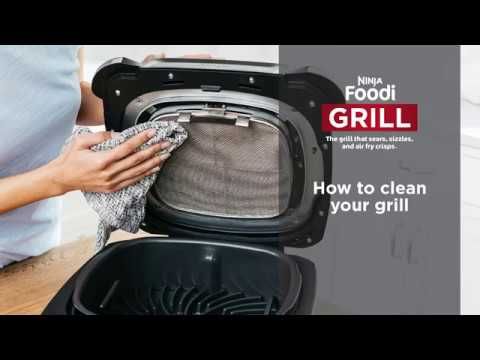
What parts to clean and safety first
Know the parts before you start. Most Ninja models have a removable basket, a crisper plate or tray, and a non-removable cooking chamber that holds the heating element and fan. The control head and power unit must never go in water.
Safety first:
- Unplug the unit and let it cool completely. Never clean a hot fryer.
- Remove all removable parts before cleaning. This includes the basket, crisper plate, and drip tray.
- Check your model’s manual for dishwasher compatibility. Manuals vary by model and year.
I once damaged a unit by putting the control head in water. That taught me to always double-check the manual. If you still have questions, your model number (usually on the bottom) helps find the right guidance online.

Tools and supplies you’ll need
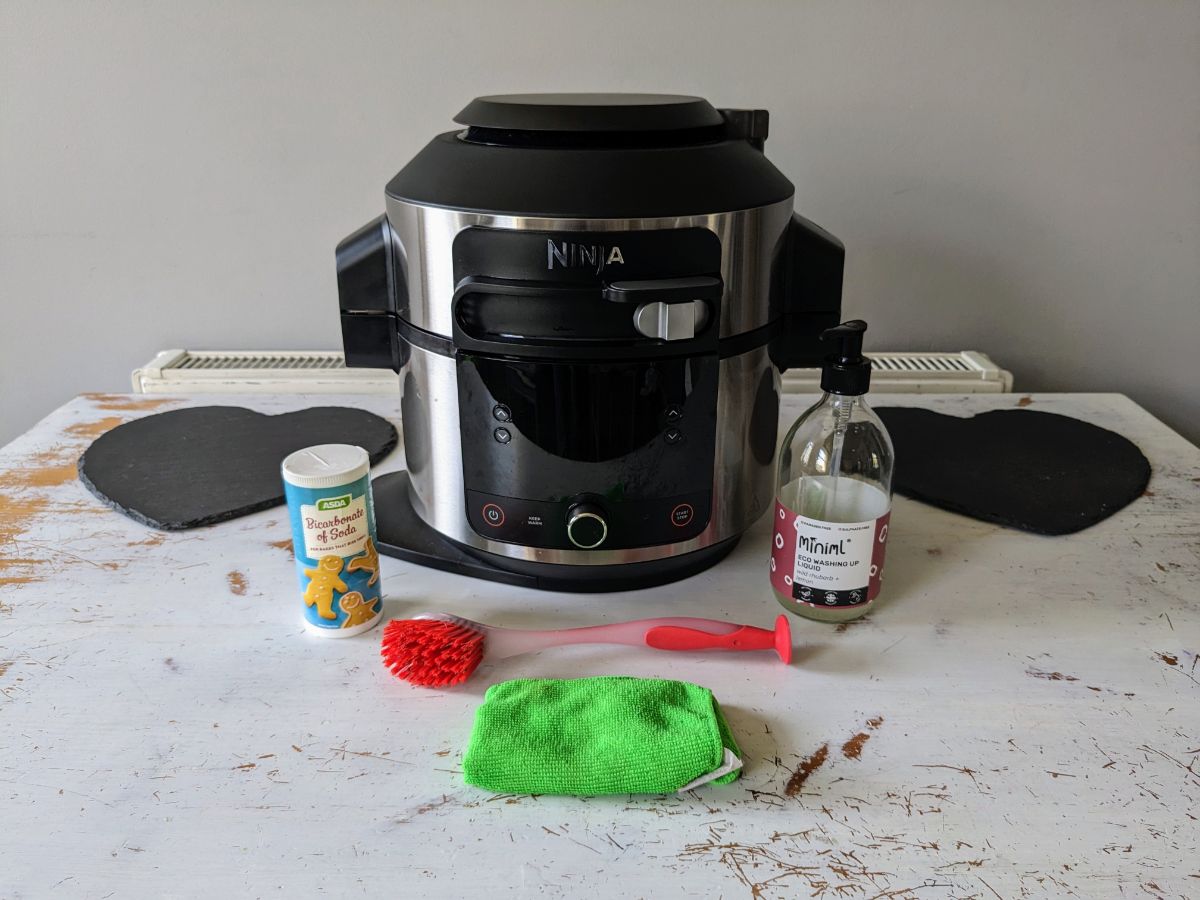
Use simple supplies you likely have at home. Keep everything mild and non-abrasive so you don’t strip non-stick coatings. These items work well for most Ninja air fryer models, including Ninja Foodi baskets and multi-layer racks.
Essentials:
- Warm water and mild dish soap
- Soft sponge or non-scratch scrub pad
- Nylon brush or old toothbrush for corners and vents
- Microfiber or lint-free cloth for drying
- Baking soda and white vinegar for stubborn grime and odors
- Dishwashing detergent if you plan to use the dishwasher
Optional:
- Silicone basting brush for oil cleanup
- A small bowl for soaking parts
- Paper towels for quick grease removal
- A soft-bristled vacuum or compressed air for drying vents (use sparingly)
When choosing cleaners, avoid anything labeled “abrasive” or “bleach.” Those can strip coatings and harm the finish. If you own a Ninja Foodi with ceramic coating, be even gentler.

Step-by-step: How to clean Ninja air fryer — quick daily clean
Do this after most uses to prevent buildup. These steps take 5–10 minutes. They help keep taste and performance strong.
- Turn off and unplug the air fryer. Let it cool for at least 30 minutes.
- Remove the basket and tray. Empty crumbs into the trash.
- Wash removable parts with warm, soapy water using a soft sponge. Pay attention to corners and the crease where the basket meets the rim.
- Rinse and dry parts fully before reassembling. Moisture left inside can cause smoke on the next use.
- Wipe the inside of the cooking chamber with a damp cloth. Avoid the heating element and electrical components.
- Wipe the exterior with a damp cloth and dry. Keep vents clear of dust and crumbs.
Doing this often reduces the need for deep cleaning. It also helps prevent lingering smells and keeps crisping performance steady.
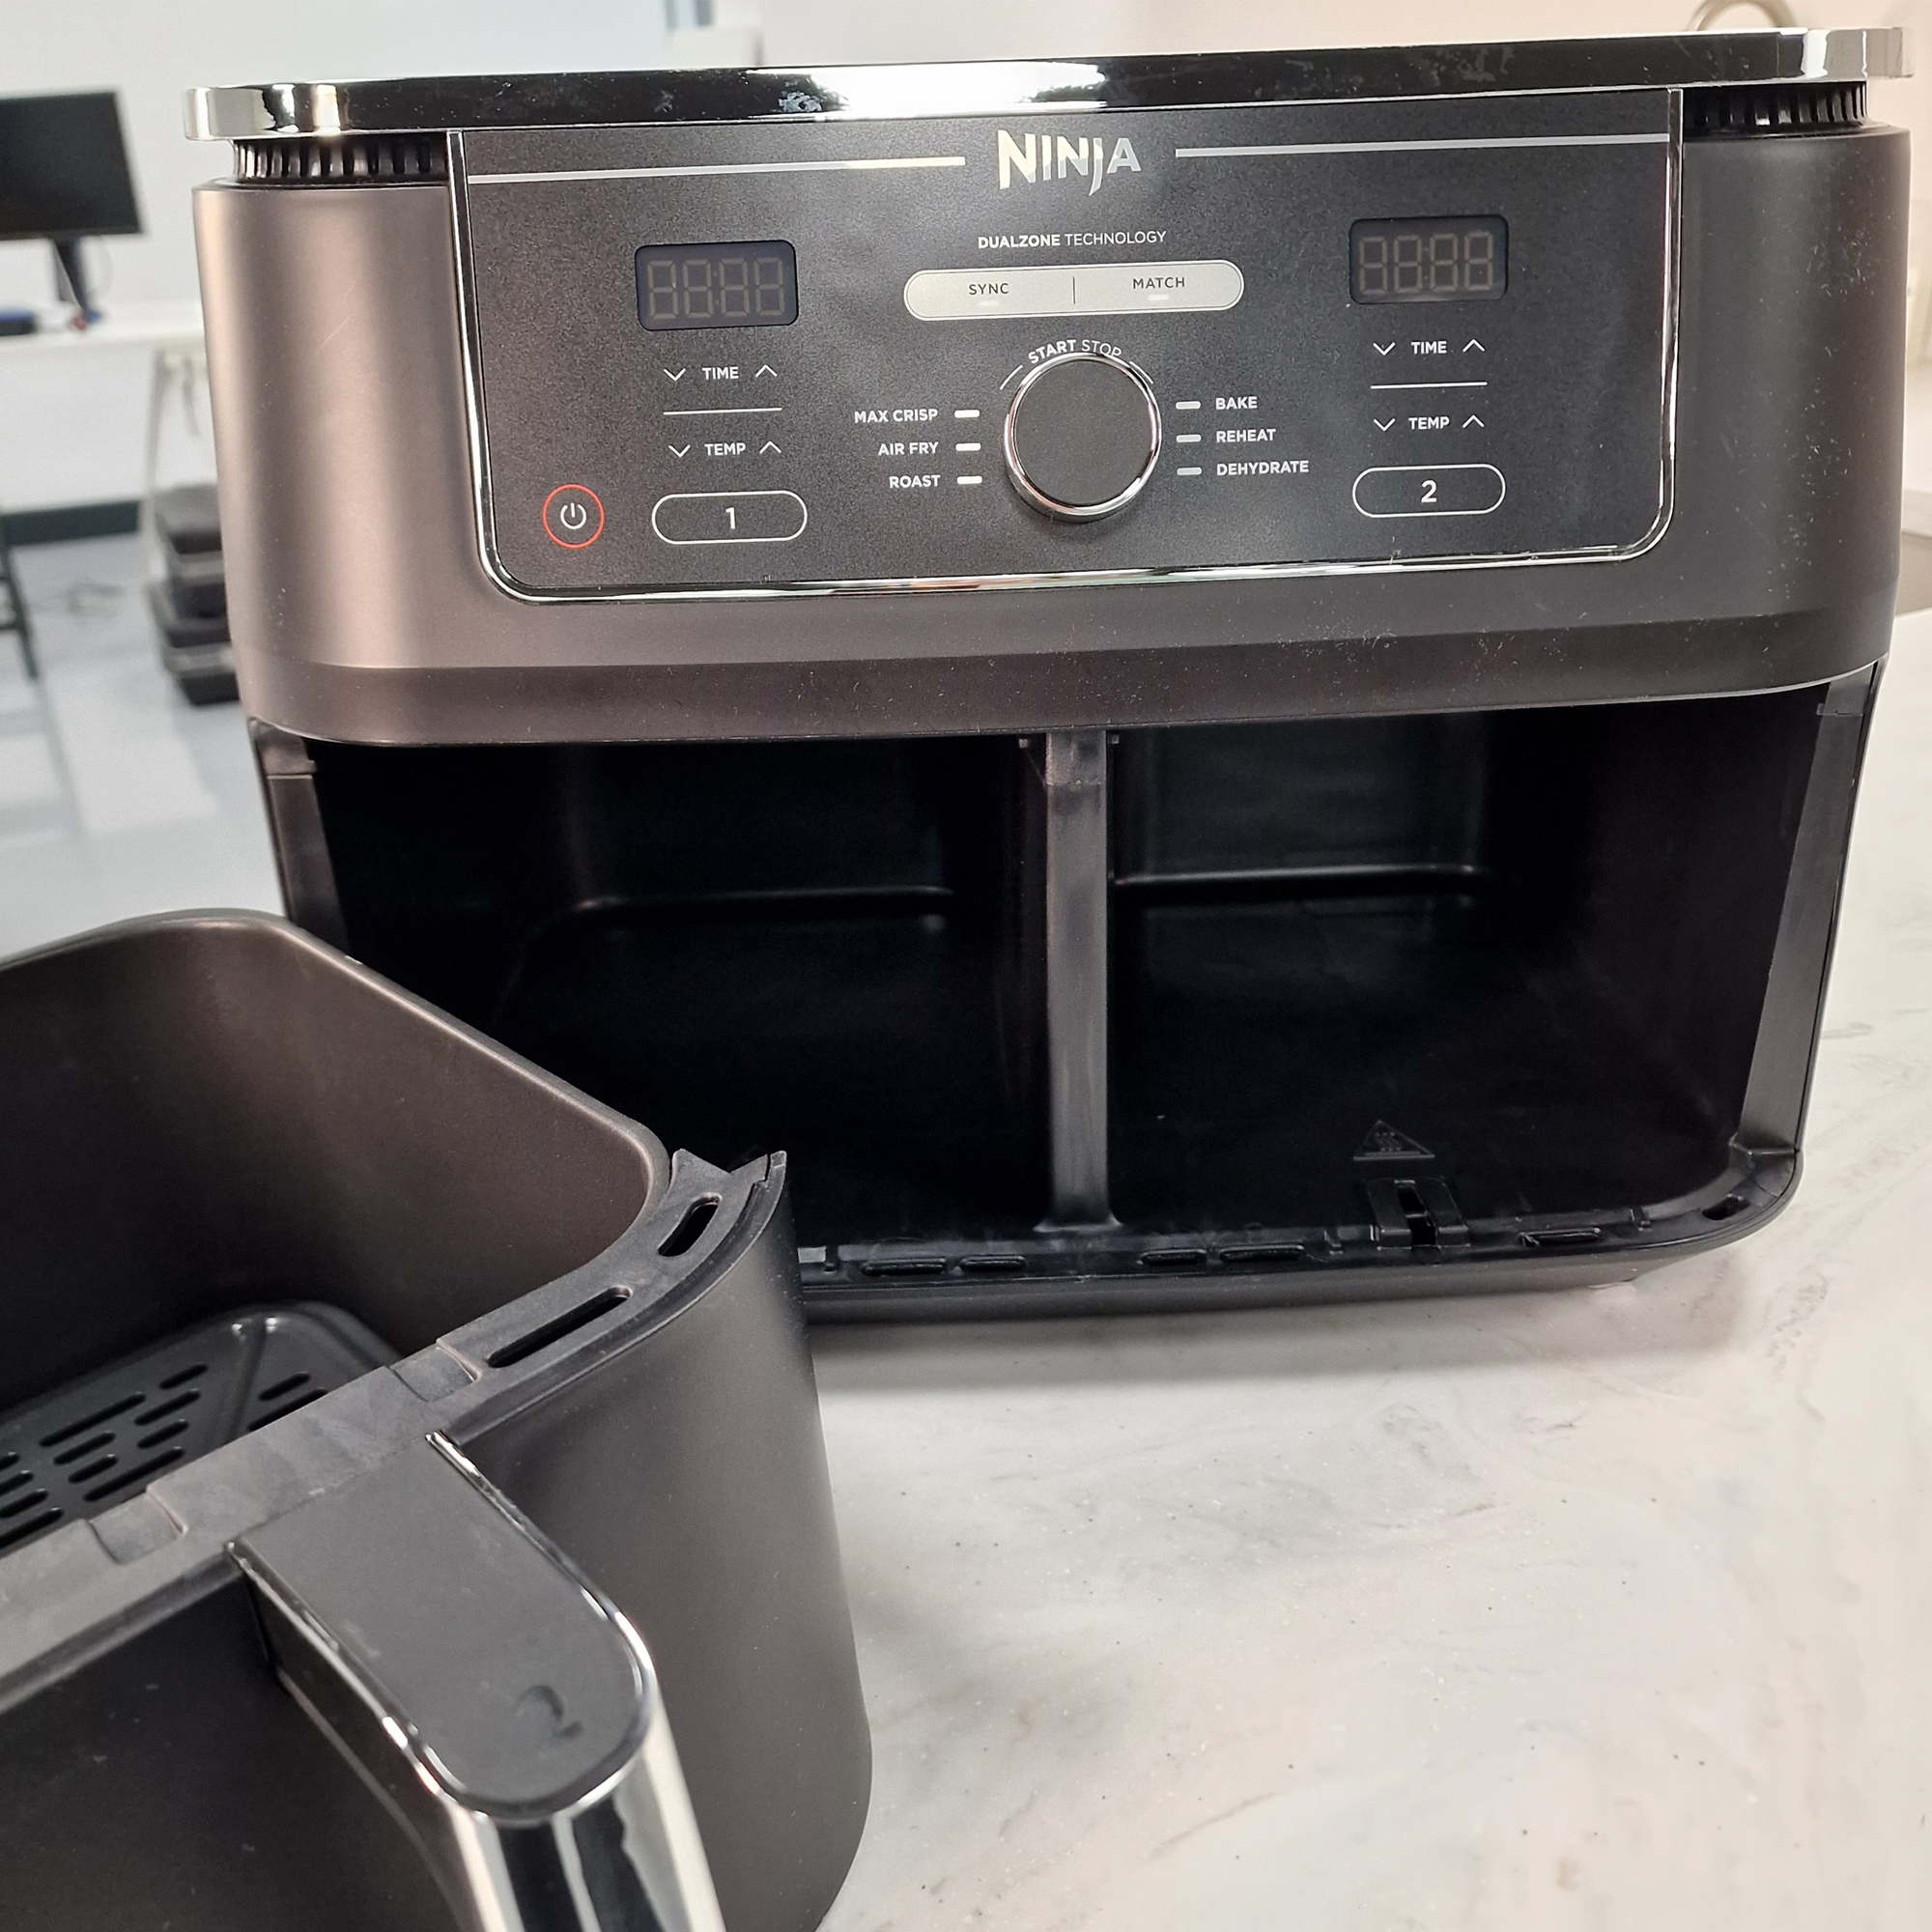
Deep cleaning: removing stuck-on grease and burnt food
For sticky or baked-on messes, follow these gentle deep-clean steps. These take 20–40 minutes total, depending on buildup. Deep cleaning restores airflow and reduces burnt smells.
- Soak removable parts in hot, soapy water for 15–30 minutes. This softens grease and carbonized bits.
- For stubborn spots, make a paste of baking soda and water. Apply the paste and let it sit 10–15 minutes. Baking soda lifts grease without harsh chemicals.
- Scrub with a soft sponge or nylon brush until residue releases. Use a toothbrush for crevices and rack slots.
- Rinse thoroughly and dry before returning to the unit. Make sure vents and slots are free of water.
If the manufacturer says parts are dishwasher safe, place them on the top rack for a gentle cycle. Still inspect parts after the wash for any lingering residue. Avoid high-heat cycles if the manual warns against them.
Cleaning the heating element and fan area
The heating element and fan need careful attention. Never spray them directly with water. The goal is to remove crumbs and light grease without wetting electronics.
Steps:
- Unplug and cool the unit fully. Safety first.
- Turn the air fryer upside down if your model allows safe access to the heating element. Support the unit so it won’t tip.
- Use a soft brush or toothbrush to remove crumbs and light grease. A dry brush often works well.
- Wipe gently with a damp cloth. If dirt persists, dip the cloth in a mix of warm water and mild soap, wring well, and wipe again. The cloth must be only slightly damp.
- Dry completely before plugging the unit back in. Let it air-dry for 30 minutes if in doubt.
I once used a wet cloth that was too damp and shorted the unit. Now I always wring the cloth very dry. If you see heavy grease on the element, repeat light brushing rather than pouring water on it.

Dealing with odors and smoke
Burnt oil or food causes odors and intermittent smoke. Fix it fast. Smoke can mean blocked airflow or pooled oil on the tray or basket.
- Remove and soak removable parts in warm soapy water. Scrub away greasy residue.
- For lingering smells, use a solution of one part white vinegar to two parts water. Wipe interior surfaces and air-dry with the door open. Vinegar neutralizes odors safely.
- Run the air fryer at 350°F for 5–10 minutes after cleaning to burn off any cleaning residue. Watch it during the run.
Using less oil and wiping spills quickly reduces smoke risk. For high-fat foods, use the drip tray and clean it after every use to avoid grease pooling.
Maintenance schedule and best practices
A simple routine keeps your Ninja air fryer fresh. Follow this plan. I use a similar routine and it cuts problems a lot.
Daily after use:
- Empty crumbs, wash basket, and wipe the chamber. Quick care saves time later.
Weekly:
- Deep clean the basket and tray. Check the heating element for crumbs and light grease.
Monthly:
- Inspect seals and vents. Use a brush to clear vent dust. Wipe down knobs and control surfaces.
Every few months:
- Run a vinegar steam (cup of water + 2 tablespoons vinegar) at 350°F for 5 minutes to deodorize, then wipe clean. This helps with lingering odors and mineral buildup.
Adopt these habits and your unit will perform better and last longer. If you cook fatty foods often, clean more frequently.
Common mistakes to avoid
Avoid actions that can harm your Ninja air fryer. These are common pitfalls I see often.
- Do not immerse the main unit in water. It can ruin electronics and void warranties.
- Avoid metal scouring pads. They scratch non-stick coatings and ruin bake performance.
- Don’t use bleach or oven cleaners. They damage finishes and may leave harmful residues.
- Don’t ignore the manual. Some parts are dishwasher safe; some aren’t. Manuals list exact model guidance.
I learned to avoid abrasive cleaners after scratching a non-stick basket early on. A soft sponge works best. When in doubt, test a small area first.
Troubleshooting: stains, sticky residue, and hard water marks
Simple fixes often do the trick. Here’s what to try. These steps cover stains from grease, sugar, and mineral buildup.
Stains and dark grease
- Soak with hot soapy water, then use a baking soda paste to lift stains. Scrub gently with a nylon brush.
Sticky residue from sugars
- Soak longer in hot water. Use a nylon brush to loosen sugar that hardens. Heated sugar can be stubborn; patience helps.
Hard water marks
- Wipe with a 1:1 white vinegar and water mix, then rinse well. Vinegar dissolves mineral deposits safely.
If residue persists after multiple attempts, contact support or consult the manual for part replacement options. Replacement baskets and trays are often available from the manufacturer or third-party parts suppliers.
How to clean Ninja air fryer safely: tips I learned from experience
Real-life tips make the job easier. Here are things I now always do. These are practical steps that cut cleaning time and risk.
- Clean right away when possible. Warm grease lifts more easily than cold, hardened grease.
- Use silicone tools for cooking to prevent scratches on non-stick surfaces.
- Keep a small brush by the fryer for quick crumb removal after each use.
- Use dishwasher only when the manual confirms it’s safe for that model. Top-rack placement is usually best.
These small habits save time and keep the appliance working well. They also protect finishes and preserve warranty coverage.
Frequently Asked Questions of how to clean ninja air fryer
How often should I clean my Ninja air fryer?
Clean the basket and tray after every use. Wipe the interior weekly and deep-clean monthly or as needed. If you cook greasy foods often, do deep cleaning more frequently.
Can I put Ninja air fryer parts in the dishwasher?
Many Ninja baskets and trays are top-rack dishwasher safe, but check your model manual first to avoid damage. High-heat cycles can dull non-stick coatings over time.
How do I remove burned-on cheese or sugar?
Soak removable parts in hot, soapy water for at least 30 minutes, then scrub gently with a nylon brush and use baking soda paste if needed. For stubborn baked-on sugar, repeat soaking and use warm water to soften before scrubbing.
Is it safe to spray the heating element with water?
No. Never spray the heating element. Use a soft brush and a barely damp cloth to clean it after the unit cools. Excess moisture can short the unit.
What if my Ninja air fryer smells like smoke after cleaning?
Run the unit empty at 350°F for 5–10 minutes to burn off residues. If the smell persists, deep-clean parts and use a vinegar wipe. Check for trapped food in vents and the drip tray too.
Replacement parts, warranty, and when to contact support
Over time, baskets or trays can wear. If coatings peel or parts warp, replace them. Use original Ninja replacement parts when possible. They fit properly and match safety specs.
- Check your warranty before buying parts. Repairs under warranty may be free.
- Contact Ninja customer support for persistent electrical smells or if the unit won’t turn on after cleaning.
- Keep your model number and purchase date handy when contacting support.
Buying parts from the manufacturer reduces compatibility issues. Many parts are listed on the Ninja website or authorized dealers.
Conclusion
Keeping your Ninja air fryer clean is simple with the right steps. Regular quick cleans, monthly deep cleaning, and careful care of the heating element prevent smoke, odors, and wear. Start with small habits: wipe after use, soak stubborn parts, and follow the manual. Try one deep clean this week and see how much better your air fryer performs. Share your experience below or subscribe for more kitchen appliance care tips.

Appliance Review Expert
Lucas Ramirez is a trusted voice at HomeFixGrid.com, known for his clear, practical, and creatively written guides that simplify appliance care for everyday homeowners. With a strong focus on hands-on testing and real-world problem-solving, Lucas brings expert insight into appliance reviews and troubleshooting techniques. Her work empowers readers to confidently maintain, repair, and choose the right appliances for their homes.