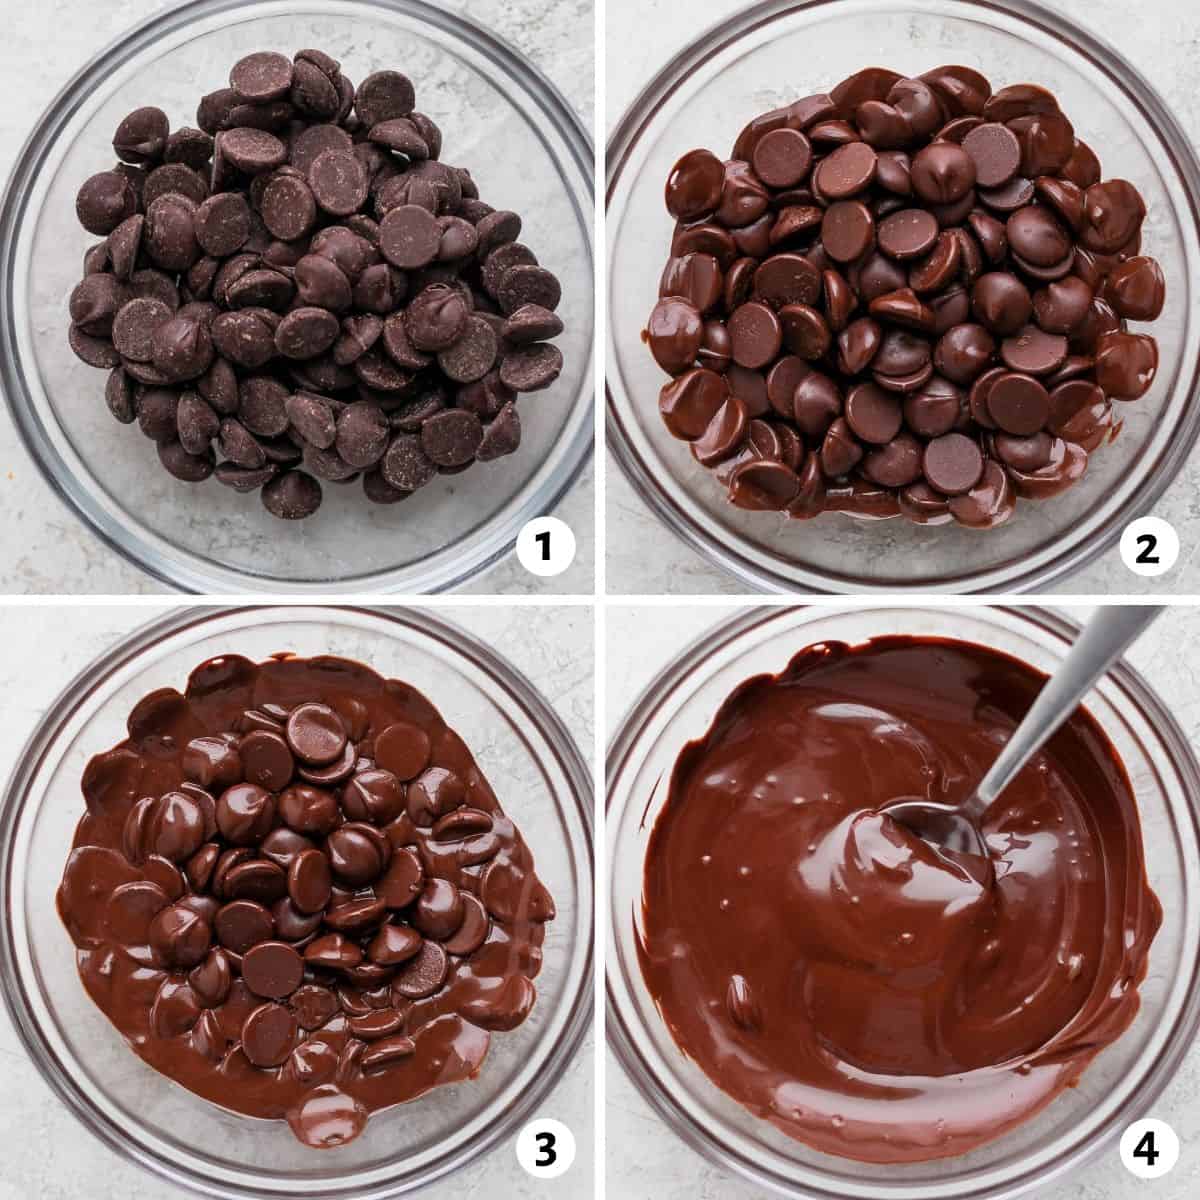
Heat chopped chocolate at 50% power in 15-second bursts, stirring until smooth.
Melting chocolate should be fast, clean, and stress-free. In this guide, I will show you exactly how to melt chocolate in the microwave like a pro. I have done it thousands of times in test kitchens and bakeries. I will help you avoid burning, seizing, and other common pitfalls, so you can master how to melt chocolate in the microwave with confidence.
:max_bytes(150000):strip_icc()/how-to-melt-chocolate-521583_FINAL-5ba14c6f46e0fb005014105f.png)
Why Microwaving Chocolate Works
Microwaves heat fast, but they do not heat even. Chocolate has sugar and cocoa butter. Hot spots form inside, while the outside can stay cool. This is why short bursts and stirring are key.
Chocolate melts at low temperatures. Dark chocolate starts to soften near 90°F. White and milk melt at even lower temperatures. Small changes make a big difference. Gentle heat and carryover heat do the work. That is the core of how to melt chocolate in the microwave without stress.
What You Need
- Chocolate bars, wafers, or chips. Use good quality for best taste and melt.
- A microwave-safe glass or ceramic bowl. Avoid thin plastic.
- A dry silicone spatula. Water causes seizing.
- A kitchen scale. Even pieces melt better.
- An instant-read thermometer, optional but helpful.
Choose the right chocolate for your goal. Wafers or couverture melt very smooth. Chips have stabilizers, so they can be a bit thicker. All still work for how to melt chocolate in the microwave.

Step-by-Step: How to Melt Chocolate in the Microwave
Follow this method every time. It is safe, repeatable, and fast.
-
Chop the chocolate into even, small pieces
Smaller pieces melt faster and more even. Avoid large chunks. -
Place 4 to 8 ounces in a dry, microwave-safe bowl
Make sure the bowl is fully dry. A droplet of water can seize the batch. -
Set microwave to 50% power
Lower power gives control. It prevents scorched spots. -
Heat for 15 seconds, then stir well
Stirring moves hot spots and spreads heat. It prevents burning. -
Repeat 15-second bursts, stirring after each burst
Stop when about 75% is melted. The rest will melt from carryover heat. -
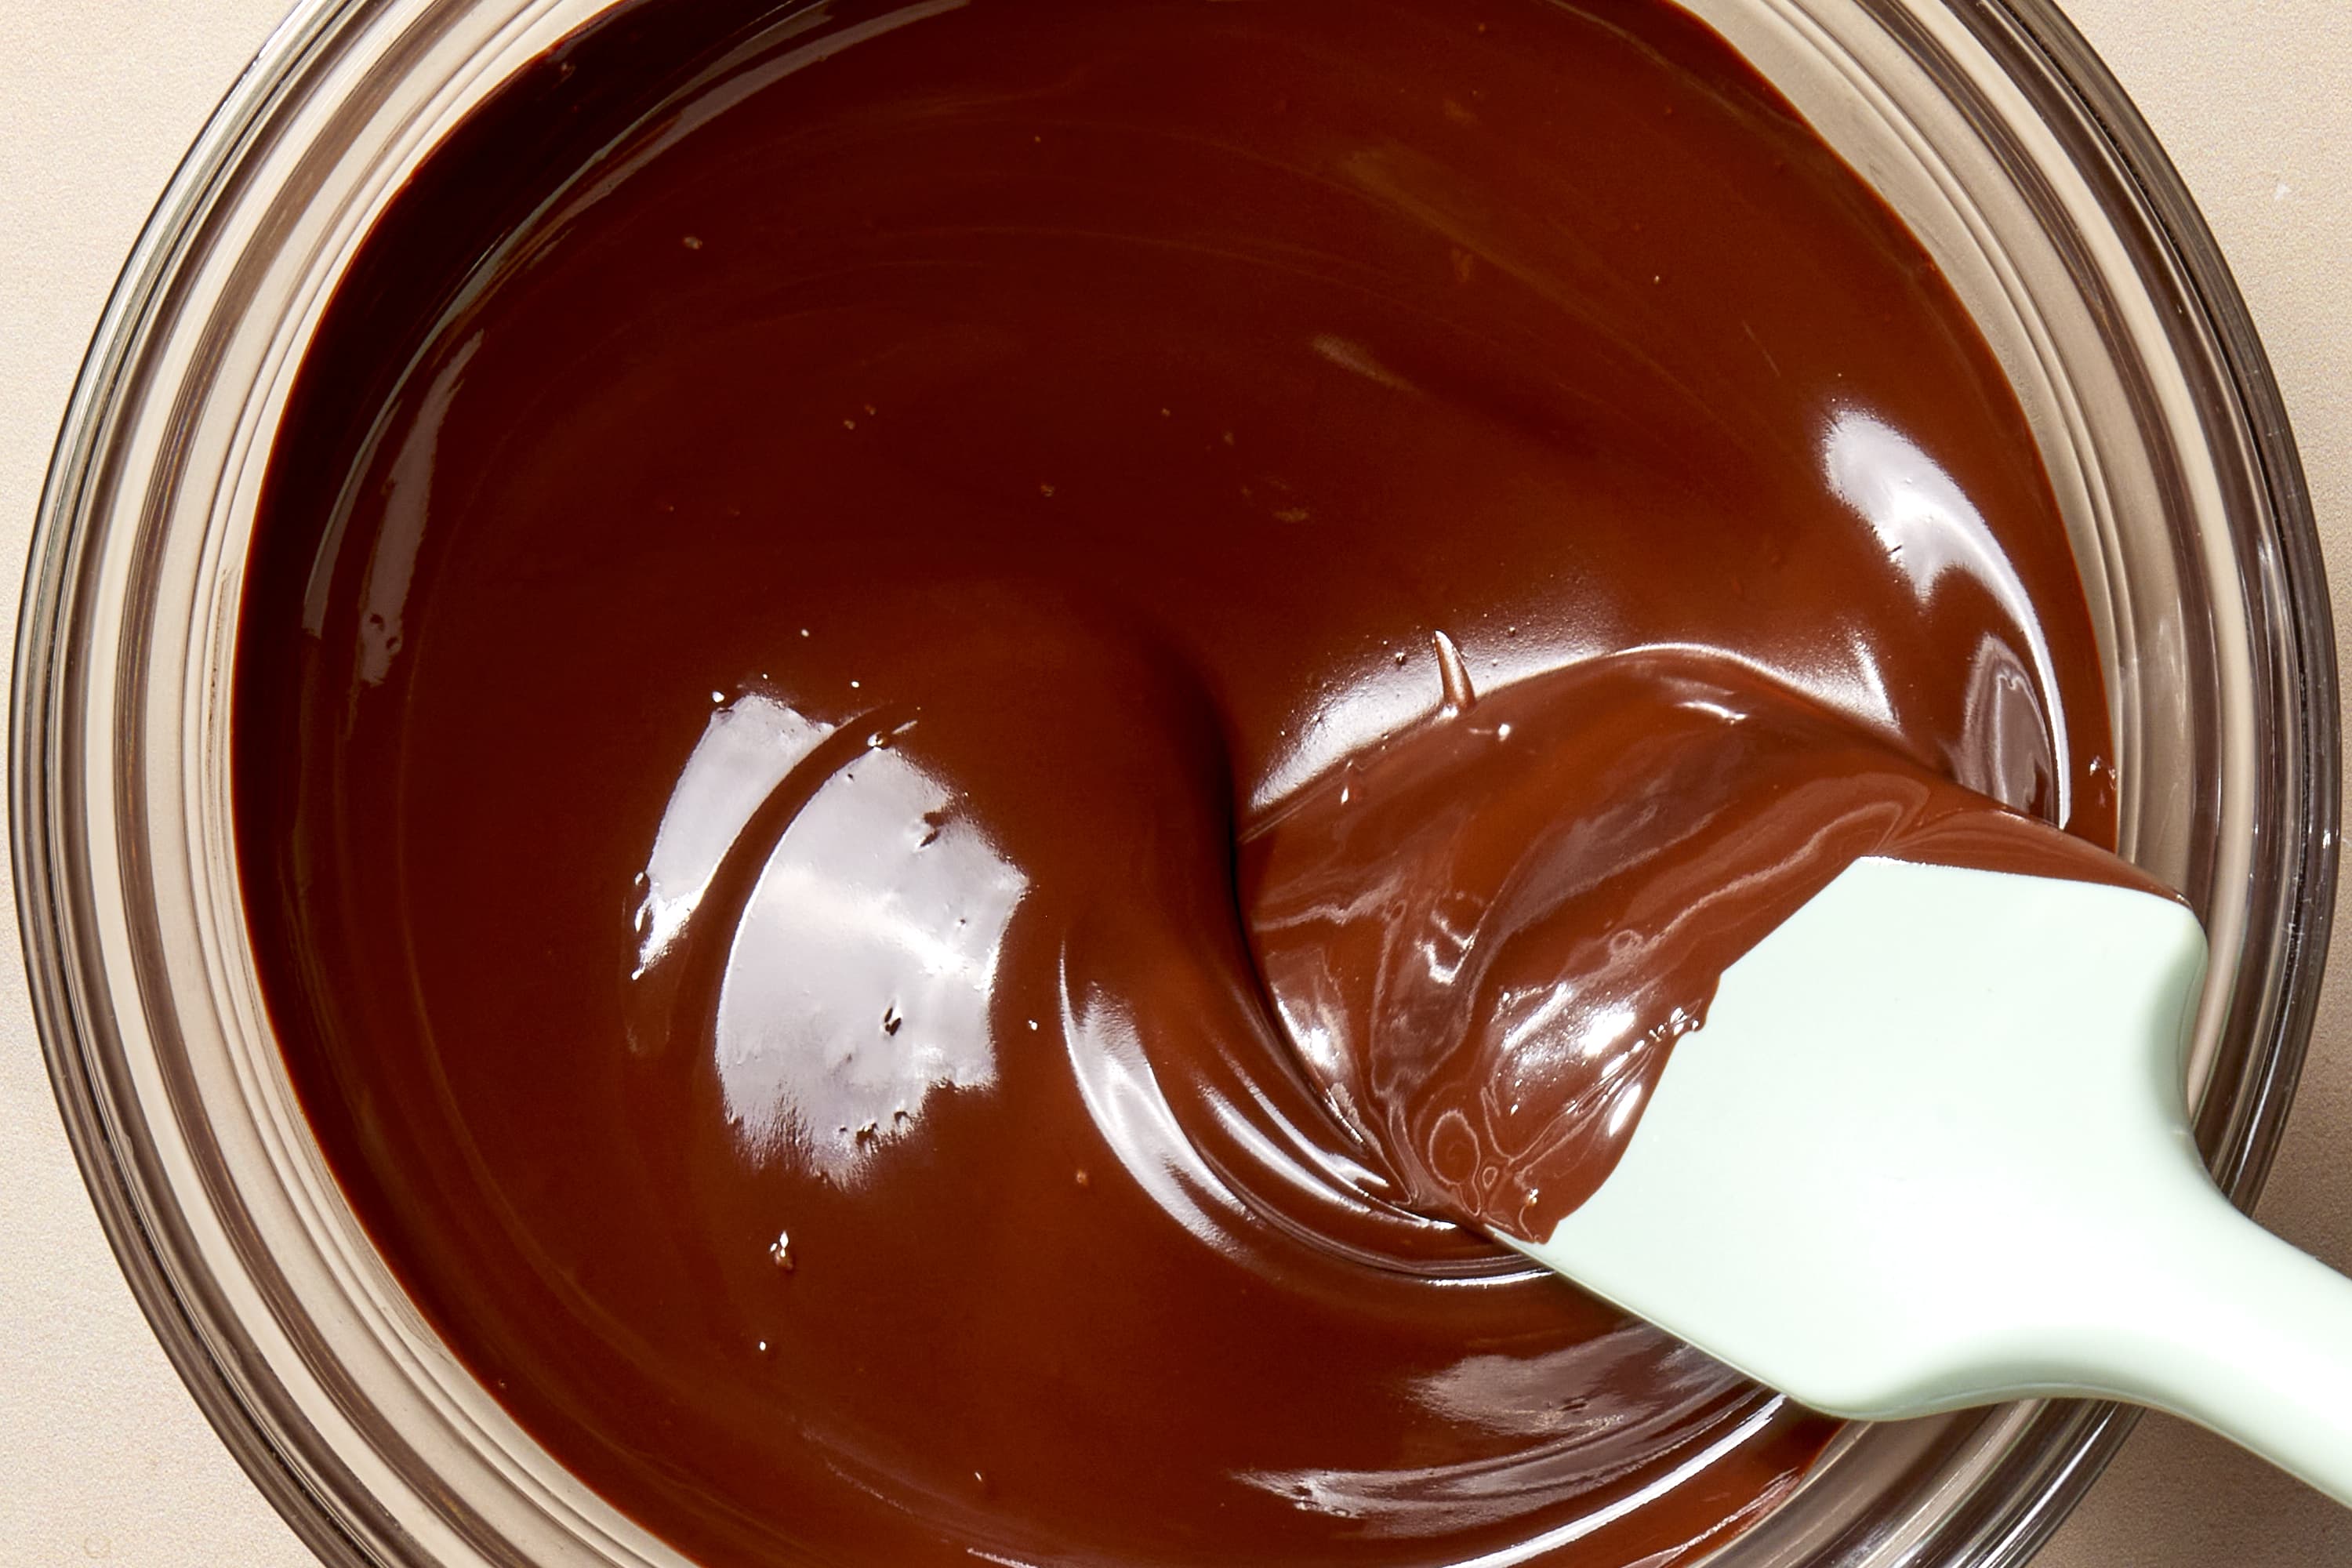
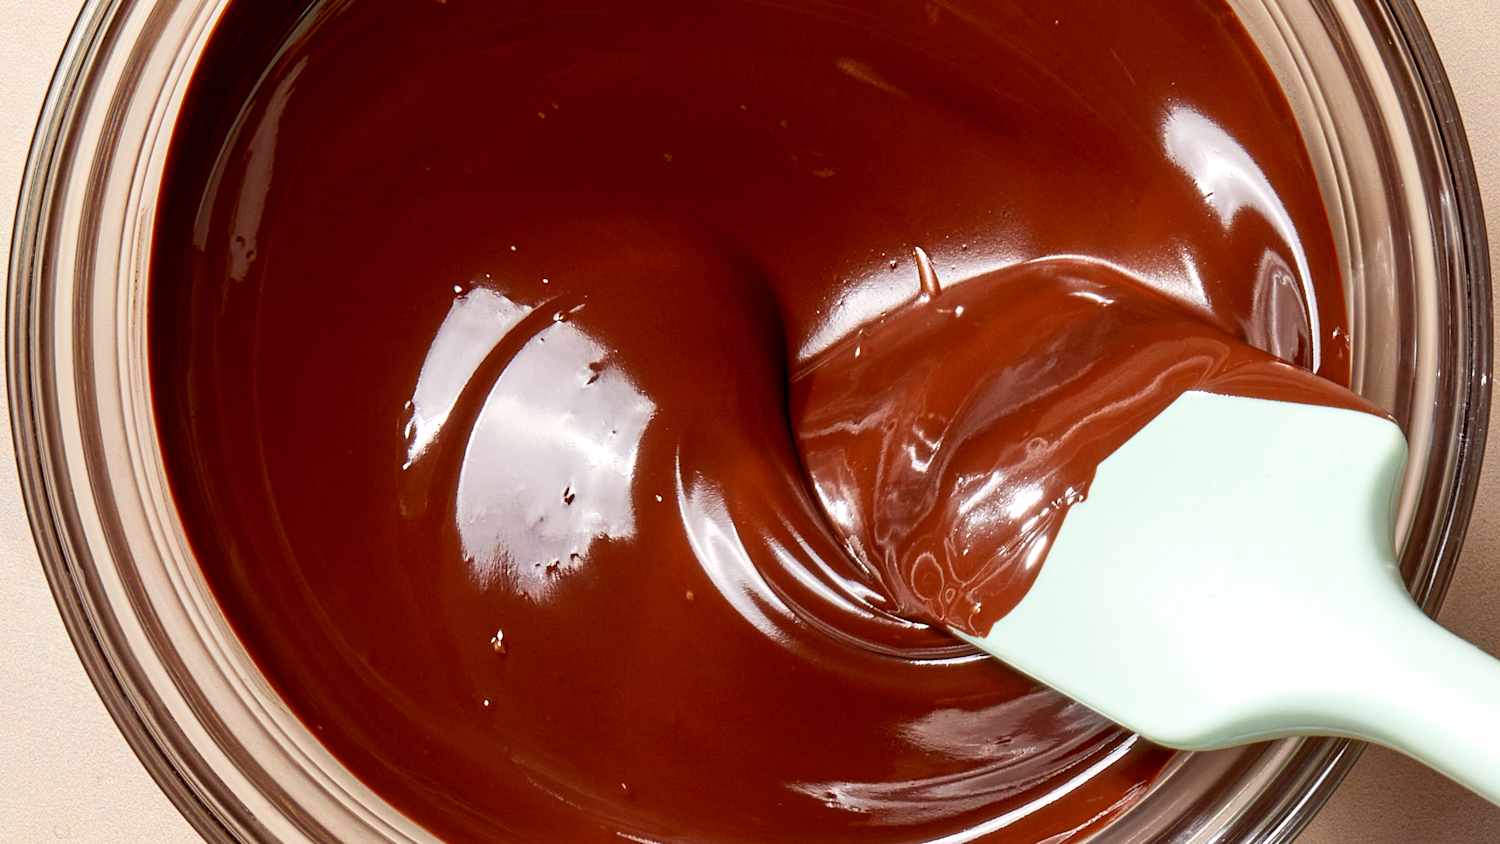
Finish with gentle stirring for 30 to 60 seconds
If a few pieces remain, give one more 5 to 10 second burst at 50% power. -
Check temperature if you can
Dark works well around 90 to 95°F for dipping and drizzling. Milk and white prefer 86 to 90°F.
Pro tip: When teaching new bakers how to melt chocolate in the microwave, I always say, “Stir more than you heat.” The bowl and the chocolate hold heat. Let that heat do the work.
Timing Guide by Chocolate Type
Microwaves vary, but this is a solid baseline for 4 ounces at 50% power.
- Dark chocolate: 3 to 5 bursts of 15 seconds. Stir after each burst.
- Milk chocolate: 3 to 4 bursts of 15 seconds. Lower melting point.
- White chocolate: 2 to 4 bursts of 15 seconds. Very delicate. Go slow.
- Chocolate chips: May need 1 extra burst. Chips resist melting by design.
If you double the amount, add 1 to 2 extra bursts, not double the time. Stir longer between bursts. This small change is key for how to melt chocolate in the microwave without scorching.
:max_bytes(150000):strip_icc()/Southern-Living_SEOBatch46_Chocolate-lava-cake_Step1_4065-469fc4e50e28484ead16afe04282374a.jpg)
Tempering Chocolate in the Microwave
Tempering gives snap and shine. You can do it with a simple seeding method.
- Chop chocolate. Place two-thirds in a bowl. Reserve one-third as “seed.”
- Heat the two-thirds at 50% power in 15-second bursts until melted.
- Dark: Aim for 100 to 110°F. Milk and white: 95 to 100°F.
- Add the reserved seed and stir until smooth and cooler.
- Dark: Work at 88 to 90°F. Milk: 86 to 88°F. White: 84 to 86°F.
- If it thickens, give a 3 to 5 second burst at 50% power. Do not exceed the working range.
This method helps you temper while using the same steps as how to melt chocolate in the microwave. The key is to stay in range and go slow.

Fixing Common Problems
Chocolate seized
This happens when water touches it. It turns grainy and thick.
- For sauce or drizzle: Add warm water or milk, 1 teaspoon at a time, and whisk smooth.
- For dipping or molding: Try adding 1 to 2 teaspoons of warm cocoa butter or neutral oil per 6 ounces. If it stays grainy, start over.
Chocolate overheated or burned
It smells scorched and looks dry.
- Remove any burnt bits. Add fresh chocolate and stir to lower the heat. If too far gone, discard. Start with shorter bursts next time.
Chocolate is lumpy
Lumps are unmelted pieces. The bowl often stays hot.
- Stir longer to let carryover heat finish the job. If needed, give a 5 to 10 second burst at 50% power.
Chocolate is too thick
Chips or low-cocoa-butter chocolate can be thick.
- Add 1 teaspoon of warm cocoa butter, coconut oil, or neutral oil per 6 ounces. Stir until fluid.
When you learn how to melt chocolate in the microwave, these fixes save time and ingredients.

Pro Tips, Uses, and Flavor Boosts
Pro tips
- Keep tools bone-dry. Even steam can seize chocolate.
- Use glass or ceramic bowls for gentle heat.
- Stop heating when 75% is melted. Stir to finish.
- Add flavor oils, not water-based extracts. Alcohol or water can seize.
- A pinch of fine salt makes chocolate taste brighter.
Flavor boosts
- Espresso powder or instant coffee heightens cocoa notes.
- Orange, peppermint, or vanilla oil adds aroma.
- A little coconut oil makes a firm magic shell on ice cream.
Smart uses
- Dip strawberries, cookies, or pretzels.
- Drizzle over brownies or pancakes.
- Whisk with warm cream for ganache.
From many classes, I learned this: once you master how to melt chocolate in the microwave, you bake more and waste less. It builds speed and confidence.

Safety, Storage, and Reheating
Safety
- Never cover the bowl tightly while heating. Steam can drip water into the chocolate.
- Use oven mitts. Bowls get hot fast.
- Do not heat above 120°F. Chocolate scorches easily.
Storage
- Keep melted chocolate warm and fluid near 90°F.
- If it cools, reheat at 50% power in 5 to 10 second bursts, stirring often.
- Store unused melted chocolate in a container at room temp once set. Re-chop and re-melt as needed.
Reheating is part of how to melt chocolate in the microwave the smart way. Small bursts. Lots of stirring. Watch the shine and the flow.
Frequently Asked Questions of how to melt chocolate in the microwave
Can I melt chocolate chips in the microwave?
Yes. Use 50% power and short bursts. Chips may need one extra burst because they have stabilizers.
Why did my chocolate seize in the microwave?
A drop of water or steam likely got in. Add warm liquid to turn it into a sauce, or add cocoa butter or oil if you need fluid chocolate.
Is it safe to melt white chocolate this way?
Yes, but be gentle. White chocolate burns fast, so use 50% power and even shorter bursts.
How do I keep melted chocolate shiny?
Temper it using the seeding method. Work at the right temperature ranges and avoid overheating.
What is the best bowl for microwave melting?
Use glass or ceramic. They heat steady and are less likely to cause hot spots than thin plastic.
How many times should I use 15-second bursts?
Usually three to five bursts for 4 ounces. Always stir well between bursts and stop when 75% is melted.
Can I add butter or oil to thin the chocolate?
Yes, in small amounts. Add 1 teaspoon per 6 ounces, then stir and check flow.
How to melt chocolate in the microwave without burning it?
Keep power at 50%, use 15-second bursts, and stir after every burst. Stop early and let carryover heat finish.
Can I melt chocolate in the microwave for drizzling?
Yes. Aim for a smooth, pourable state around 90°F. If too thick, add a small amount of oil and stir.
Will this method work for tempering?
Yes, with the seeding method and a thermometer. Stay within the working temperature range for your chocolate type.
Conclusion
You now have a clear, repeatable plan for smooth, glossy chocolate every time. Short bursts, steady stirring, and low power are the heart of how to melt chocolate in the microwave. Add tempering when shine and snap matter, and use quick fixes when things go off track.
Put this method to work today. Melt a small batch, dip a few berries, and feel the difference. Want more kitchen wins? Subscribe for new guides, ask a question in the comments, or share your results with a photo.

Appliance Review Expert
Lucas Ramirez is a trusted voice at HomeFixGrid.com, known for his clear, practical, and creatively written guides that simplify appliance care for everyday homeowners. With a strong focus on hands-on testing and real-world problem-solving, Lucas brings expert insight into appliance reviews and troubleshooting techniques. Her work empowers readers to confidently maintain, repair, and choose the right appliances for their homes.
Leave a Reply