Heat milk in the microwave until it steams and small bubbles form, about 45–90 seconds.
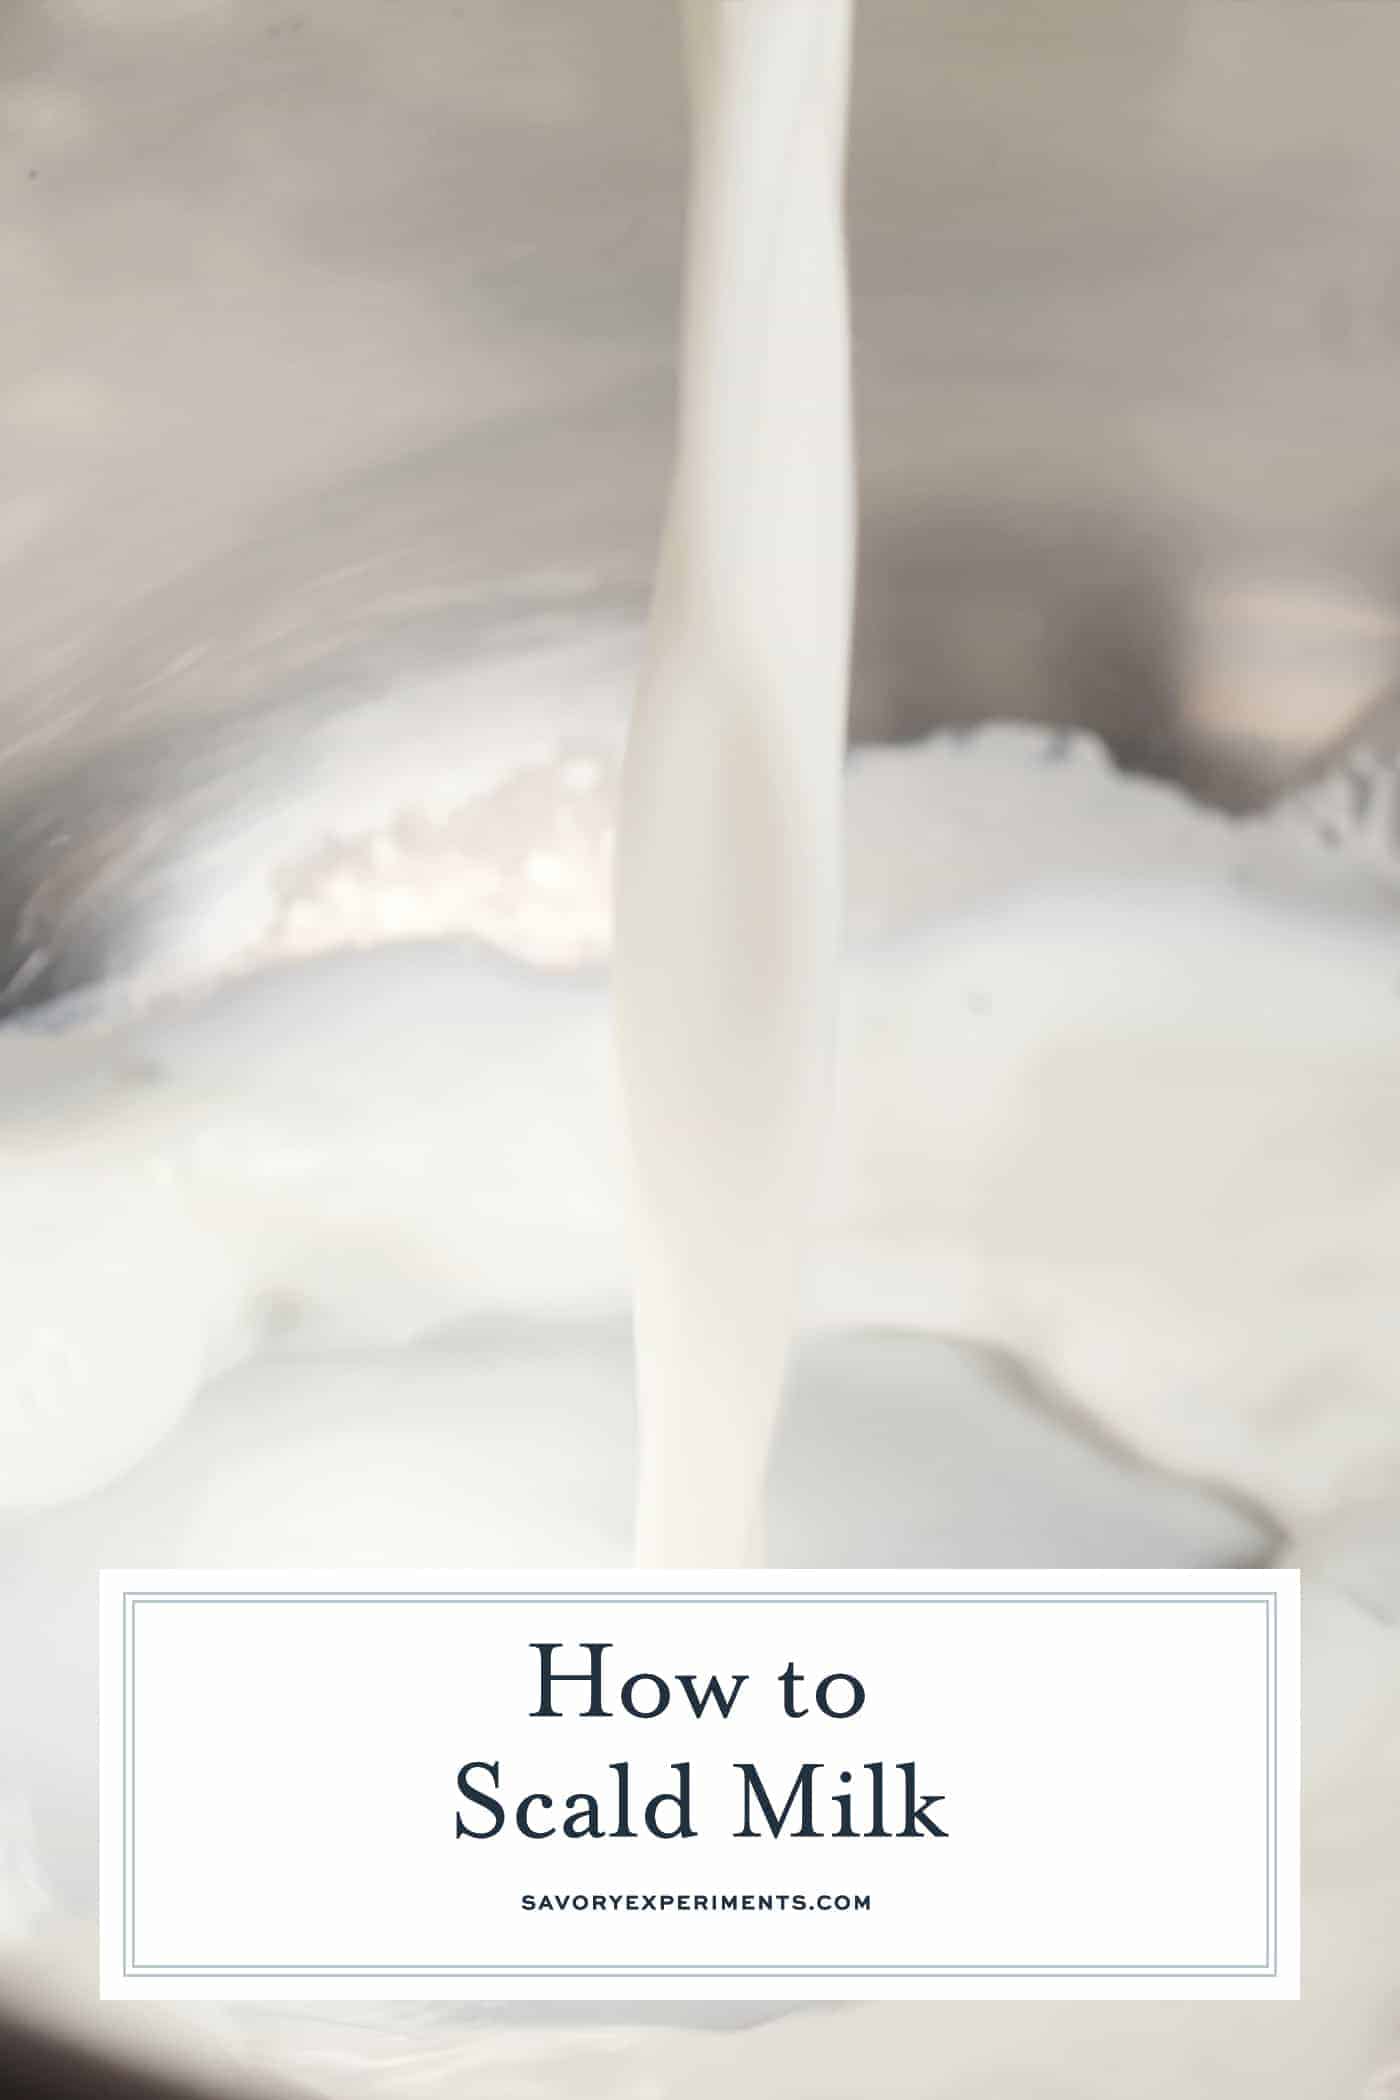
I’ve scalded milk in the microwave dozens of times for custards, breads, and baby formula mixes, and I’ll walk you through a fast, safe method. This guide explains exactly how to scald milk in the microwave, with simple steps, timings for different amounts, safety tips, and fixes for common problems. Read on to learn a reliable routine that saves time and keeps your milk perfect every time.

Why scald milk?
Scalding milk changes its proteins and improves texture in many recipes. It weakens enzymes that can interfere with yeast and helps custards and puddings set more evenly. Scalded milk also blends better with sugar and eggs, which keeps baked goods consistent and smooth.
:max_bytes(150000):strip_icc()/GettyImages-532341952-2000-59367eca40a2472c88dba0dea1c451f7.jpg)
Tools and ingredients for how to scald milk in the microwave
- Microwave-safe glass or ceramic measuring cup with a spout for easy pouring.
- Clean spoon or heatproof spatula for stirring.
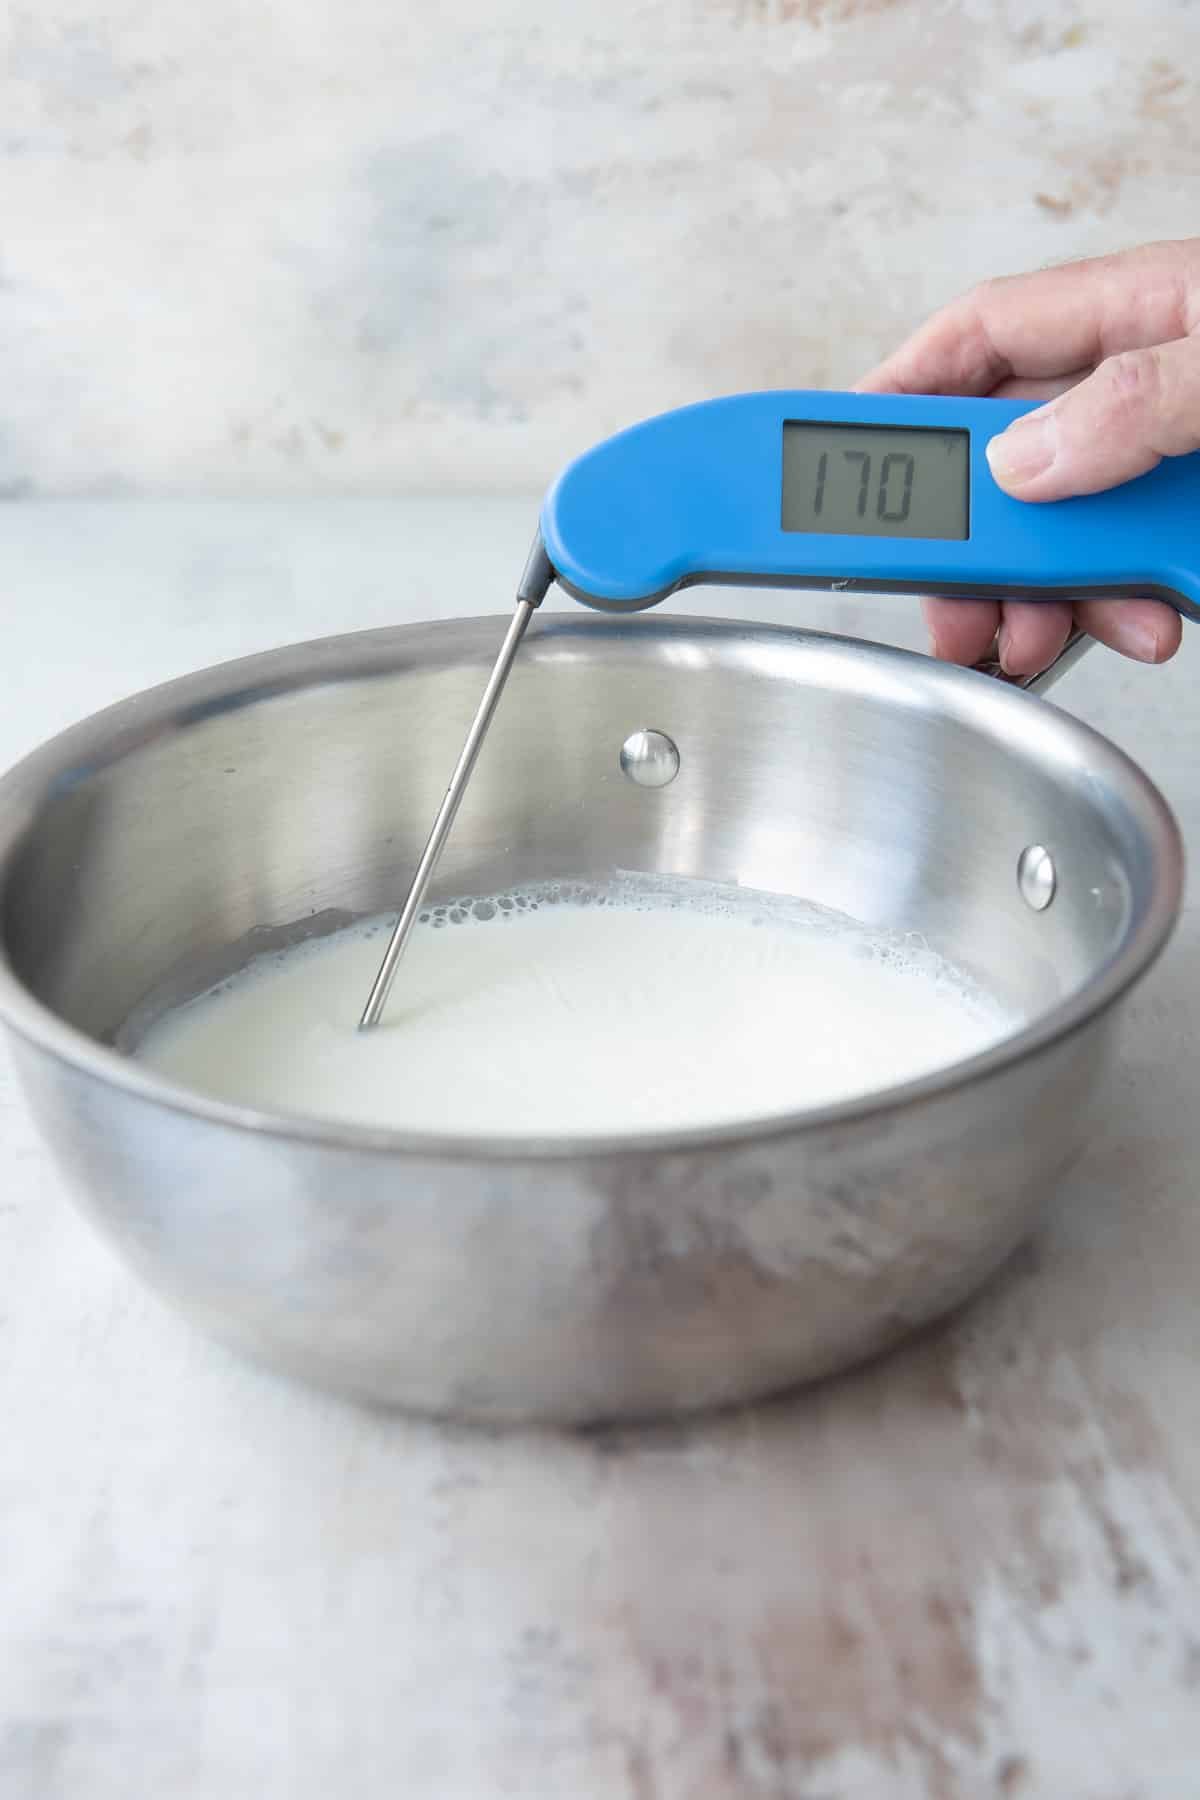
- Instant-read thermometer for exact temperature (optional but recommended).
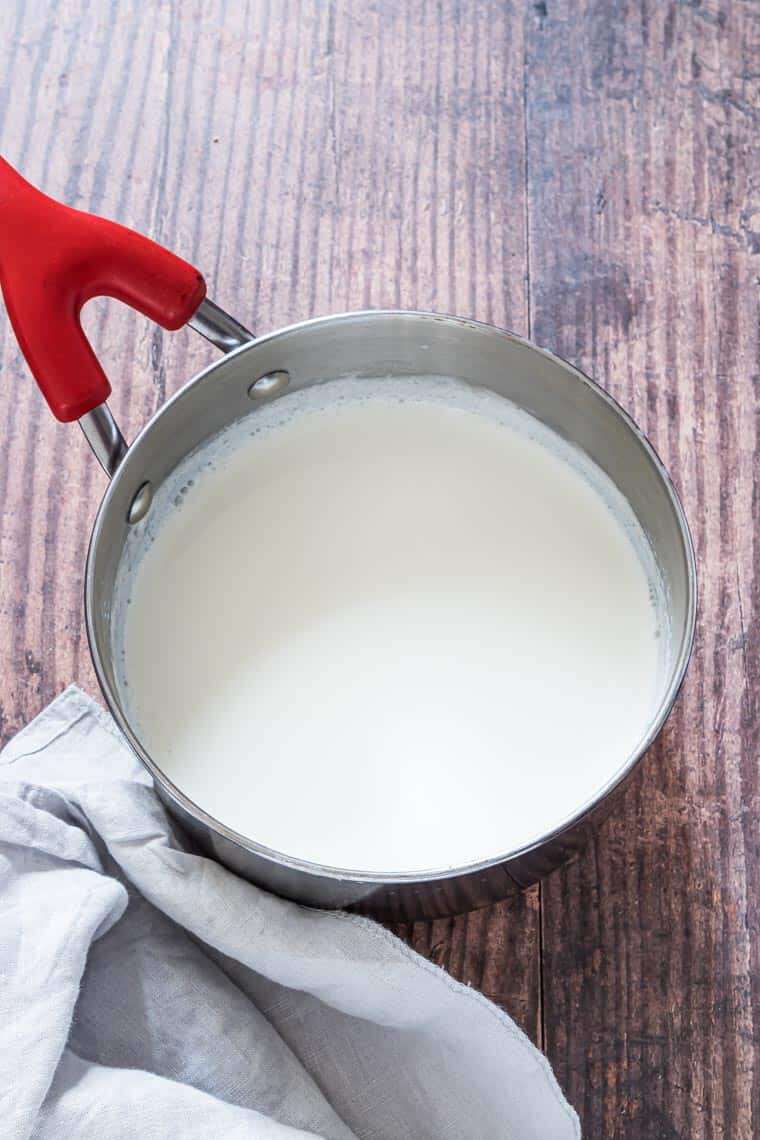
- Fresh milk — whole, 2%, or skim, depending on your recipe.

Step-by-step: how to scald milk in the microwave
- Measure the milk. Use the amount your recipe calls for. Smaller cups heat more evenly than deep bowls.
- Pour milk into a microwave-safe container. Fill no more than two-thirds full to avoid spills.
- Heat on medium power (50–70%) in short bursts. Start with 30–45 seconds for 1 cup on a 1000W microwave.
- Stir gently after each burst. Stirring evens out hot spots and prevents skin from forming.
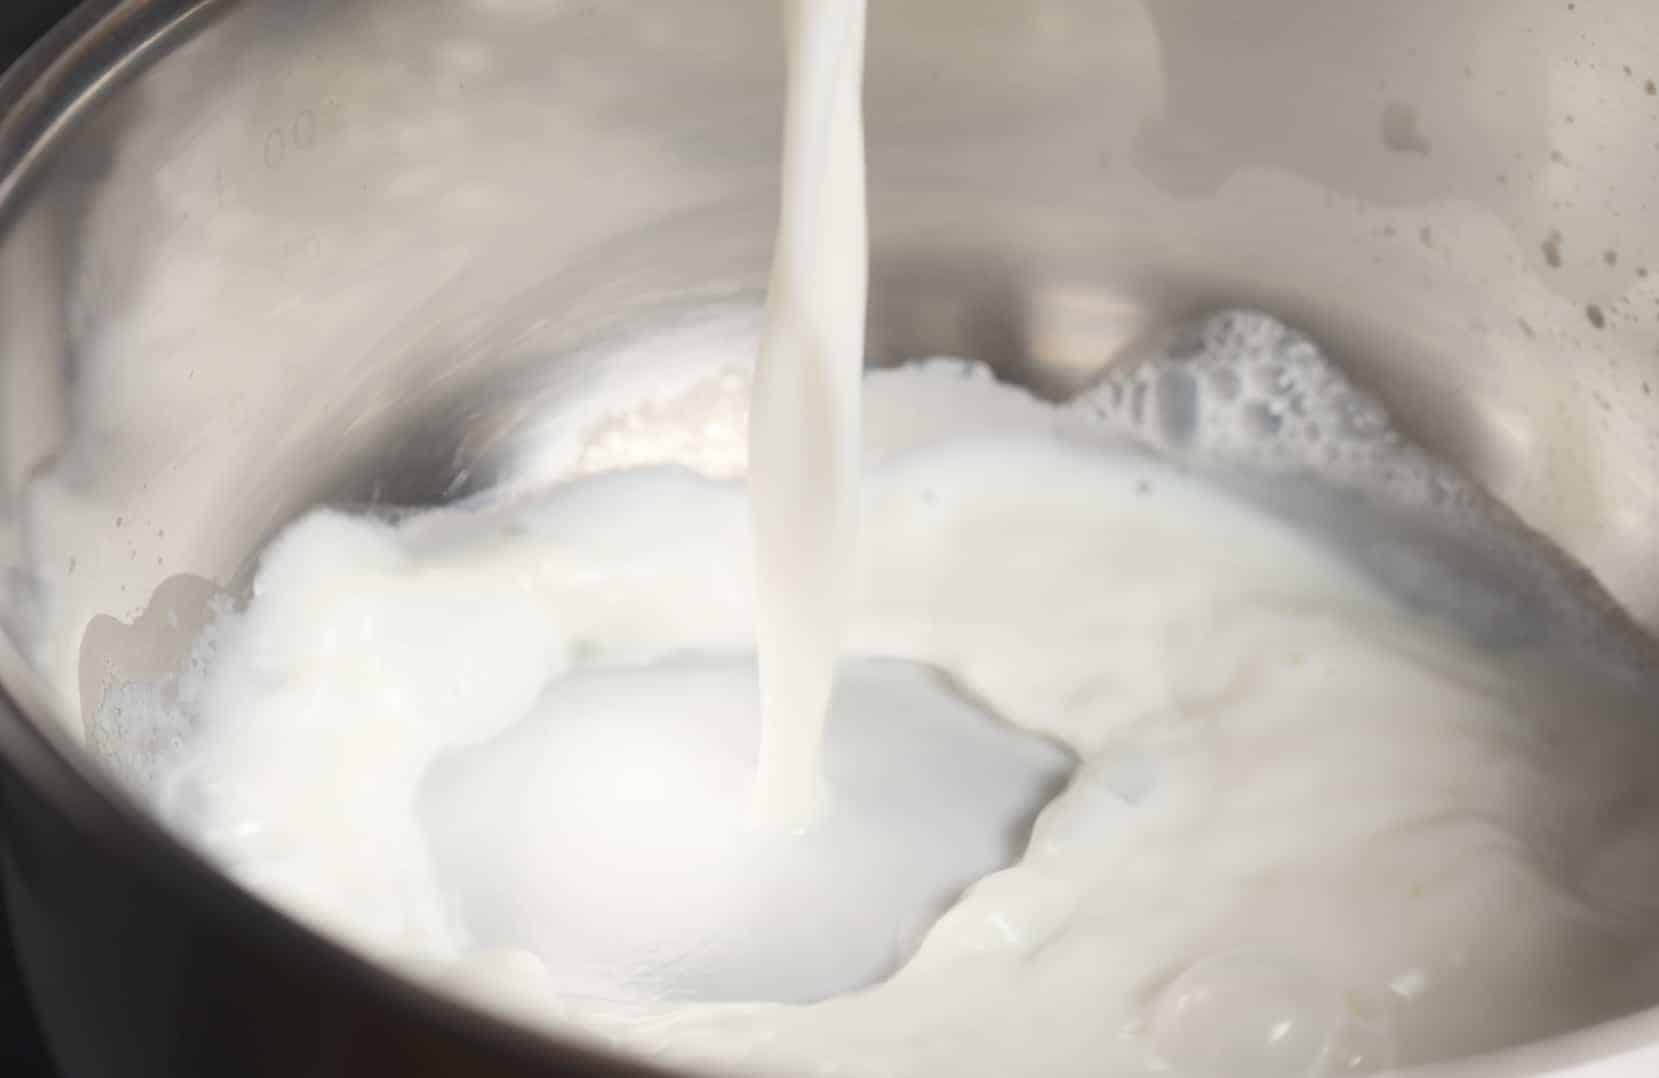
- Check for steam and tiny bubbles. Scalded milk shows steam and small bubbles at the edges, but it should not be a rolling boil.
- If using a thermometer, remove milk at 180°F (82°C). If not, stop when the milk is steaming and small bubbles appear.
- Let milk rest for 30–60 seconds and stir again before using. This evens the temperature and prevents surprise burns.
How to scald milk in the microwave depends on power and volume, so adjust times. For 2 cups, try 60–90 seconds total with stirring every 25–30 seconds. Lower-power microwaves need longer bursts. Do not walk away while heating.
Visual cues and temperature targets
- Small bubbles at the edges and light steam: scalded.
- Rolling boil and large bubbles: overheated or boiled.
- Thermometer target: 180°F (82°C). If you want pasteurization only, aim for 165°F (74°C).
Use the visual cue if you lack a thermometer, but a quick-read thermometer gives the best control.

Safety tips and common mistakes when you scald milk in the microwave
- Hot spots can burn you. Always stir before tasting or pouring.
- Do not cover tightly. Use a vented lid or a paper towel to prevent splatters while allowing steam to escape.
- Avoid overheating. Boiling milk changes flavor and can curdle certain recipes.
- Use a roomy container to reduce the chance of overflow. Microwaves create sudden rises in milk.
I once overheated a cup of milk by 15 seconds and lost a batch of custard. Lesson learned: stir early and check often.
Adjusting times for microwave wattage and milk amounts
- 600–800W microwave: add about 20–30% more time than a 1000W model.
- 1000–1200W microwave: use baseline times (30–45 seconds per cup, checking and stirring).
- 1 cup milk: 30–45 seconds total, stir mid-way.
- 2 cups milk: 60–90 seconds total, stir every 25–30 seconds.
Always use short bursts and stir between bursts to avoid boiling. This keeps how to scald milk in the microwave simple and safe.

Using scalded milk in recipes
- Breads: Cool scalded milk to lukewarm before adding yeast. Hot milk kills yeast.
- Custards and puddings: Use warm scalded milk to dissolve sugar and temper eggs.
- Sauces and mixes: Scalded milk blends smoothly and prevents lumps.
Label leftover scalded milk and cool quickly in the fridge. Use it within two days.
Troubleshooting: problems and fixes for how to scald milk in the microwave
- Milk skimmed a skin: Stir it back in or strain the skin away if texture matters.
- Milk boiled over: Wipe microwave immediately and use a larger container next time.
- Uneven heating or curdling: Stir often and reduce power. Curdling may occur if milk combines with acidic ingredients while too hot.
- No steam or bubbles after heating: Continue short bursts and stir; your microwave may need more time.

Personal tips from experience
I prefer a glass measuring cup for visibility and a thermometer when making custard. I heat at medium power and stir every 20–30 seconds. That routine helped me avoid boiled milk and saved batches of bread where yeast tolerance was thin. If you are new to how to scald milk in the microwave, practice with one cup first to feel the timing for your oven.
Frequently Asked Questions of how to scald milk in the microwave
How long does it take to scald 1 cup of milk in the microwave?
Typically 30–45 seconds on a 1000W microwave, using medium power and stirring once mid-way. Times vary by wattage and container shape.
Can I scald milk in a plastic container?
Only use microwave-safe plastic labeled for heat. Glass or ceramic is safer for even heating and less flavor change.
Is scalded milk the same as boiled milk?
No. Scalded milk is heated to steam and small bubbles without a rolling boil. Boiled milk reaches larger bubbles and may taste cooked.
Do I need a thermometer to scald milk in the microwave?
No, but a thermometer gives precision. Visual cues like steam and small edge bubbles also work for most recipes.
Can scalded milk be refrigerated and reused?
Yes. Cool it quickly, store in a sealed container, and use within two days for best quality.
Conclusion
Scalding milk in the microwave is quick, reliable, and safe when you use the right container, power level, and stirring routine. Follow the simple steps above to get steam and edge bubbles without boiling, adjust for your microwave, and use a thermometer when precision matters. Now try scalding one cup to learn your microwave’s rhythm, and leave a comment about your experience or questions.

Appliance Review Expert
Lucas Ramirez is a trusted voice at HomeFixGrid.com, known for his clear, practical, and creatively written guides that simplify appliance care for everyday homeowners. With a strong focus on hands-on testing and real-world problem-solving, Lucas brings expert insight into appliance reviews and troubleshooting techniques. Her work empowers readers to confidently maintain, repair, and choose the right appliances for their homes.
Leave a Reply