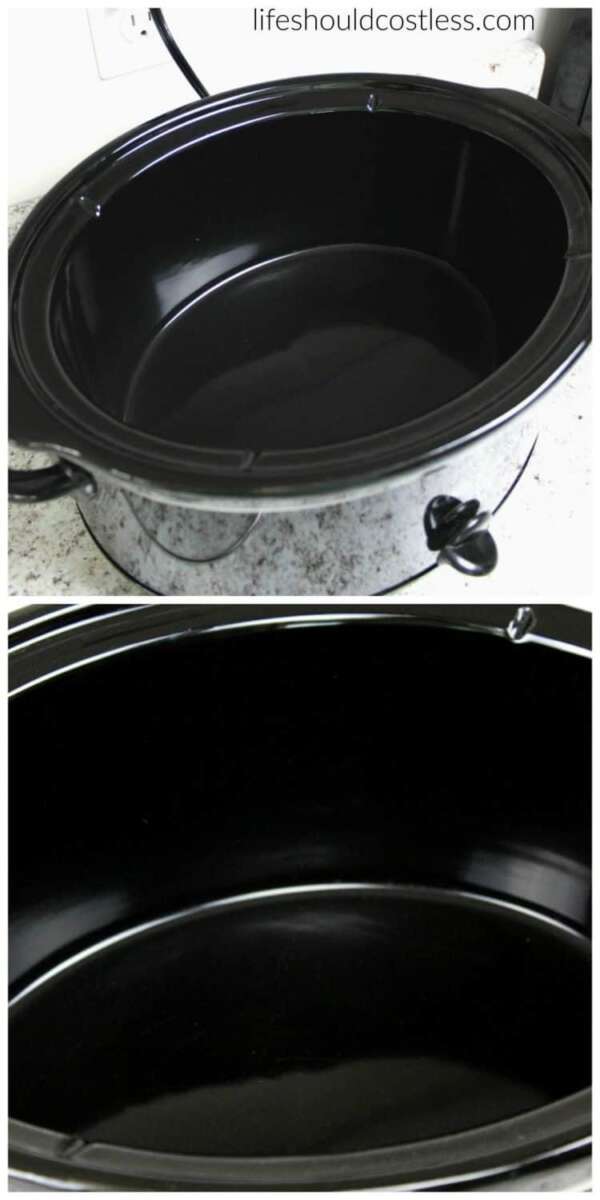
Soak, scrape, then lift with baking soda, hot water, and gentle scrubbing.
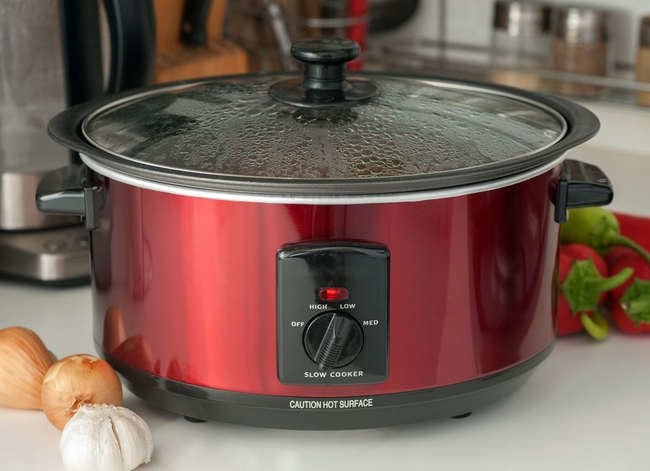
I have cleaned dozens of slow cookers after meals with thick sauces and heavy gravies. This slow cooker cleaning guide after thick sauces or gravies walks you step by step through safe, fast, and proven methods. You will learn quick fixes, deep-clean tactics, and simple habits to keep your slow cooker fresh for years.

Why thick sauces cling and what that means for cleaning
Thick sauces and gravies stick because they have concentrated starches, sugars, and fats. Heat causes them to set and bond to ceramic and nonstick surfaces. Knowing what the residue is made of helps you pick the right cleaning tools and cleaners.
Tackling starch and sugar needs hot water and time. Tackling fat needs degreasing agents like dish soap. This slow cooker cleaning guide after thick sauces or gravies explains which methods work best for each type of residue.
Immediate steps to take right after cooking
Acting fast makes cleaning much easier. These steps save time and cut the need for harsh scrubbing.
- Turn off and unplug the cooker and let it cool slightly for safety.
- Remove the insert and lid. If the sauce is still hot, leave the insert to cool until safe to handle.
- Scrape out as much loose sauce or gravy as you can with a plastic or silicone spatula. Aim to remove large chunks before soaking.
- Fill the insert with hot tap water and a squirt of dish soap to cover the stuck parts. Let it soak 15 to 30 minutes.
I learned this trick after a holiday roast. A quick scrape and soak before bed made the morning clean almost effortless. This slow cooker cleaning guide after thick sauces or gravies favors small, timed steps to prevent long scrubbing sessions.

Deep clean for stubborn or burnt-on residue
If soaking and scraping don't do the job, use one of these deeper methods. Each works on different types of residue.
Baking soda and hot water soak
- Empty the insert and sprinkle a generous layer of baking soda over the stuck area.
- Pour very hot (not boiling) water to cover. Let sit 30 minutes to an hour.
- Use a nonabrasive nylon scrub pad to lift the residue. Rinse well.
Vinegar plus baking soda lift
- Pour a cup of white vinegar into the insert and heat it in the microwave or on the stove until warm.
- Add a couple of tablespoons of baking soda. It will fizz and loosen grime.
- Let it sit 15 to 30 minutes, then scrub gently and rinse.
Boiling method (for ceramic inserts only)
- Place the insert on the stove over low heat or in a large pot of water to heat slowly.
- Add dish soap and let the heat loosen stuck bits.
- Cool slightly, then scrub and rinse.
For charred or burnt-on gravy, repeat a soak cycle if needed. Avoid metal scouring pads on ceramic or nonstick finishes. They can damage the surface and make future sticking worse. This slow cooker cleaning guide after thick sauces or gravies emphasizes gentle power — time plus mild abrasives.

Cleaning the lid, gasket, and hard-to-reach parts
Lids hold splatters and seals trap grease. Clean them well to stop odors and mold.
Lid cleaning tips
- Fill the sink with warm soapy water and let the lid soak 10 minutes.
- Use a soft brush to clean the rim, vent, and any metal parts.
- If the lid has a rubber gasket, peel it back and clean underneath. Make sure the gasket is dry before reassembling.
Gasket and vent care
- Remove removable gaskets and soak them separately.
- Inspect for cracks. Replace cracked gaskets to avoid leaks and bacteria buildup.
- Use a cotton swab dipped in vinegar for tight vent holes.
I once ignored the vent on a lid and later found a sour smell. A quick gasket clean fixed it and kept the slow cooker smelling fresh. This slow cooker cleaning guide after thick sauces or gravies covers these small parts because they matter for safety and smell.
Dishwasher use and material safety
Not all slow cooker parts are dishwasher-safe. Checking your manual saves trouble.
- Ceramic or stoneware inserts are often dishwasher-safe, but check the maker’s instructions first.
- Removable lids are usually safe in the top rack.
- Electric bases must never go in the dishwasher or be submerged. Wipe them with a damp cloth only.
If unsure, hand-wash. Hand washing prevents chipping and extends the life of the finish. This slow cooker cleaning guide after thick sauces or gravies recommends hand-washing delicate pieces when in doubt.

Preventive habits to reduce future buildup
A few small habits cut cleaning time a lot. They also help your slow cooker last longer.
- Line the insert with slow cooker liners for easy cleanup.
- Spray the insert lightly with nonstick spray before adding ingredients.
- Deglaze the insert with a splash of broth or water before removing food to lift bits.
- Store the lid slightly ajar to prevent stale odors.
I use liners for messy tomato-based sauces. They save me 15 to 30 minutes per meal. This slow cooker cleaning guide after thick sauces or gravies highlights these quick wins so you can cook more and clean less.
Common mistakes to avoid
Avoid these common errors to protect your slow cooker and save time.
- Using metal scouring pads on nonstick or ceramic surfaces. This causes scratches and more sticking later.
- Letting food sit for days before cleaning. Starches and sugars harden and get tougher to remove.
- Submerging the electrical base in water. This ruins the appliance and is dangerous.
- Using bleach or harsh chemicals on finishes. They can strip coatings and leave residues.
When I first used a strong cleaner on a ceramic insert, it dulled the finish. Gentle cleaners and patience work far better. This slow cooker cleaning guide after thick sauces or gravies stresses safe cleaning choices.
Quick cleaning checklist (10-minute routine)
Follow this list after most meals to keep your cooker in good shape.
- Scrape food into compost or trash.
- Fill with hot soapy water and soak 10 minutes.
- Scrub with a nylon pad and rinse.
- Clean the lid and gasket.
- Dry parts and reassemble loosely to air out.
This routine keeps buildup low and cuts deep cleans to rare events. This slow cooker cleaning guide after thick sauces or gravies wants you to spend minutes, not hours, on cleanup.
Frequently Asked Questions of slow cooker cleaning guide after thick sauces or gravies
How long should I soak a slow cooker insert with thick gravy?
Soak at least 30 minutes in hot, soapy water. For tougher buildup, soak one hour or use a baking soda soak.
Can I use vinegar on nonstick slow cooker inserts?
Yes, diluted white vinegar is safe for most nonstick and ceramic inserts. Rinse well after use to remove any vinegar smell.
Is it safe to boil water in the insert to loosen stuck sauce?
Boiling in a ceramic insert is okay if the manufacturer allows stove-top heating. Otherwise, heat water in another pot and pour it in to soak.
Will dishwasher detergent remove grease from thick sauces?
Dishwasher detergent can help, but pot scrubbing and a soak with dish soap work better for sticky starches and sugars. Use the dishwasher only if parts are labeled dishwasher-safe.
How do I remove lingering odors from tomato or gravy stains?
Make a paste of baking soda and water, rub gently, let sit 15 minutes, then rinse. You can also soak in a cup of vinegar diluted in warm water for 30 minutes.
Conclusion
You can make cleanup simple, safe, and fast with the right steps and small habits. Use immediate scraping, timed soaks, gentle scrubbing, and targeted deep-clean methods to beat stubborn sauces and gravies. Replace worn gaskets and avoid harsh tools to protect your cooker. Try the quick checklist after your next meal and notice how much less time you spend cleaning.
Ready to keep your slow cooker spotless? Share your own tips below, subscribe for more kitchen care guides, or try one deep-clean method tonight and see the difference.

Appliance Review Expert
Lucas Ramirez is a trusted voice at HomeFixGrid.com, known for his clear, practical, and creatively written guides that simplify appliance care for everyday homeowners. With a strong focus on hands-on testing and real-world problem-solving, Lucas brings expert insight into appliance reviews and troubleshooting techniques. Her work empowers readers to confidently maintain, repair, and choose the right appliances for their homes.
Leave a Reply