How To Repair Microwave Oven Not Heating: Fix Fast & Safe
Check a blown fuse, door switches, magnetron, diode, or high-voltage capacitor first.
I’ve repaired dozens of kitchen microwaves and written guides for appliance repair pros. If you’re wondering how to repair microwave oven not heating, this article walks you through safe checks, step-by-step diagnosis, and repairs you can do at home or when to call a pro. I explain causes, tools, real tips I learned on the job, and common mistakes to avoid. Read on and you’ll know exactly how to repair microwave oven not heating safely and confidently.
Why your microwave won’t heat: common causes
Microwaves often stop heating but still run the turntable and lights. That points to parts in the high-voltage circuit. Common problems include:
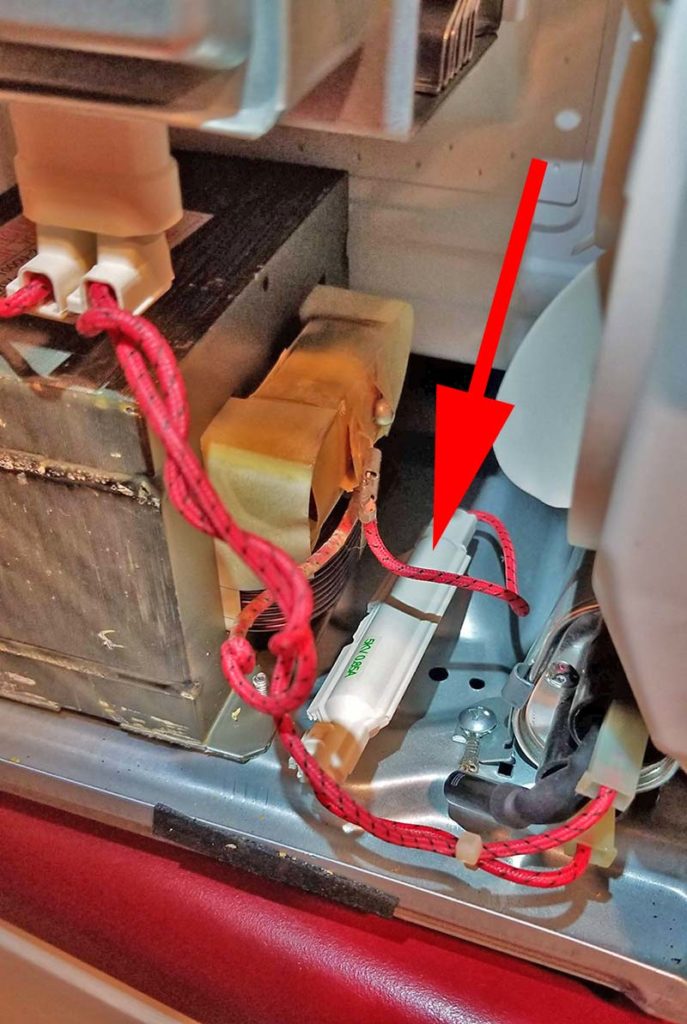
- Blown thermal fuse: It cuts power to the high-voltage section when things get too hot.
- Faulty door switches: If the door switches fail, the magnetron won’t get power.
- Bad high-voltage diode: A bad diode can prevent the magnetron from getting the right voltage.
- Failed magnetron: The magnetron itself can burn out after years of use.
- Bad capacitor or transformer: These supply high voltage and can fail or short.
- Control board faults: The control board may not send signals to the high-voltage parts.
Each cause needs a different test or fix. Knowing how to repair microwave oven not heating means checking these parts in a smart order.

Safety first: before you start
Microwaves hold dangerous voltage even when unplugged. Follow these safety rules:
- Unplug the microwave before any work.
- Discharge the high-voltage capacitor with an insulated tool.
- Wear safety glasses and insulated gloves.
- Work on a non-metal surface and keep kids and pets away.
- If you are unsure about discharge or high-voltage parts, stop and call a pro.
Never assume the appliance is safe because lights or the display still work. I’ve seen capacitors hold lethal charge for hours. Always discharge it properly when testing.
Tools you need
You don’t need a full shop to diagnose most faults. Gather these tools:
- Insulated screwdriver set for the cabinet screws.
- Multimeter with continuity and diode tests.
- High-voltage probe or a safe method to discharge the capacitor.
- Needle-nose pliers and wire cutters.
- Replacement parts: fuses, switches, diode, capacitor, or magnetron as needed.
If you lack a meter or safe discharge tool, don’t attempt high-voltage repairs. Basic checks like door switches or visible blown fuses can still be done safely.

Step-by-step diagnosis and repair
Follow this order. It saves time and keeps you safer.
- Basic checks
- Verify the microwave is plugged in and the outlet works.
- Test with a simple cup of water for a short 30-second run.
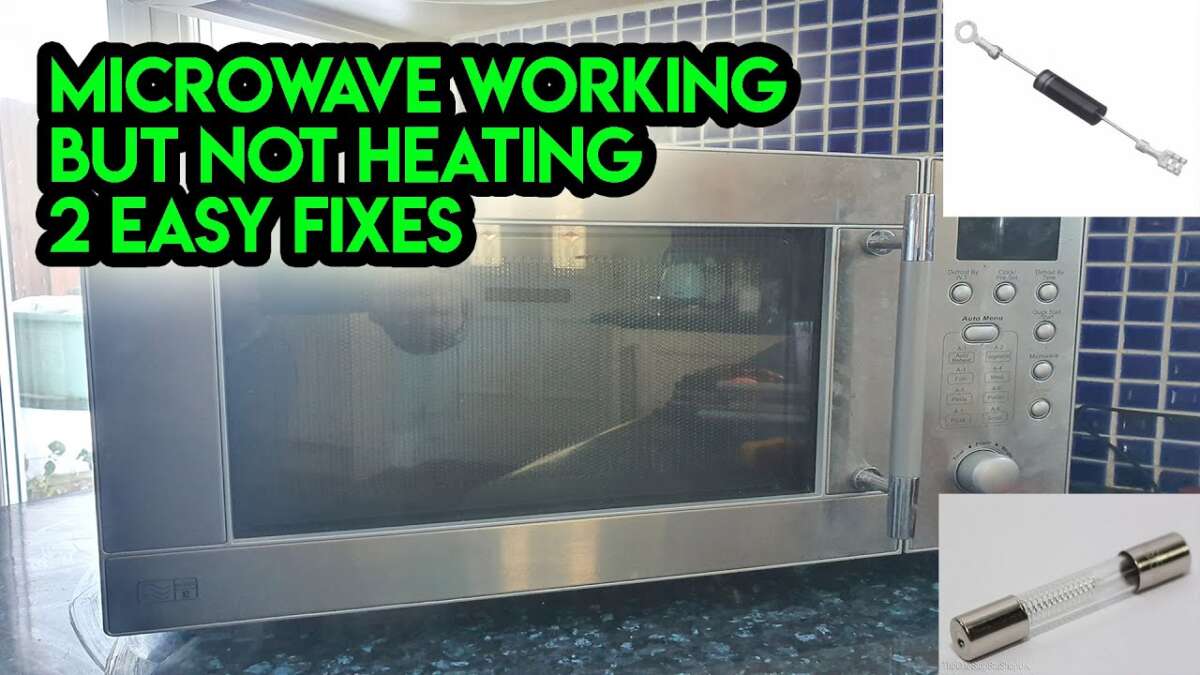
- Listen for humming. If the unit hums but does not heat, the issue is likely high-voltage.
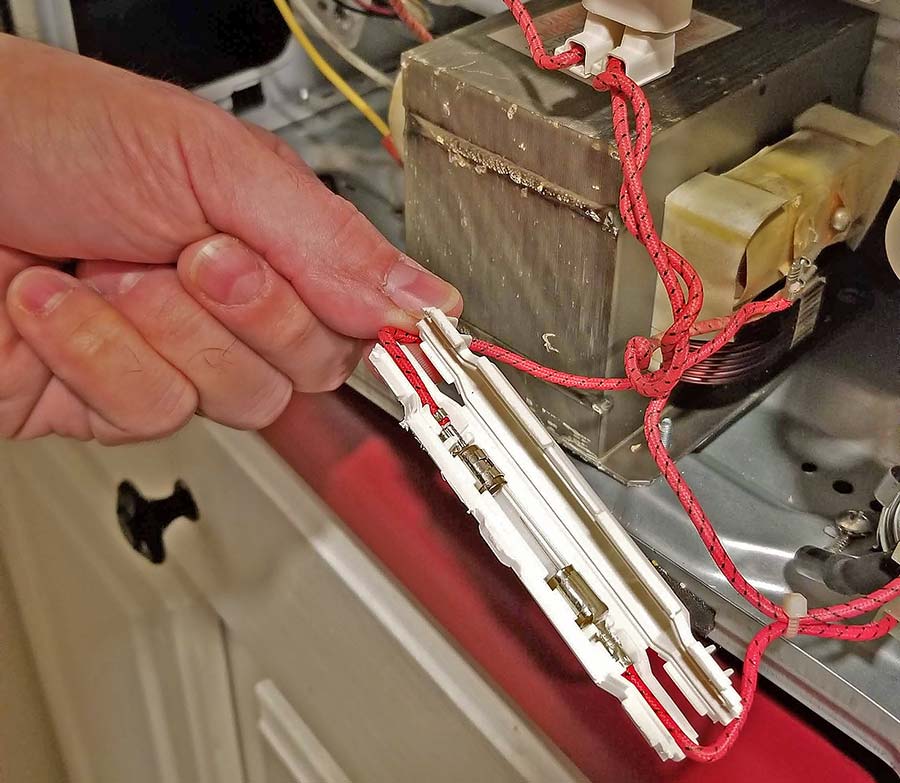
- Inspect fuses and thermal cutouts
- Unplug and open the cabinet.
- Find the main fuse and any thermal fuses.
- Check continuity with a multimeter. Replace any blown fuse with the exact type.
- Test door switches
- Locate the door switches near the door latch.
- Press each switch and test for continuity.
- Replace any switch that fails to close reliably.
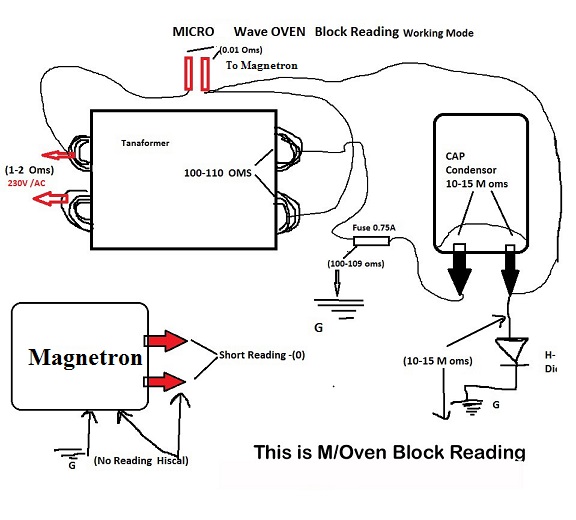
- Check the high-voltage diode and capacitor
- Discharge the capacitor first.
- Use a multimeter on diode mode to test the HV diode. It should show one-way conduction.
- Test capacitor capacitance if your meter supports it. Replace if out of spec.
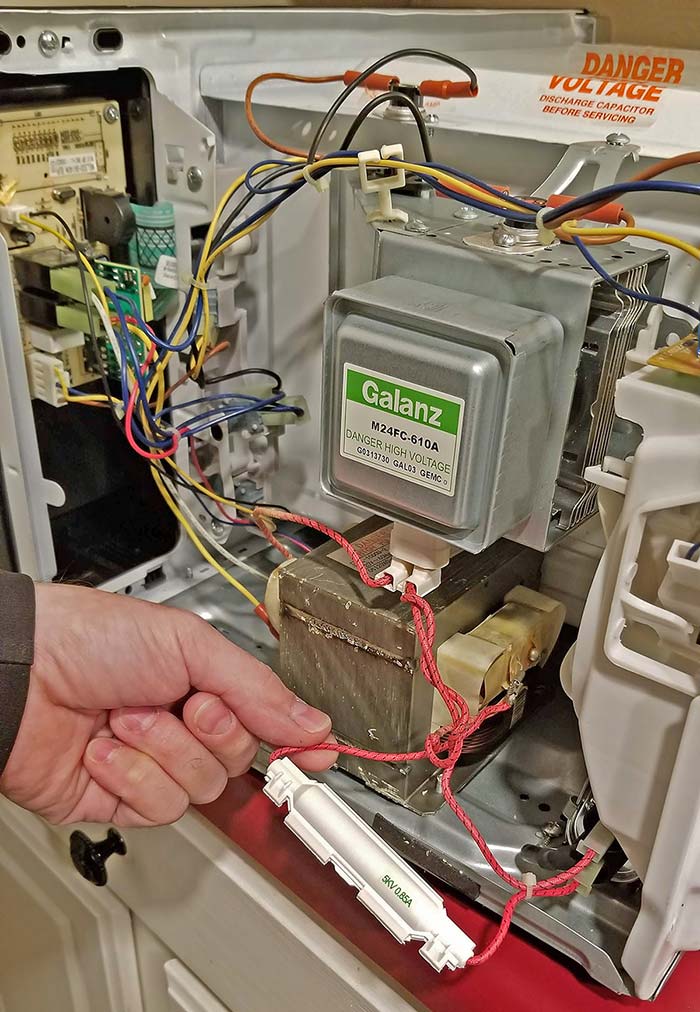
- Inspect the magnetron
- Look for burn marks or unusual smells.
- Measure filament continuity with a multimeter. Low or infinite resistance suggests failure.
- Magnetron replacement is common but costly. Match part numbers exactly.
- Control board and transformer
- Check for burned traces or bulging capacitors on the control board.
- The HV transformer is heavy; test primary/secondary continuity. A shorted transformer needs replacement.
When you replace parts, use OEM or exact-spec equivalents. After a repair, test with a short water-heating run while standing at a safe distance. If it still won’t heat, you may have missed a bad part or multiple faults. Knowing how to repair microwave oven not heating means repeating tested steps until you isolate the failed part.
Quick checks you can do without a meter
- Confirm outlet voltage with a plug-in tester.
- Check fuses visually for a broken filament.
- Replace simple parts like door switches or fuses first.
These steps solve many common cases of how to repair microwave oven not heating.
PAA-style questions (People Also Ask)
Why does my microwave light work but it won’t heat?
A working light with no heat usually points to the high-voltage system. The control circuit may work, but the magnetron, diode, capacitor, or transformer may be faulty.
Can a blown fuse cause a microwave to run but not heat?
Yes. Some microwaves have separate fuses for the control board and high-voltage circuit. A blown HV fuse can stop heating while the display still works.
Is it safe to replace a magnetron myself?
It can be safe if you follow high-voltage safety steps and discharge the capacitor. If you’re not comfortable with those steps, hire a trained technician.
My experience repairing microwaves
I’ve repaired dozens of microwaves in home kitchens. Most failures came from the diode or door switch. Once, I replaced a diode and capacitor and restored heat in a microwave that had hummed for months. A mistake I learned from: replacing the wrong fuse type. That caused a second failure. Always match parts exactly. Another lesson: doors are often the cause; a sticky latch or worn switch is an easy fix most people can do. These real fixes shaped how I approach how to repair microwave oven not heating: start simple, stay safe, and test step by step.
Costs and when to call a professional
Typical repair costs vary. Expect these ranges:
- Fuses or switches: low cost in parts and often cheap labor.
- Diode, capacitor, or transformer: moderate cost; parts are affordable but labor can be higher.
- Magnetron replacement: high cost that sometimes exceeds the value of an old microwave.
Call a pro if:
- You lack a multimeter or safe discharge tools.
- The magnetron or HV transformer must be replaced and you’re not experienced.
- You smell burning or see burned components or smoke damage.
If repair cost is more than half the price of a new microwave, consider replacement. Knowing the numbers helps make the right call about how to repair microwave oven not heating.

Preventive maintenance to avoid future failures
Small habits extend microwave life:
- Avoid empty runs and use proper containers only.
- Keep vents clear to prevent overheating.
- Clean splatters promptly so parts and sensors stay clear.
- Let heavy use units rest between long cycles.
- Replace worn door seals and switches before they fail.
These habits reduce stress on the magnetron and other high-voltage parts. They help prevent the need to figure out how to repair microwave oven not heating later.

Frequently Asked Questions of how to repair microwave oven not heating
What should I check first if my microwave won’t heat?
Check if the outlet works and test with a short run of water. Then inspect fuses and door switches before moving to high-voltage parts.
How do I safely discharge the microwave capacitor?
Unplug the unit, use an insulated screwdriver with a handle, and short the capacitor terminals through a resistor or tool rated for HV. If unsure, stop and call a pro.
Can a faulty control board cause no heat?
Yes. A control board can fail to send power to the high-voltage circuit, causing no heat even when other functions appear normal.
Is it worth repairing an old microwave that won’t heat?
If repair costs approach half the price of a new unit, replacement is often the better option. For newer or high-end models, repair is usually worth it.
How long does a typical microwave repair take?
Simple repairs like fuses or switches can take 30–60 minutes. Replacing magnetron or internal HV parts may take 1–3 hours depending on access and parts.
Conclusion
You now have a clear, safe plan for how to repair microwave oven not heating. Start with simple checks, follow a step-by-step diagnosis, and prioritize safety around high-voltage parts. Use the tools and tips here to fix common failures or to decide when a pro is the smarter choice. Try the basic checks first, and share your experience or questions below to get help from others. If you found this helpful, consider subscribing or leaving a comment about your repair story.

Appliance Review Expert
Lucas Ramirez is a trusted voice at HomeFixGrid.com, known for his clear, practical, and creatively written guides that simplify appliance care for everyday homeowners. With a strong focus on hands-on testing and real-world problem-solving, Lucas brings expert insight into appliance reviews and troubleshooting techniques. Her work empowers readers to confidently maintain, repair, and choose the right appliances for their homes.