How To Microwave Steel Cut Oats: Fast And Easy 2026 Guide
You can microwave steel cut oats by using a large bowl and a high liquid-to-oat ratio to prevent messy overflows.
I have spent years perfecting my morning routine, and let me tell you, steel cut oats are the gold standard for a hearty breakfast. Many people shy away from them because they think you need a stovetop and thirty minutes of constant stirring to get that perfect, chewy texture. However, learning how to microwave steel cut oats changed the game for me. It is efficient, easy, and yields a result that rivals the slow-cooked version if you follow the right technique. I am excited to share how to microwave steel cut oats so you can enjoy a nutritious meal even on your busiest mornings.

Why Steel Cut Oats Require a Special Approach
Steel cut oats are chopped oat groats. They are denser than rolled or instant oats. That density means they need more time and more liquid to soften. If you treat them like instant oats, they will stay chewy or dry out. Microwaving steel cut oats works well, but you must respect two things: their fiber and their foaming. The starch released while heating causes strong bubbling. That foam can push the mixture over the rim of a small bowl and make a mess in your microwave.
Quick Benefits of Microwaving Steel Cut Oats
Microwaving steel cut oats gives you fast, hands-off oatmeal with good texture. It saves time compared to stovetop and slow cooker methods. The microwave method keeps the oats’ whole-grain nutrition intact. You also get consistent results once you learn the timing and liquid ratio. It’s perfect for weeknights, busy mornings, and meal prep.
The Step by Step Guide to Microwave Steel Cut Oats
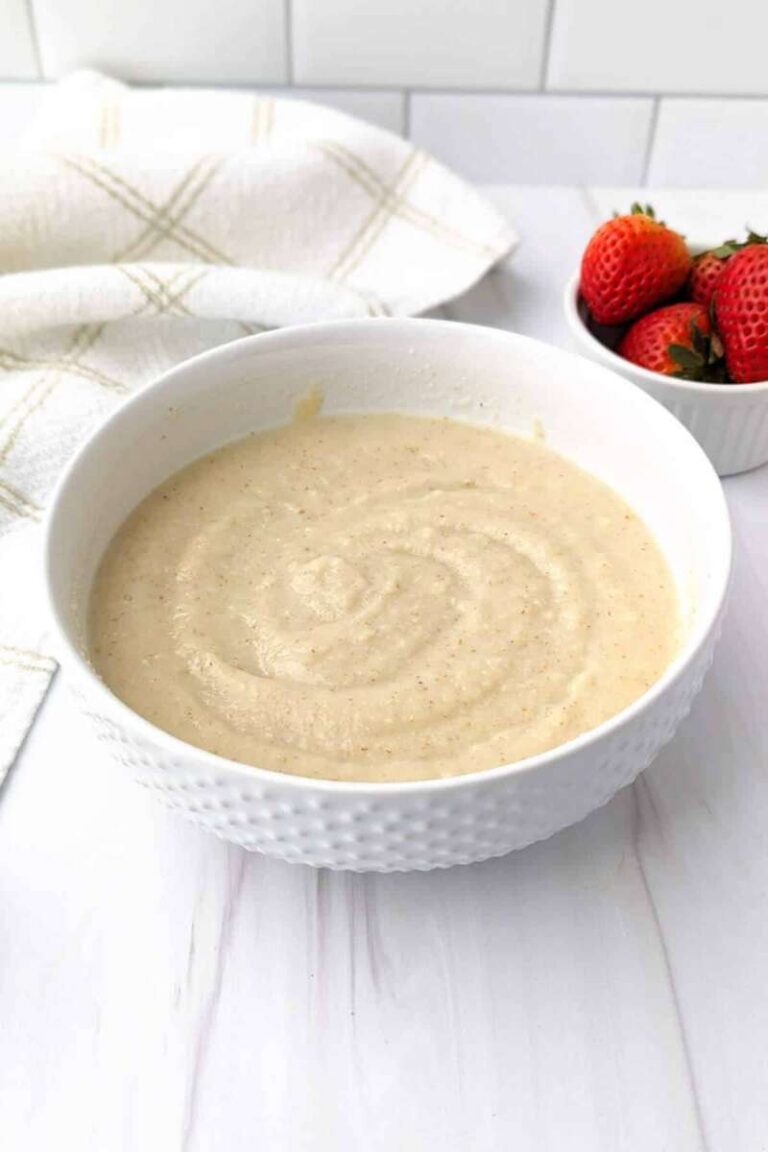
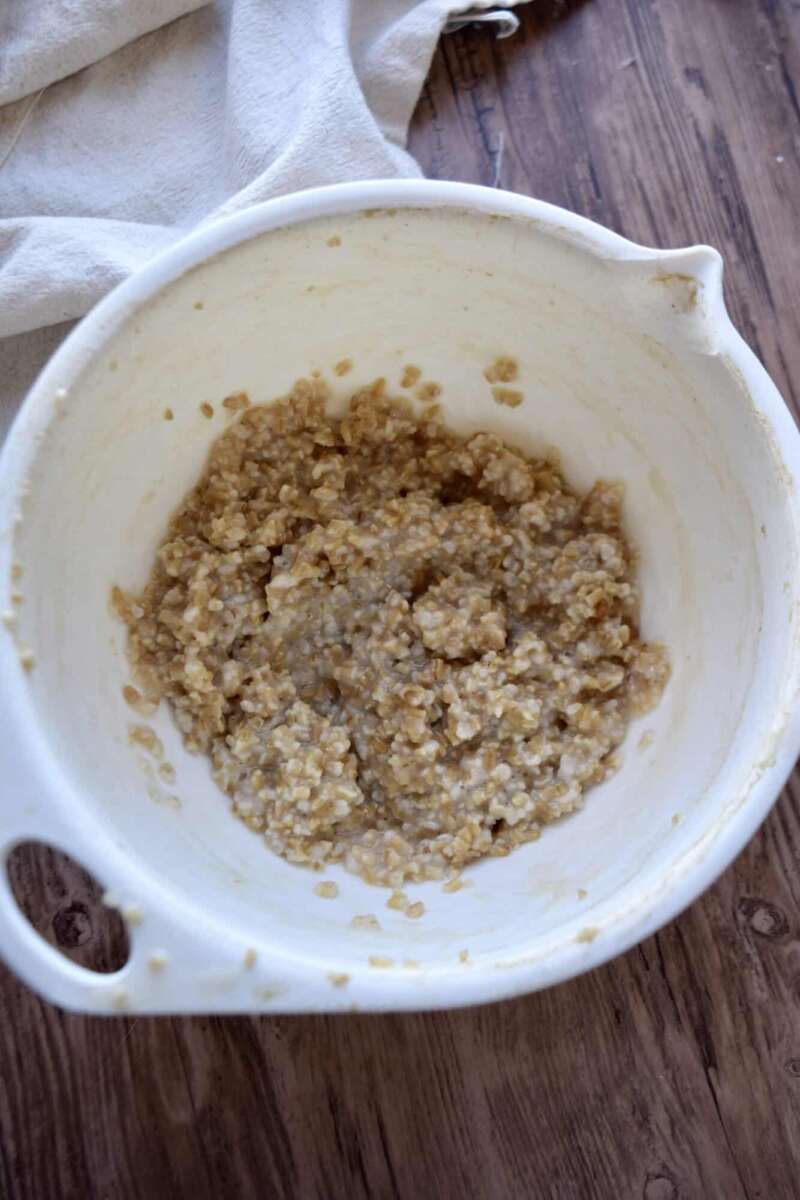
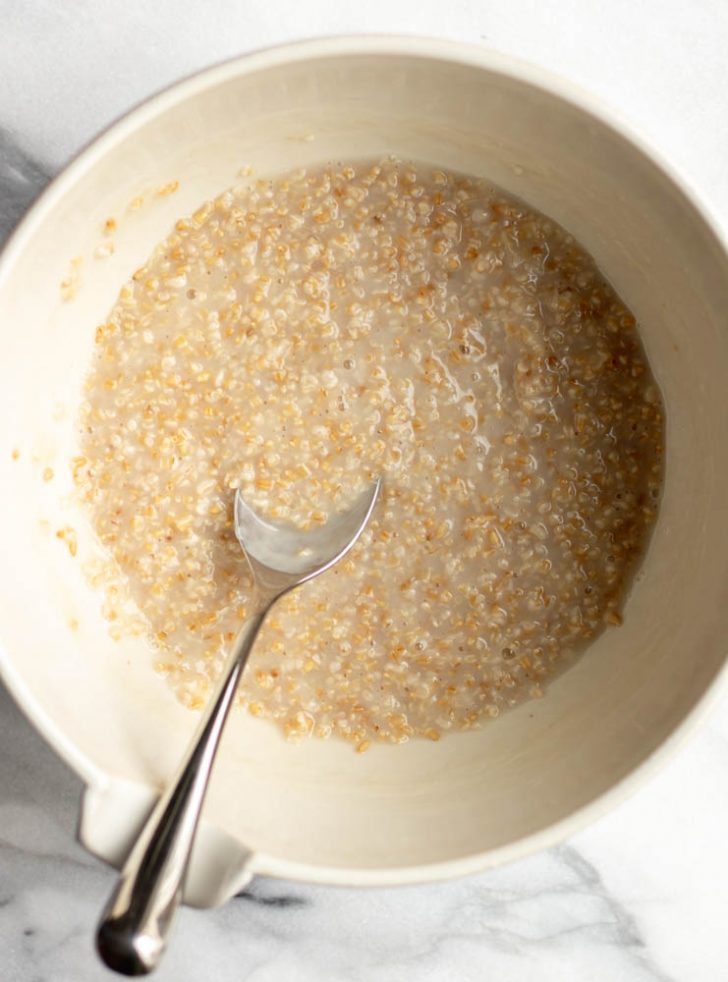
To get the best results, start by selecting a bowl that is at least twice the size of your combined ingredients. I have learned the hard way that using a small bowl leads to an overflowing disaster. Combine one part steel cut oats with three parts water or milk in your bowl. Place the bowl on a microwave safe plate to catch any unexpected spills, as the oats will foam during the heating process. Start by cooking on high for two minutes, then stir the mixture thoroughly. Reduce your microwave power to fifty percent and cook for an additional four to five minutes. This lower heat setting is the secret to getting a creamy texture without the oats drying out on the edges. Once the timer dings, let them sit for two minutes to allow the remaining liquid to absorb.
Ingredients and tools
Use these basics for a reliable batch every time:
- 1 part steel cut oats (for example, 1/2 cup)
- 3 parts liquid (for example, 1 1/2 cups water or milk)
- Large, microwave-safe bowl (at least twice the combined volume)
- Microwave-safe plate under the bowl to catch spills
- Spoon for stirring
- Optional: pinch of salt, splash of milk or cream, sweetener, and toppings
Microwave schedule and technique
Follow this simple timeline to prevent overflow and get even cooking:
- High power for 2 minutes. This brings the liquid to a near-boil and activates the oats.
- Stir well. This helps release steam and breaks the foam.
- Reduce power to 50% and microwave 4–5 minutes. Lower power heats more gently and reduces splatter.
- Let stand 2 minutes. The oats finish softening as they sit and thicken to a creamy texture.
Microwave wattage varies. If your oven is weaker, add 30–60 seconds to the low-power step. If it’s strong, check a minute early. Stir midway to avoid hot spots.
Serving and storage
Stir in any final additions after resting. Add a splash of milk for creaminess. Top with fruit, nuts, seeds, nut butter, or a drizzle of maple syrup. For meal prep, portion cooled oatmeal into airtight containers. Refrigerate up to four days. Reheat with a splash of water or milk in the microwave for 30–60 seconds, stirring halfway.

Tips for Perfect Results Every Time
One mistake I frequently made when I first started learning how to microwave steel cut oats was not adding enough liquid. I now recommend using a little extra water if you prefer your breakfast on the softer side. If you want a richer flavor, swap half of the water for almond, soy, or dairy milk. Adding a pinch of salt before you start the microwave process helps bring out the natural nutty flavor of the grains. If your oats look a bit too thick after they finish, stir in a splash of water and heat for another thirty seconds. This simple adjustment ensures you never have to deal with a gluey or overly dense breakfast.
Adjusting texture
If you like chewy oats, use slightly less liquid and reduce standing time by 30 seconds. For creamier oats, increase liquid by 10–20% and add a final splash of milk after cooking. You can also finish with a teaspoon of butter or coconut oil for a silkier mouthfeel.
Flavor ideas and add-ins
Mix-ins are a quick way to boost flavor and nutrition:
- Fresh or frozen fruit (bananas, blueberries, apples)
- Nuts and seeds (walnuts, almonds, chia, flaxseed)
- Spices (cinnamon, nutmeg, cardamom)
- Sweeteners (maple syrup, honey, brown sugar)
- Protein boosts (Greek yogurt, whey or plant protein powder)
Meal-prep shortcuts
Prep dry mixes in jars with the exact oat-to-liquid ratio printed on a label. In the morning, just add liquid and microwave. You can also soak steel cut oats overnight in milk or water. Soaking shortens microwave time and softens texture while preserving nutrients.

Nutrition and Health Benefits of Steel Cut Oats
Steel cut oats are whole-grain oat groats cut into pieces. They are rich in fiber—especially beta-glucan. This soluble fiber supports heart health and steady blood sugar. A serving provides complex carbohydrates, plant protein, iron, magnesium, and B vitamins. Because they are less processed than rolled oats, they have a firmer texture and a lower glycemic impact. Microwaving does not reduce these nutrients. It is a safe, quick cooking method that keeps fiber and vitamins intact.
Frequently Asked Questions of how to microwave steel cut oats
Can I microwave steel cut oats in a small mug?
It is not recommended to use a small mug because the oats tend to foam and expand significantly during cooking. Always use a large, deep bowl to ensure the mixture does not bubble over.
Why do my steel cut oats turn out chewy?
If your oats are too chewy, you likely did not add enough water or did not cook them long enough at a lower power setting. Try increasing the liquid ratio or adding an extra minute of standing time at the end.
Should I cover the bowl when cooking?
You do not need to cover the bowl, but keeping it open allows the steam to escape properly. If you do cover it, ensure it is loose to prevent pressure from building up.
Is it healthy to cook oats in the microwave?
Microwaving is a safe and effective way to cook oats, and it does not strip away their nutritional value. It helps retain the fiber and vitamins found in the whole grain.
How do I prevent the oats from overflowing?
Using a much larger bowl than you think you need is the best way to prevent messes. Additionally, reducing the microwave power level after the initial boil significantly lowers the risk of overflow.
Can I use milk instead of water?
Yes. Replacing some or all of the water with dairy or plant milk makes the oats richer and creamier. Milk can increase the chance of foaming slightly, so still use a large bowl and the reduced-power step.
How long do leftovers last?
Store cooled oats in the fridge for up to four days. Reheat with a splash of water or milk for best texture. For longer storage, freeze portions for up to three months and thaw in the fridge overnight before reheating.
Conclusion
Mastering how to microwave steel cut oats is a simple skill that saves time while ensuring you start your day with a nutritious, fiber-rich meal. By using a large bowl, adjusting your power settings, and allowing the grains to rest, you can achieve a perfect texture every single morning. Now that you have the tools and tips to make this process stress-free, give it a try tomorrow morning and see how much easier your routine becomes. Feel free to leave a comment below with your favorite oat toppings or any questions you still have about the process!

Appliance Review Expert
Lucas Ramirez is a trusted voice at HomeFixGrid.com, known for his clear, practical, and creatively written guides that simplify appliance care for everyday homeowners. With a strong focus on hands-on testing and real-world problem-solving, Lucas brings expert insight into appliance reviews and troubleshooting techniques. Her work empowers readers to confidently maintain, repair, and choose the right appliances for their homes.