How To Fix Microwave Door Push Button: Quick DIY Fix
Replace or realign the actuator or microswitch; clean, test, and replace parts as needed to restore function.
I’ve repaired dozens of kitchen appliances, and I know how frustrating a stuck or unresponsive microwave door push button can be. This guide walks you through how to fix microwave door push button problems safely and clearly. I’ll show you simple checks, step-by-step fixes, tests you can do at home, and when to call a pro. Follow the steps and you’ll save time and money while keeping your microwave safe.

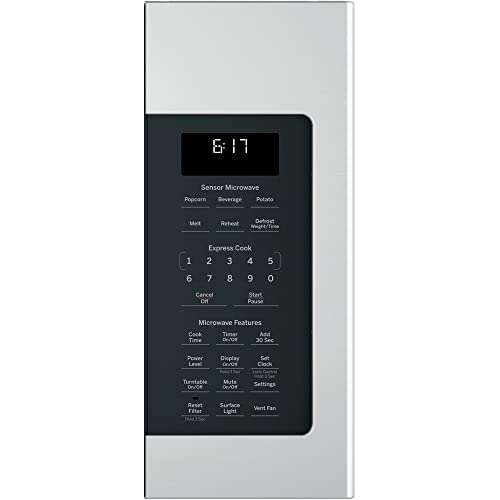
How microwave door push buttons work
A microwave door push button is part of a safety system.
Pressing the button moves a plastic actuator. The actuator trips a microswitch. The switch tells the microwave that the door is closed. If the button or parts fail, the microwave won’t start or will stop mid-cycle. Knowing this makes it easier to diagnose and fix the issue.
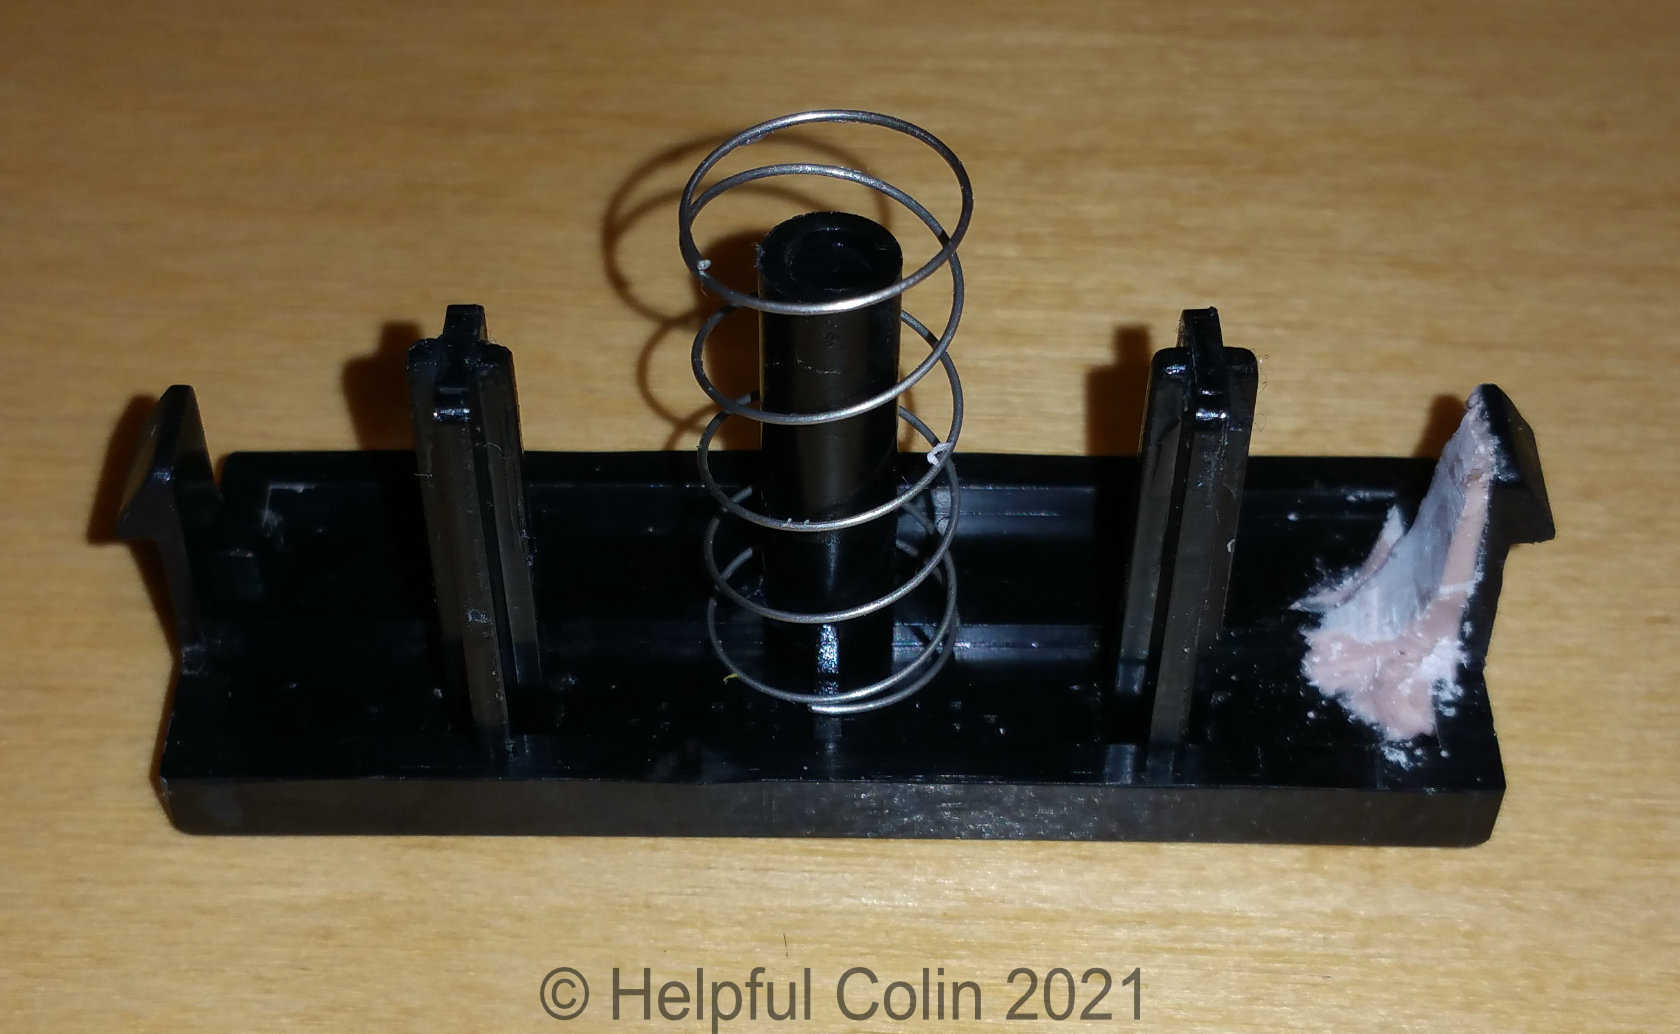
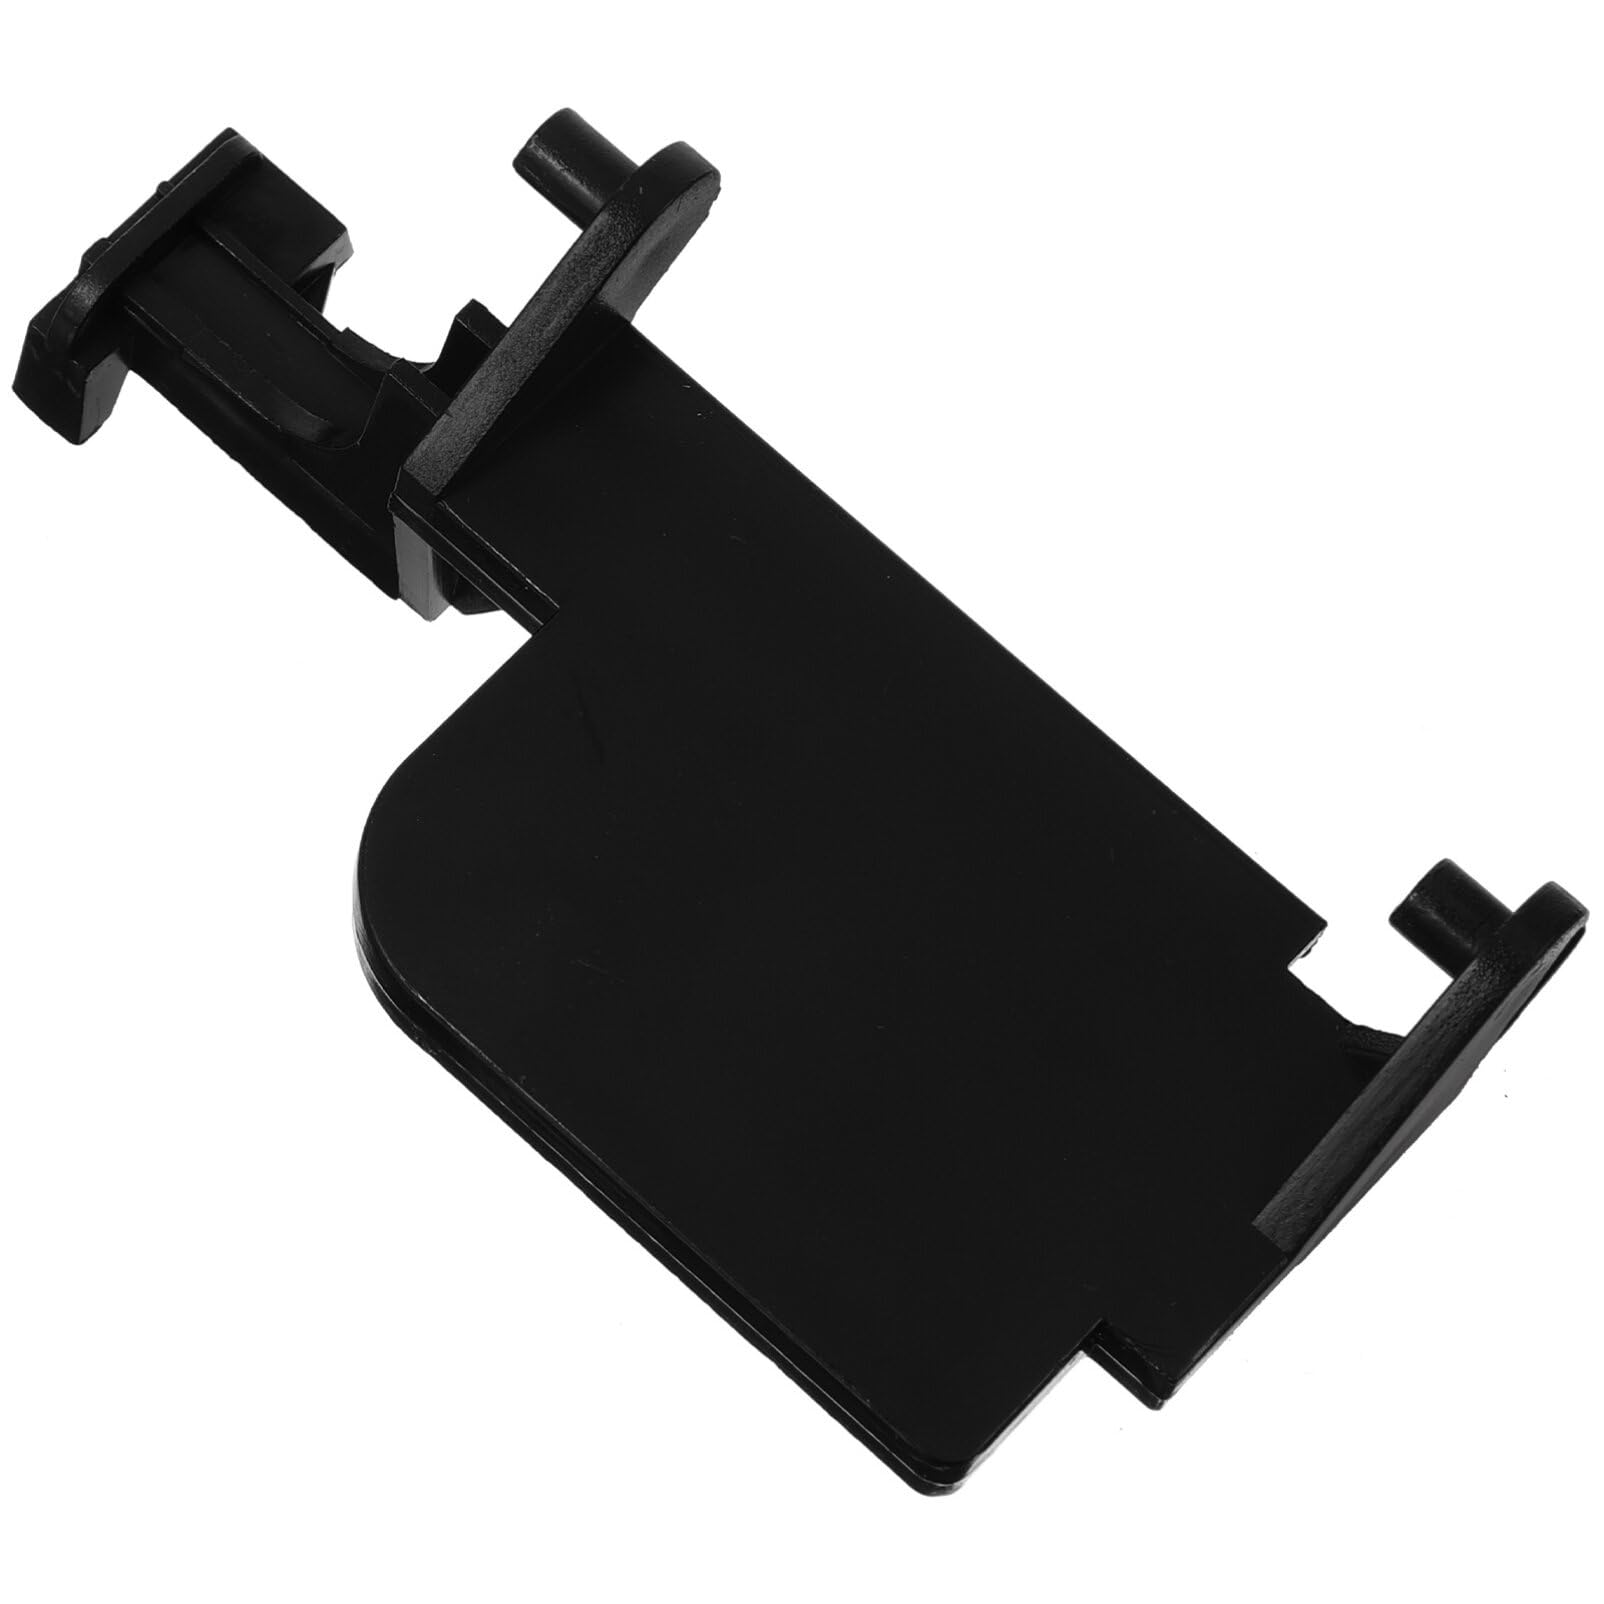
Common parts involved:
- Door push button (plastic cap).
- Actuator or plunger inside the door frame.
- Microswitches on the microwave chassis.
- Springs and latch assemblies.
Understanding the link between the button, actuator, and switch is key when learning how to fix microwave door push button issues.

Tools and safety checklist before you begin
Safety first. Unplug the microwave before you touch anything. Microwaves store high voltage in the capacitor. If you are not comfortable with electronics, call a professional.
Essential tools:
- Phillips and flat-head screwdrivers.
- Multimeter for continuity checks.
- Needle-nose pliers.
- Small flashlight or inspection light.
- Replacement microswitch or actuator (model-specific).
- Soft brush and rubbing alcohol for cleaning.
Safety steps:
- Unplug the microwave and wait five minutes.
- Remove food and accessories from inside.
- Work on a flat, stable surface with good light.
- Wear safety glasses and gloves to avoid cuts.
Step-by-step guide: how to fix microwave door push button
This section shows common fixes. Read all steps first. Then follow the path that matches your problem.
- Visual inspection
- Look for cracked plastic or a missing button cap.
- Check for stuck crumbs, grease, or debris around the button.
- If the cap is broken, order a replacement part for your model.
- Clean the button and actuator
- Unplug the unit and remove the outer case if comfortable doing so.
- Use a soft brush and rubbing alcohol to clean around the actuator.
- Work the button gently to see if it frees up.
- Test the microswitch
- Locate the microswitch behind the button area.
- Set your multimeter to continuity mode.
- Press the actuator and check that the switch closes and opens consistently.
- If no change, the microswitch is likely faulty.
- Replace the microswitch
- Note the switch orientation and wiring or take a photo.
- Remove the old switch and install the new one with the same wiring.
- Re-test with the multimeter before reassembling the microwave.
- Adjust or replace the actuator/plunger
- If the actuator is misaligned, gently bend the plastic guide or reposition it so it presses the switch squarely.
- If the actuator is cracked, replace it with a model-specific part.
- Lubricate moving surfaces lightly with a food-safe silicone if needed.
- Check the latch alignment
- Close the door slowly and watch how the latch engages the switch.
- Adjust door hinge screws if the door hits at an angle.
- Proper alignment ensures consistent button travel and switch activation.
- Final reassembly and testing
- Reassemble the case and plug in the unit.
- Run a short test cycle with a cup of water to confirm normal operation.
- Listen for the fan and magnetron; ensure the microwave only runs when the door is fully closed.
Personal tip from experience: When a unit comes in with an intermittent button problem, it’s often dirt or a worn actuator. I fixed three microwaves in one week by cleaning and replacing cheap plastic plungers.

Diagnosing common problems and tests
A clear diagnosis saves time. Here are quick tests you can do.
Continuity test for switch
- Unplug and remove the outer cover.
- Find the switch terminals.
- Press the actuator and watch the meter. A steady on/off reading means the switch is good.
Visual and manual checks
- Press the button with the cover off. Observe the actuator travel.
- If you see slop or a broken plastic tooth, that part needs replacement.
Door latch test
- Check the striker that hits the switch. If it misses the switch, the door alignment is wrong.
- Tighten hinge screws and re-check.
Common causes of button failure:
- Dirt and grease buildup.
- Broken or worn actuator.
- Faulty microswitch.
- Misaligned door or latch.
- Broken button cap or spring.
PAA-style quick questions
- What if the button is stuck but the switch tests good?
- Clean the actuator and button area. Replace the plastic actuator if it’s cracked or worn.
- How to test microswitch at home?
- Use a multimeter in continuity mode and press the actuator. The meter should change when pressed.
- Can a misaligned door cause button problems?
- Yes. If the latch misses the switch, the button won’t register a closed door.
When to replace parts or call a pro
You can handle many fixes yourself. But there are times to replace parts or hire a technician.
Replace parts yourself when:
- The microswitch is clearly defective on a continuity test.
- The actuator or button cap is cracked or worn.
- You can order the correct part and have basic tools.
Call a professional when:
- The high-voltage capacitor may be charged or damaged.
- The problem seems electrical beyond the door switches.
- You’re unsure about safe disassembly or part compatibility.
- The microwave is under warranty; let authorized service handle it.
Cost guide and limits:
- Microswitches and plastic actuators are usually inexpensive.
- Labor and diagnostic fees vary; a pro might charge more if the main control board is at fault.

Preventive tips to avoid future button failures
Small habits extend life. Try these tips.
- Clean the door area weekly. Wipe away food and grease.
- Avoid slamming the door. Close it gently to protect plastic parts.
- Use manufacturer parts for replacements. Cheap mismatched parts can fail fast.
- Check door alignment every few months. Tighten hinge screws if needed.
- If you store heavy items on top of the microwave, stop. Pressure can warp the door.
From my experience, a quick monthly wipe is the best preventive fix. It keeps buttons smooth and prolongs tiny plastic parts.

Frequently Asked Questions of how to fix microwave door push button
Why won’t my microwave start when I press the door button?
If the door button doesn’t register, the microswitch might be faulty or the actuator is not contacting the switch. Inspect and test the switch with a multimeter, and clean or replace the actuator if needed.
Can I run a microwave with a broken door button temporarily?
No. A broken door button can bypass safety features or make the unit unsafe to use. Do not use the microwave until the door switch and latch work properly.
How long does replacing a microswitch take?
A simple microswitch replacement typically takes 15 to 30 minutes for someone comfortable with basic tools. Allow more time if you need to order the correct part.
Will cleaning the button area fix intermittent problems?
Often yes. Dirt and grease block movement and cause intermittent contact. Clean the actuator area and test before replacing parts.
How much does a replacement microswitch cost?
Replacement microswitches are usually low-cost parts. Prices vary by model but are generally affordable. Labor or shipping may add to the total cost.
Conclusion
You now have clear, step-by-step guidance on how to fix microwave door push button problems. Start with simple cleaning and visual checks, move to switch testing, and replace parts when tests show failure. If anything feels risky, call a qualified technician to avoid injury or damage. Try the easy fixes first, keep your microwave clean, and share your results or ask questions below to get help from the community.

Appliance Review Expert
Lucas Ramirez is a trusted voice at HomeFixGrid.com, known for his clear, practical, and creatively written guides that simplify appliance care for everyday homeowners. With a strong focus on hands-on testing and real-world problem-solving, Lucas brings expert insight into appliance reviews and troubleshooting techniques. Her work empowers readers to confidently maintain, repair, and choose the right appliances for their homes.