How To Melt Semi Sweet Chocolate Chips In Microwave: Easy
Melt semi sweet chocolate chips in the microwave using short, low power bursts and frequent stirring.
Learning how to melt semi sweet chocolate chips in microwave is simple, but chocolate needs gentle heat and close attention. I have found that small time steps, a dry bowl, and steady stirring create smooth chocolate for dips, drizzles, frosting, and baked treats. This guide explains the safest method, common mistakes, useful tips, and ways to fix chocolate that does not melt well.
What You Need to Melt Semi Sweet Chocolate Chips in Microwave
You need only a few items. Good tools make the process easier and help prevent scorched chocolate.
• Semi sweet chocolate chips
• A microwave safe glass or ceramic bowl
• A dry silicone spatula or spoon
• Measuring cups or a kitchen scale
• Oven mitts or a dry kitchen towel
Choose a bowl that gives the chocolate room to spread. A wide bowl usually works better than a deep, narrow one because the chips heat more evenly.
Make sure every tool is fully dry. Even a small amount of water can make melted chocolate thick, grainy, and difficult to use. This reaction is called seizing.
For the best flavor, use fresh chocolate chips from a sealed package. Older chips can still melt, but they may have a dull taste or a chalky texture.
How to Melt Semi Sweet Chocolate Chips in Microwave
Follow these steps for smooth, glossy chocolate. This method works for most standard home microwaves.
-
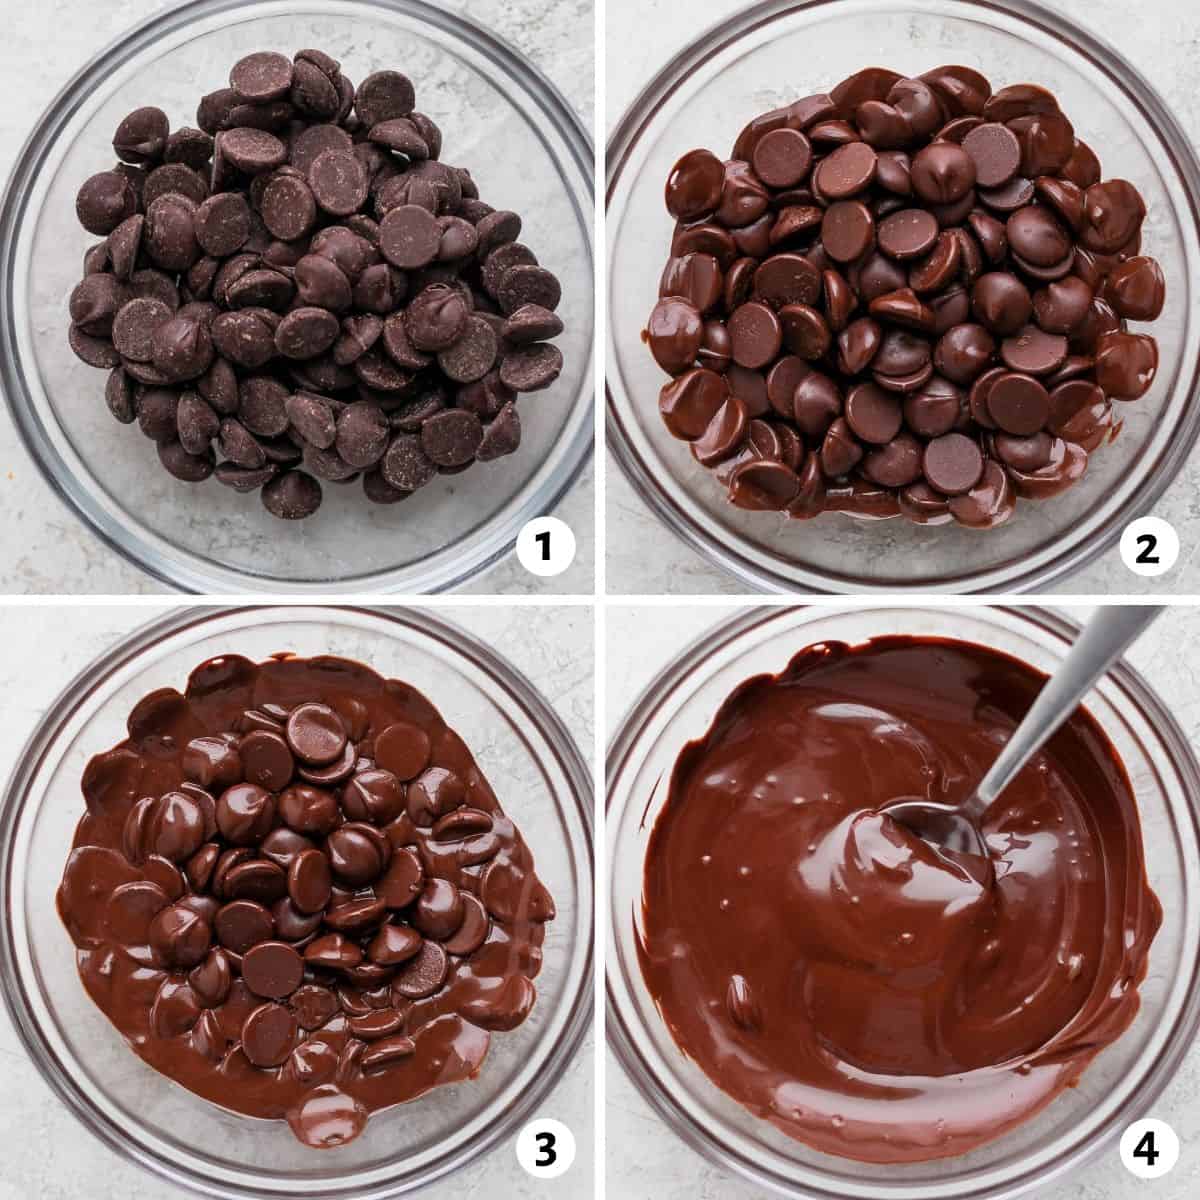
Measure the chocolate chips. Start with 1 cup, or about 6 ounces, for easy testing.
-
Place the chips in a clean, dry microwave safe bowl.
-
Microwave the bowl at 50% power for 30 seconds.
-
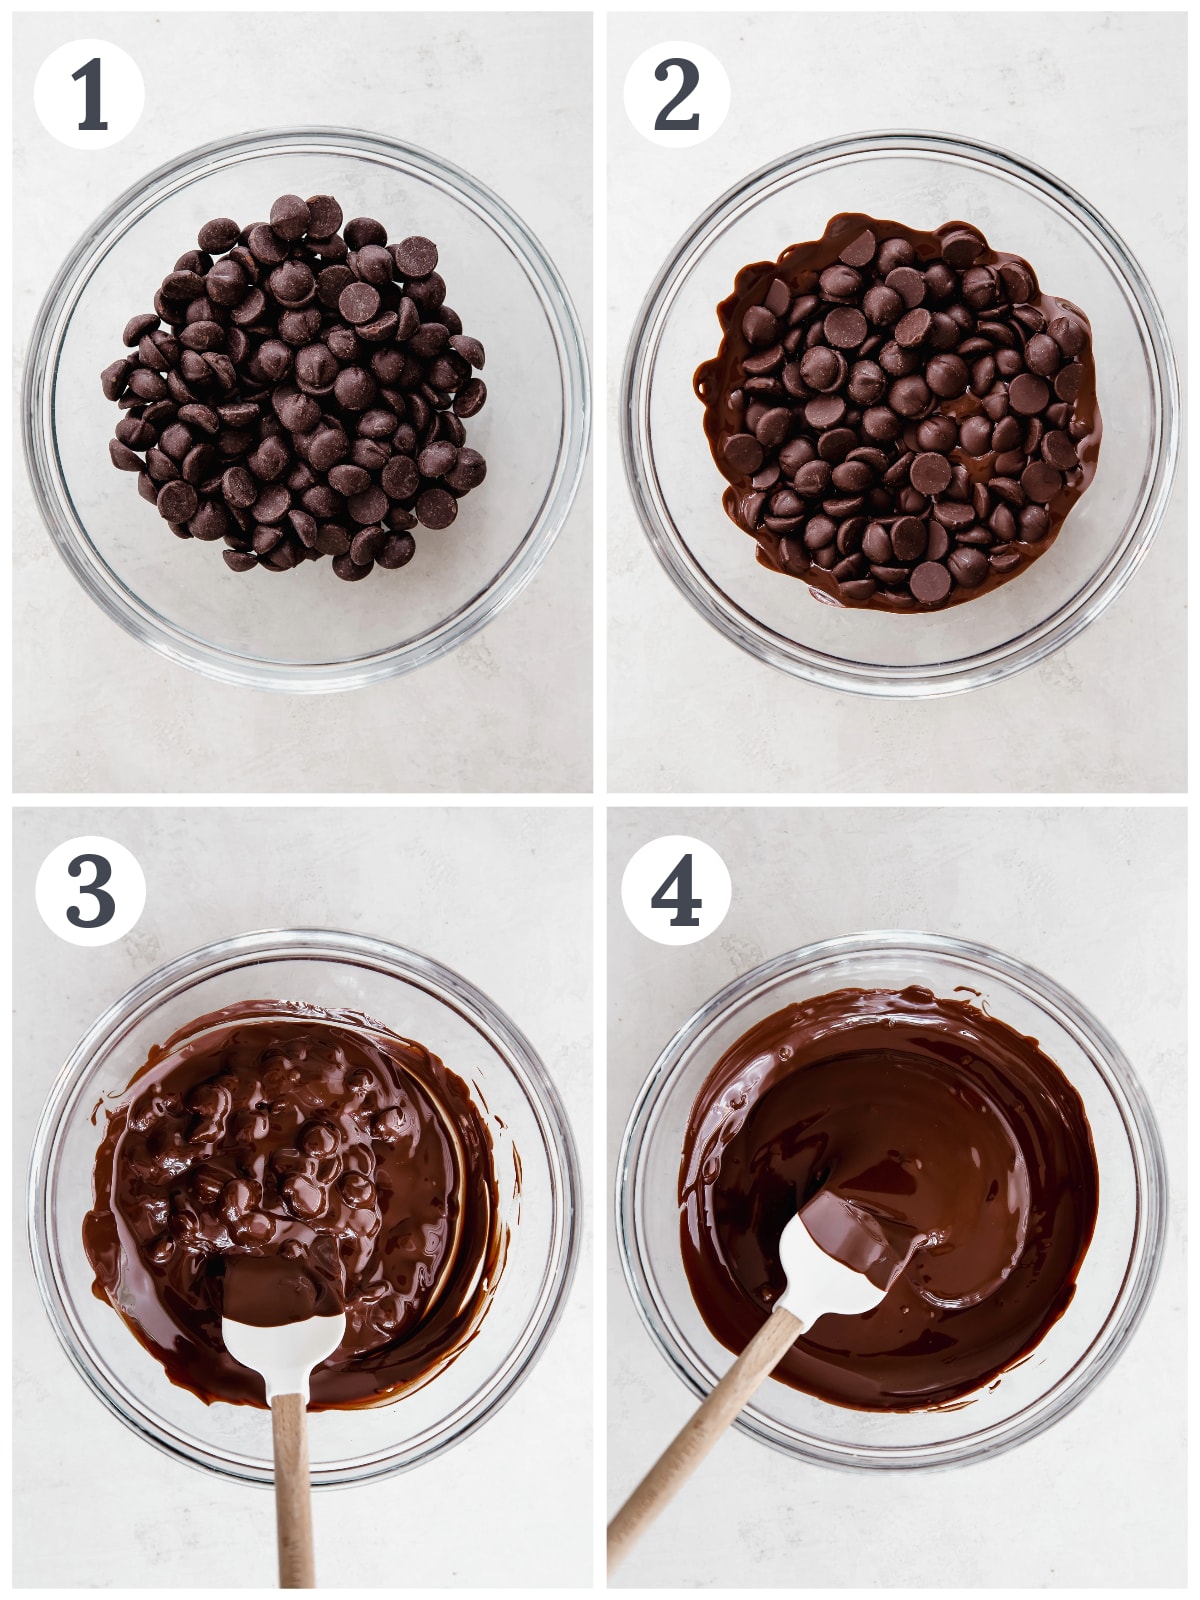
Remove the bowl and stir well, even if the chips still look solid.
-
Return the bowl to the microwave for 15 second bursts at 50% power.
-
Stir after every burst.
-
Stop heating when only a few small lumps remain. Stir until the remaining chips melt from the bowl’s residual heat.
-
Use the chocolate right away, or keep it warm for a short time.
The first heating period warms the chips. The stirring step spreads that heat through the bowl. This is why chocolate may look unchanged at first but become smooth after a few stirs.
If your microwave does not offer a power setting, use 15 second bursts instead. A lower amount of heat over a longer time is safer than one long heating cycle.
The exact time depends on your microwave, bowl, chocolate amount, and starting temperature. One cup often takes about 60 to 90 seconds in total, but never rely on time alone. Stirring and appearance are better guides.
Why Low Microwave Power Works Best
Chocolate contains cocoa solids, cocoa butter, sugar, and other ingredients. These parts do not all heat at the same rate. High heat can cause the cocoa butter to separate or burn the solids before the chips fully melt.
Semi sweet chocolate chips also contain less sugar than milk chocolate. This gives them a deeper flavor, but it does not make them safe from overheating.
Low power gives the heat time to move through the chips. Think of it like warming butter on a mild day instead of leaving it beside a hot fire. The slower method gives you more control.
Stirring is just as important as microwave power. Microwaves can create hot spots inside the bowl. Stirring breaks up these spots and helps distribute heat evenly.
When learning how to melt semi sweet chocolate chips in microwave, remember this simple rule: short bursts plus frequent stirring protect the texture.
How Long Does It Take to Melt Semi Sweet Chocolate Chips?
The melting time changes with the amount of chocolate and the strength of your microwave.
| Amount of chocolate | Suggested starting time | Follow-up bursts |
|---|---|---|
| ½ cup | 20 to 30 seconds | 10 to 15 seconds |
| 1 cup | 30 seconds | 15 seconds |
| 2 cups | 45 seconds | 15 to 20 seconds |
| 4 cups | 60 seconds | 20 seconds |
These times are starting points, not strict rules. A 1,000 watt microwave may melt chocolate faster than a 700 watt model.
Chocolate chips may hold their shape even when they are soft inside. Do not keep heating just because the chips still look like small buttons. Stir first. You may discover that they are already ready to melt into a smooth mixture.
If the chocolate feels thick after melting, add a small amount of an approved thinning ingredient. Use about 1 teaspoon of vegetable shortening, refined coconut oil, or cocoa butter per cup of chocolate. Add it slowly and stir well.
Avoid adding water, milk, or cold cream unless you are following a recipe designed for those ingredients. A small amount of water can make melted chocolate seize.
How to Prepare Chocolate Chips Before Melting
Preparation affects the final result. Start by checking the bowl, chips, and work area.
• Use a completely dry bowl.
• Remove any crumbs, dust, or moisture from the bowl.
• Do not mix warm and cold ingredients without a recipe.
• Break up large clumps before heating.
• Measure the chocolate before placing it in the microwave.
• Keep a dry spatula nearby.
If you are melting several cups, divide the chocolate into two bowls or use a larger bowl. A very deep pile of chips may heat unevenly.
You can also combine chocolate chips from the same package with a small amount of cocoa butter or shortening. This may create a thinner coating for strawberries, pretzels, or cookies.
Do not cover the bowl tightly. Steam can collect under a lid and drip into the chocolate. If you need to cover it, use a loose microwave safe cover with a vent.
A clean setup is especially important when making chocolate for gifts or parties. Smooth chocolate looks polished, while seized chocolate can make even a simple dessert feel disappointing.
Signs That the Chocolate Is Ready
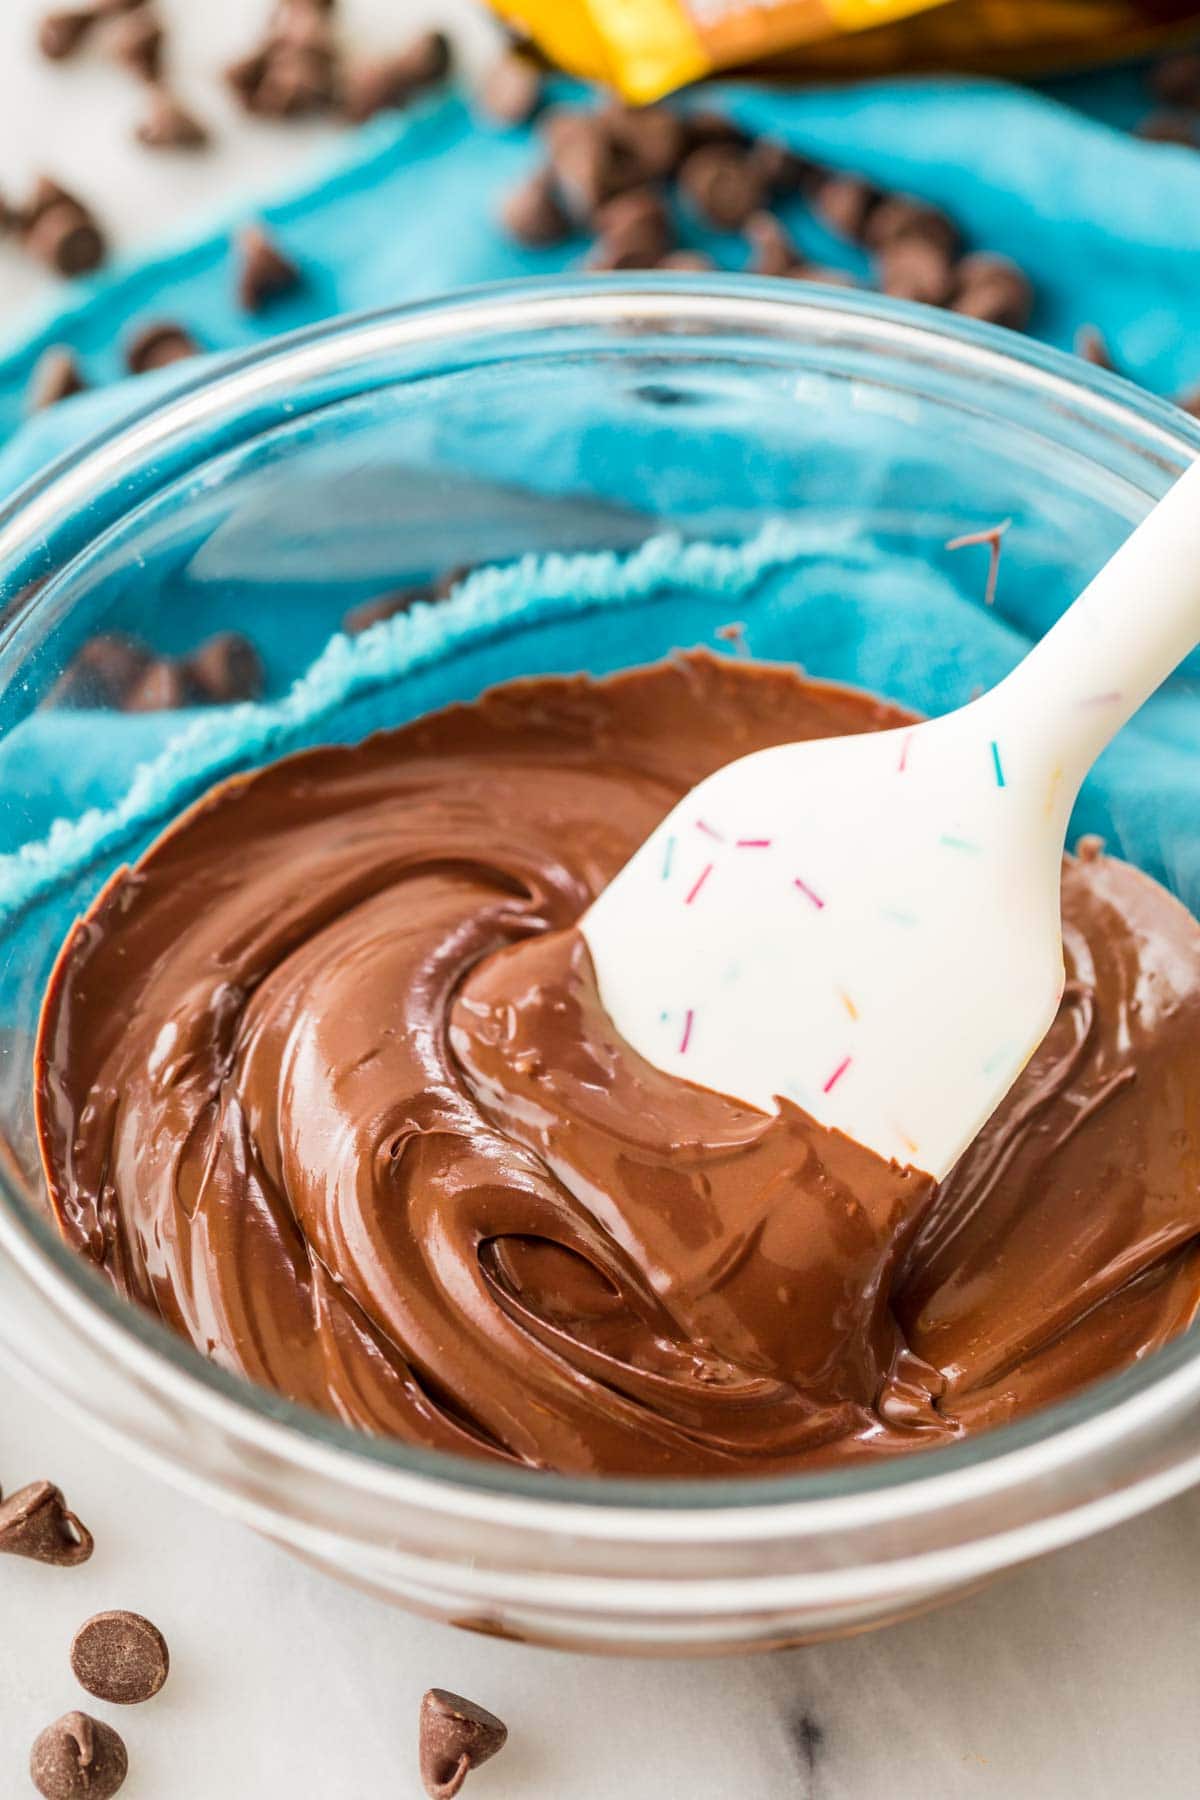
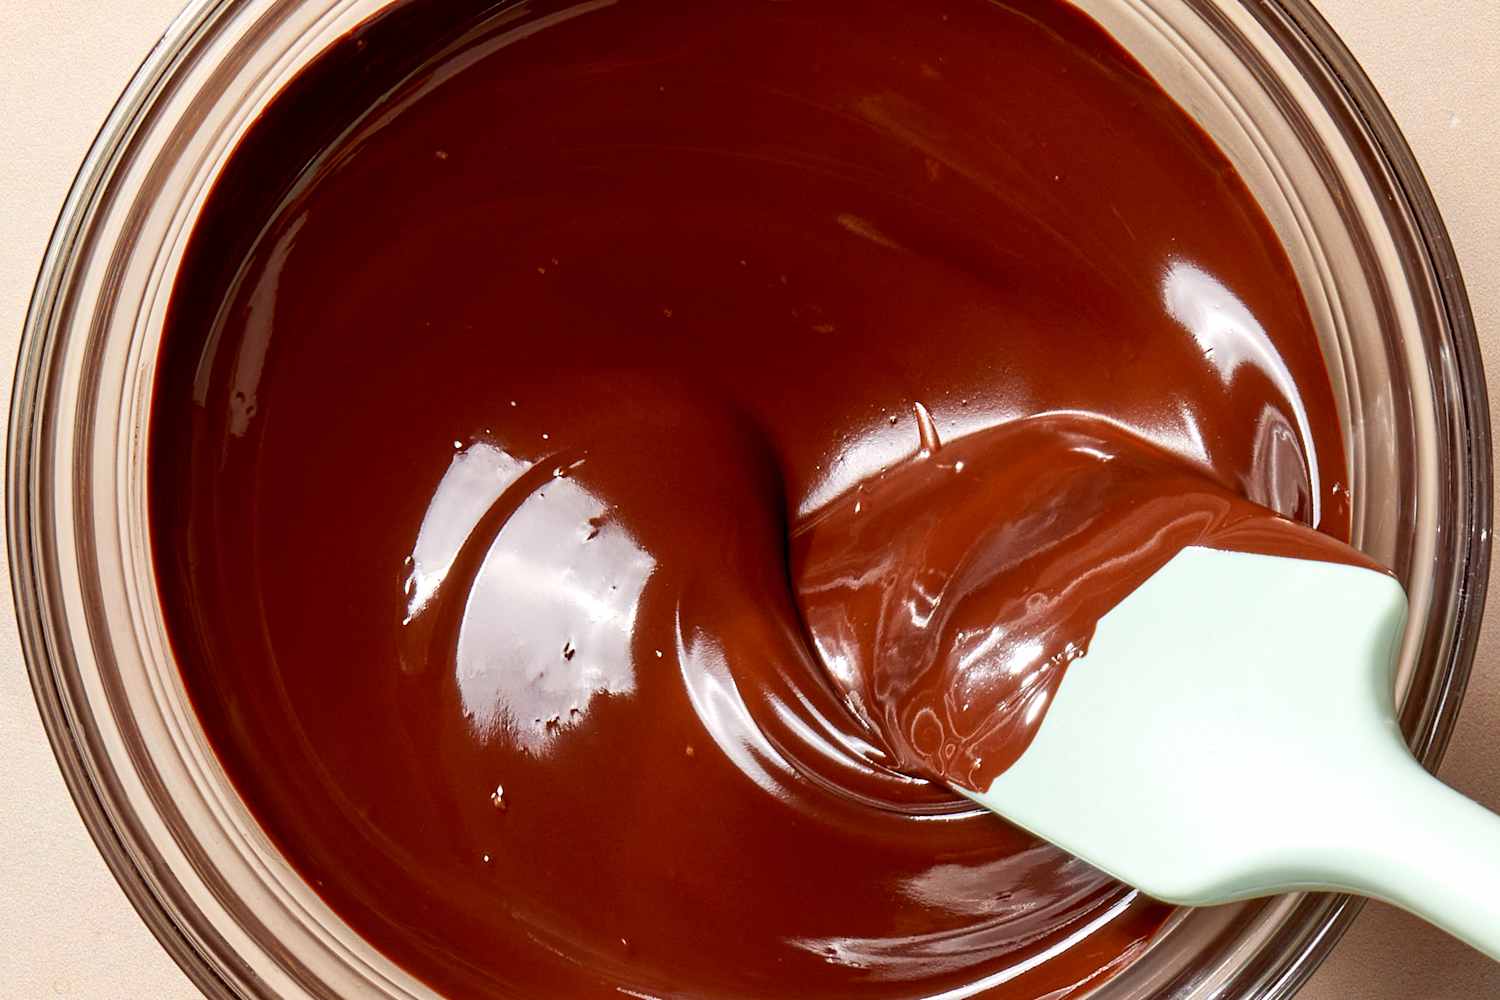
Melted semi sweet chocolate should look smooth, shiny, and fluid. It should fall from a spatula in a slow, steady ribbon.
Check for these signs:
• The chips disappear during stirring.
• The mixture has no dry pockets.
• The surface looks glossy rather than dull.
• The chocolate moves easily around the bowl.
• No steam or bubbling appears.
Chocolate does not need to be hot to be melted. In fact, overheating can damage the texture before you notice a serious problem.
Dip the edge of a dry spatula into the chocolate and lift it. If the chocolate flows in a thin stream, it is ready for drizzling. If it falls in thick clumps, stir longer or add a tiny amount of thinning fat.
For molded candy or chocolate decorations, the chocolate may need tempering after melting. Tempering controls cocoa butter crystals and helps chocolate set with a firm snap and glossy finish. Microwave melting alone does not temper chocolate.

Common Mistakes When Melting Chocolate Chips
The most common mistake is using too much heat. A full minute at high power may seem convenient, but it can burn the chocolate quickly.
Avoid these problems:
• Heating at 100% power for long periods
• Skipping the stirring step
• Using a damp bowl or wet spatula
• Melting too much chocolate in a small bowl
• Adding cold liquid without a recipe
• Leaving the microwave while chocolate heats
• Assuming unmelted-looking chips are still hard
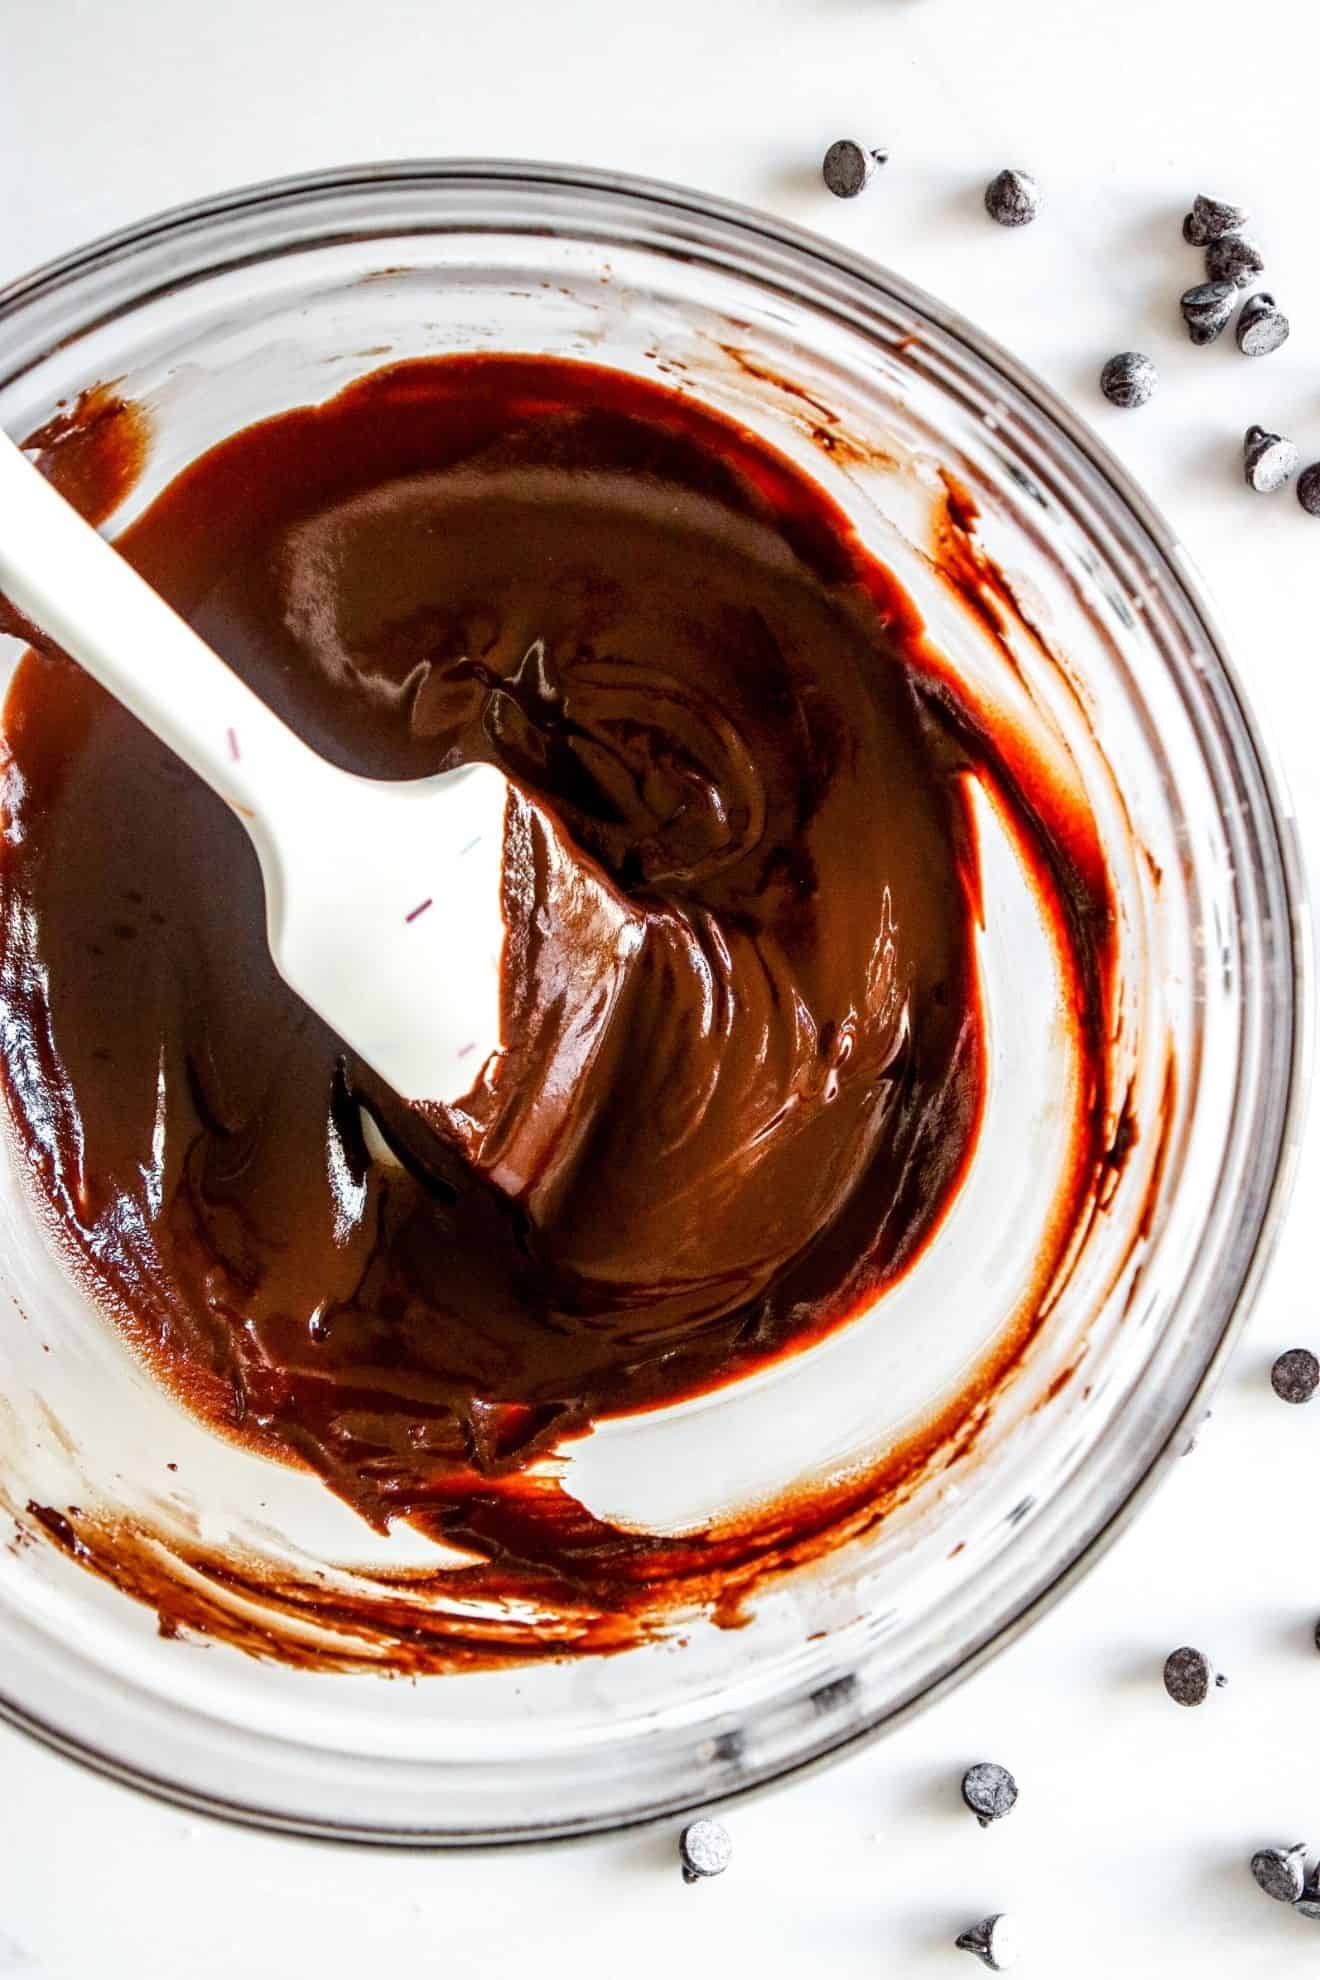
Burned chocolate smells sharp and tastes bitter. It may look thick, clumpy, or oily. Once chocolate burns, it usually cannot return to a clean, pleasant flavor.
Another mistake is adding water to loosen thick chocolate. Water can cause sugar and cocoa particles to clump together. This is why melted chocolate sometimes changes from smooth to grainy within seconds.
I have learned that patience saves more chocolate than speed. The extra few seconds spent stirring are much easier than starting over with a new batch.
:max_bytes(150000):strip_icc()/Simply-Recipes-Frozen-Chocolate-Bananas-Method-41-bf0037916c6642d8a8eb39b81d1d73f6.jpg)
How to Fix Thick, Grainy, or Seized Chocolate
The right fix depends on the problem. First, remove the bowl from the microwave and stop adding heat.
If the chocolate is simply too thick, stir in one teaspoon of melted shortening, refined coconut oil, or cocoa butter. Add more only if needed.
If the chocolate is grainy but not burned, you may be able to turn it into a sauce or ganache. Add warm liquid one teaspoon at a time while stirring constantly. Use warm cream, milk, or hot water only when the final recipe allows it.
If the chocolate has seized because of water, it may not work as a coating. You can still use it in brownies, cake batter, frosting, or a sauce if the texture and flavor recover.
If it smells burnt, tastes bitter, or has dark spots, discard it. No kitchen trick can remove a burned flavor.
When you melt semi sweet chocolate chips in microwave, the best rescue plan is prevention. Use low power, small bursts, and dry tools from the beginning.
How to Use Melted Semi Sweet Chocolate
Melted semi sweet chocolate is useful in many desserts. Let it cool slightly before adding it to delicate mixtures.
Try it for:
• Drizzling over pancakes, waffles, or ice cream
• Dipping strawberries, bananas, and pretzels
• Coating cookies and rice cereal treats
• Making chocolate bark
• Spreading over brownies
• Mixing into frosting
• Decorating cakes and cupcakes
• Adding to trail mix
For dipping, use chocolate that flows smoothly but is not hot. Hot chocolate can soften fruit, melt decorations, or cause skin burns.
For drizzling, transfer the chocolate to a piping bag or a small zip-top bag. Snip a very small corner and move your hand in a steady line.
For bark, spread the melted chocolate on parchment paper. Add nuts, dried fruit, crushed cookies, or sprinkles before it sets. Chill until firm, then break it into pieces.
If you need a firm coating, remember that chips are made to hold their shape in cookies. They may not set as firmly or shine as couverture chocolate. Adding cocoa butter can improve flow, but tempering gives the most professional finish.
Tips for Smooth Chocolate Every Time
Small changes can make the process more reliable.
• Melt chocolate in small batches when possible.
• Use half power or a lower setting.
• Stir from the center toward the edges.
• Scrape the sides and bottom of the bowl.
• Stop heating before every chip has melted.
• Use a wide bowl for even heating.
• Keep water away from the chocolate.
• Add shortening only in small amounts.
• Let the chocolate cool slightly before dipping.
• Use a thermometer if the recipe requires precise heat.
For a simple coating, keep the chocolate near 88 to 91°F if you want to preserve a tempered texture. Exact temperatures can vary by chocolate type and brand, so follow the package or recipe when tempering matters.
A thermometer is not required for basic drizzling or mixing. Your eyes, spatula, and texture are often enough. Still, a thermometer helps when you need chocolate that sets with a glossy finish.
The best method for how to melt semi sweet chocolate chips in microwave is controlled rather than rushed. Once you learn your microwave’s strength, the process becomes quick and repeatable.
Food Safety and Storage
Always use clean tools and fresh ingredients. Do not let melted chocolate sit near raw meat, eggs, or other foods that can spread harmful bacteria.
Melted chocolate can stay at room temperature for a short time while you work. If it becomes too cool, reheat it in 5 to 10 second bursts and stir well.
Store leftover melted chocolate in an airtight container. Let it cool first, then refrigerate it for several days. Reheating may change the texture, especially if water or other ingredients were added.
Keep chocolate away from strong odors. Chocolate can absorb smells from onions, spices, coffee, and other foods.
Food safety guidance recommends keeping hands, utensils, and surfaces clean. It also supports cooling perishable mixtures promptly when you add cream, milk, or other dairy products.
Frequently Asked Questions About How to Melt Semi Sweet Chocolate Chips in Microwave
Can I melt semi sweet chocolate chips at full microwave power?
You can, but it is easier to burn the chocolate. Use 50% power and short bursts for better control.
Should I add oil when melting chocolate chips?
You can add a small amount of refined coconut oil, vegetable shortening, or cocoa butter if the chocolate is too thick. Start with about 1 teaspoon per cup and add more only when needed.
Why are my melted chocolate chips still thick?
Chocolate chips are designed to hold their shape in baked goods, so they may be thicker than baking chocolate. Stir well, then add a small amount of shortening or cocoa butter if your recipe allows it.
Can water ruin melted semi sweet chocolate?
Yes. A small amount of water can make chocolate seize and turn grainy. Keep the bowl and spatula dry, and avoid adding liquid unless you are making a sauce or ganache.
How do I know when chocolate chips are fully melted?
Stir the chips after each heating burst. They are ready when the mixture is smooth, glossy, and flows easily from the spatula.
Can I melt semi sweet chocolate chips without a microwave?
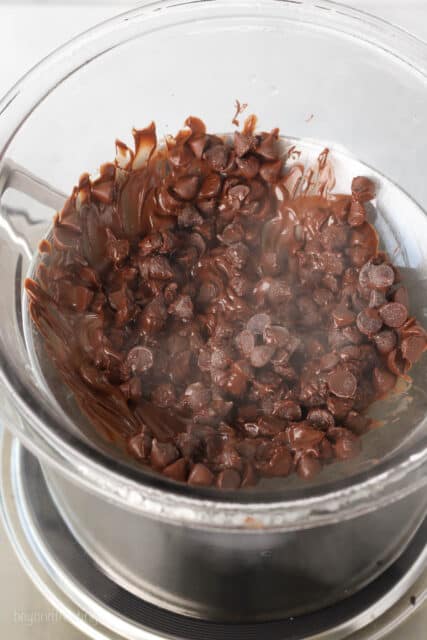
Yes. Use a double boiler with a heatproof bowl over gently simmering water. Keep steam and water away from the chocolate, and stir often.
Can I reheat melted chocolate in the microwave?
Yes. Reheat it at 50% power in 5 to 10 second bursts. Stir after each burst to prevent hot spots and overheating.
Conclusion
The easiest way to melt semi sweet chocolate chips in microwave is to use a dry bowl, 50% power, short heating bursts, and frequent stirring. Stop before every chip disappears, because residual heat will finish the job. Avoid water, high heat, and long unattended cycles.
With a little patience, you can make smooth chocolate for dipping, drizzling, baking, and decorating. Try the method with a small batch first, then adjust the timing for your microwave. Share your favorite chocolate recipe or explore more practical baking guides for your next sweet project.

Appliance Review Expert
Lucas Ramirez is a trusted voice at HomeFixGrid.com, known for his clear, practical, and creatively written guides that simplify appliance care for everyday homeowners. With a strong focus on hands-on testing and real-world problem-solving, Lucas brings expert insight into appliance reviews and troubleshooting techniques. Her work empowers readers to confidently maintain, repair, and choose the right appliances for their homes.