How To Roast Garlic In Air Fryer: Easy 2026 Guide
To roast garlic in an air fryer, simply slice the top off the bulb, drizzle with oil, and air-fry until tender.
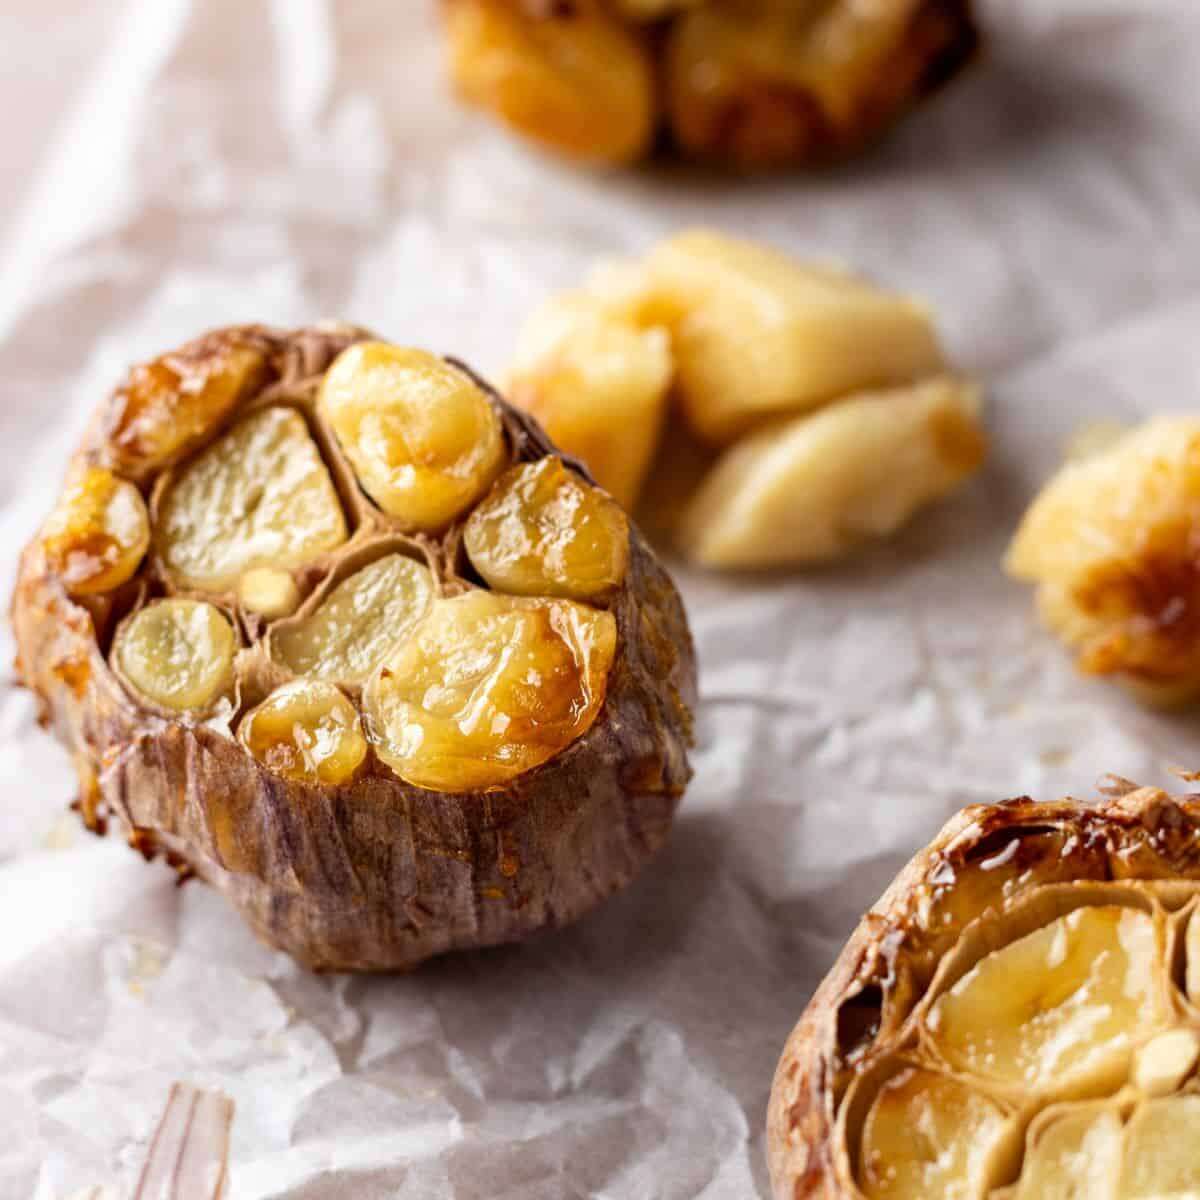
If you have ever spent an hour waiting for your oven to preheat just to roast a few bulbs of garlic, you know the struggle. Over years of testing gadgets and recipes, I learned that the air fryer is a simple and fast way to make rich, caramelized roasted garlic. The air fryer moves hot air quickly in a small space. That concentrated heat softens the cloves and turns their sugars into a buttery, spreadable paste—often in a fraction of the time an oven needs. Learning how to roast garlic in air fryer will save time and add deep, savory flavor to weeknight meals.

Why Air Frying Garlic Is Superior
Speed is the biggest win. A traditional oven can take 45–60 minutes. An air fryer usually halves that time. The unit’s smaller chamber concentrates heat. That speed helps the garlic caramelize without drying out. You still get mellow, sweet roasted garlic, but faster.
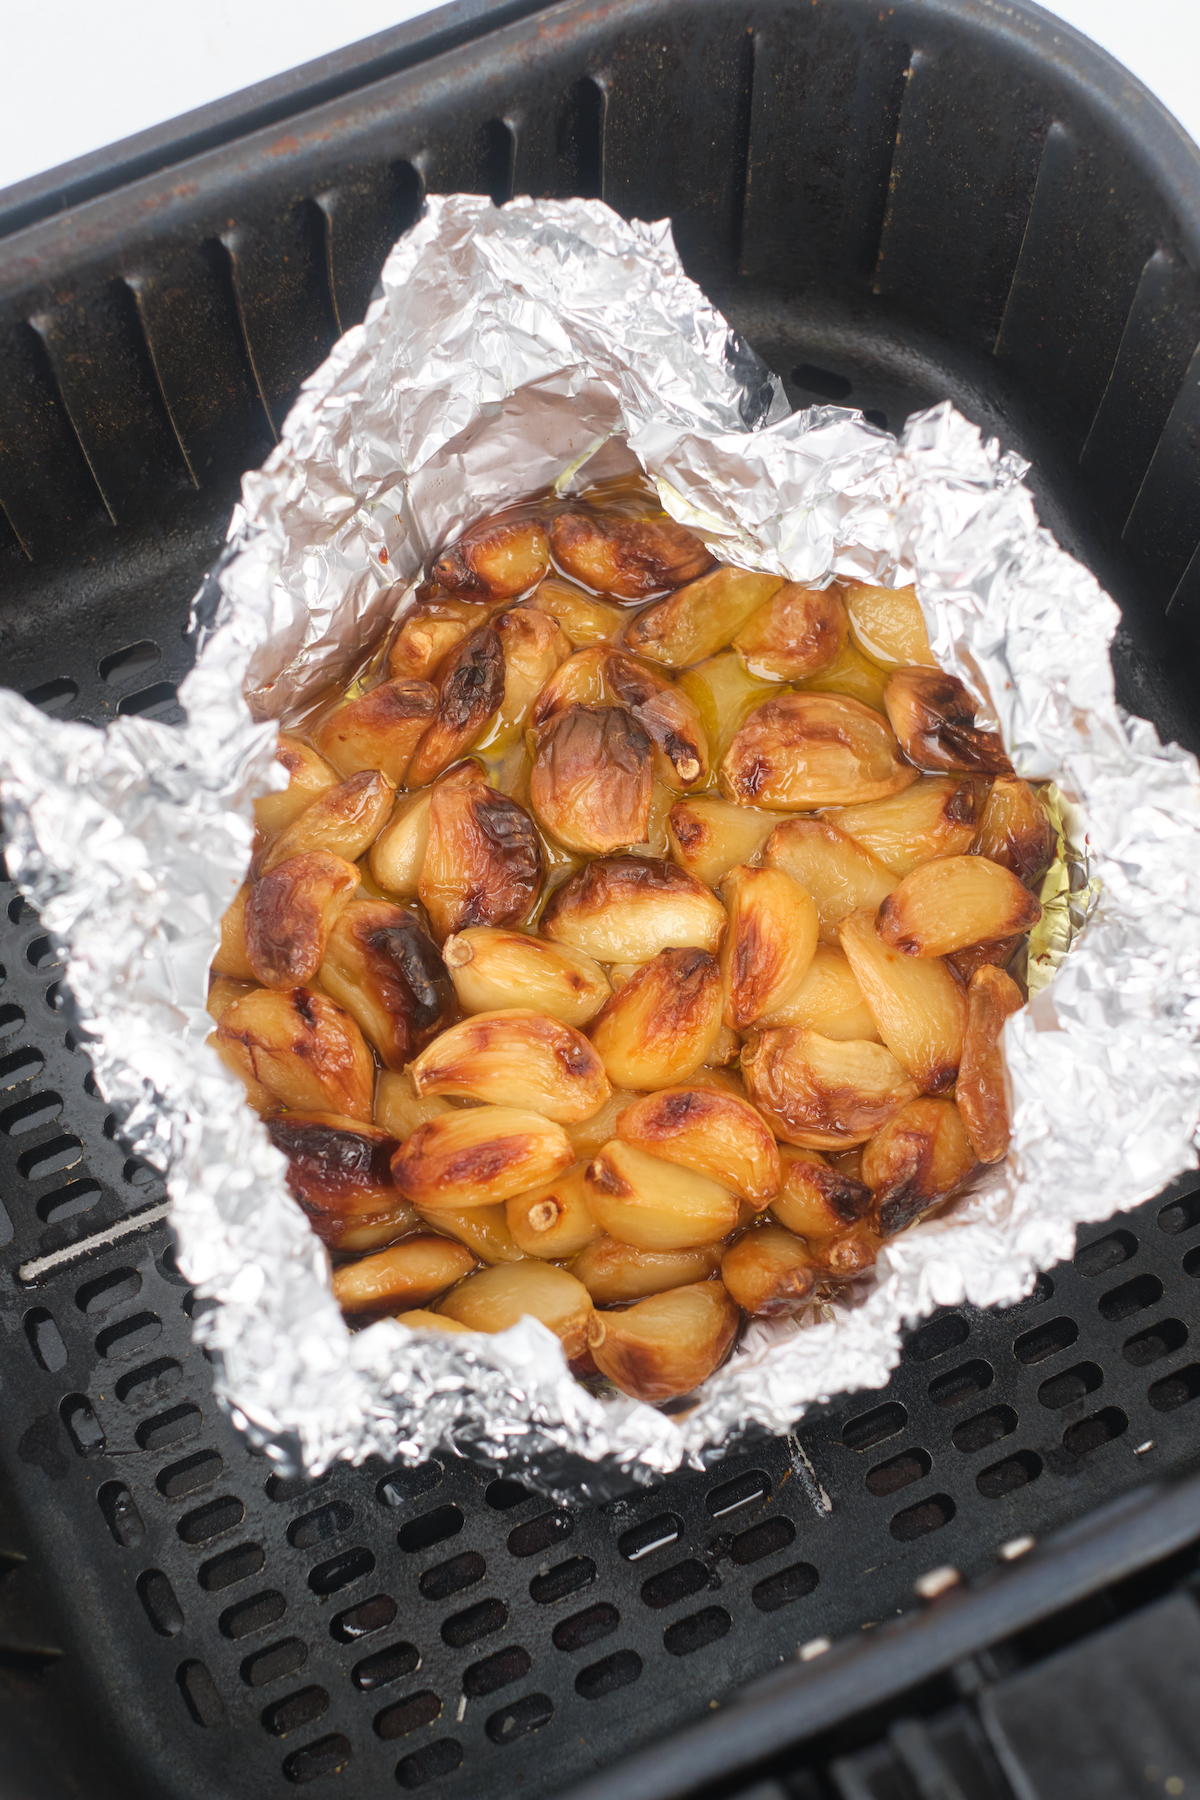
The air fryer also uses circulating air to brown evenly. If you wrap the bulb in foil, it creates a little steam pocket. This keeps the cloves moist and gives a soft, spreadable texture. I used to worry the garlic would burn before it softened. Once I tried the foil method, those worries disappeared. It changed how I prep garlic for pasta, mashed potatoes, dressings, and crostini.
Step-by-Step Guide to Perfect Roasted Garlic
Getting consistent results is simple when you follow a clear process. Below is my tested method for perfectly roasted garlic in an air fryer. It covers prep, timing, and checks so your cloves come out soft and sweet every time.
What you need (tools and ingredients)
- Fresh garlic bulbs (firm, no sprouts)
- Olive oil (extra-virgin preferred for flavor)
- Aluminum foil or a small oven-safe dish that fits the basket
- Air fryer (any size; timings below work for common models)
- Optional: sea salt, fresh thyme, rosemary, or red pepper flakes for flavor
- Select fresh, firm bulbs of garlic. Avoid any heads that feel soft or show signs of sprouting.
- Cut off the top one-quarter inch of the bulb to expose the individual cloves. Try to keep the bulb intact so the cloves do not scatter.
- Place the garlic on a square piece of aluminum foil. You need enough foil to fold up the edges and create a pouch.
- Drizzle about a teaspoon of olive oil over the exposed cloves. Use your fingers to rub the oil so it drips down into the gaps.
- Seal the foil pouch tightly to lock in the steam.
- Place the pouch into the air fryer basket. Set your device to 380 degrees Fahrenheit and cook for 20 to 25 minutes.
- Check the texture by carefully opening the foil and pressing a clove with a fork. It should be completely soft and easy to mash. If it is still firm, add another 5 minutes.
Timing and temperature tips
380 degrees Fahrenheit (about 193°C) is a reliable setting. It lets the garlic caramelize without becoming bitter. Start checking at 18 minutes, especially on smaller or hotter models. If you roast several bulbs at once, add 3–7 minutes. Each air fryer distributes heat slightly differently, so the first run is your calibration run.
Common Mistakes and Pro Tips
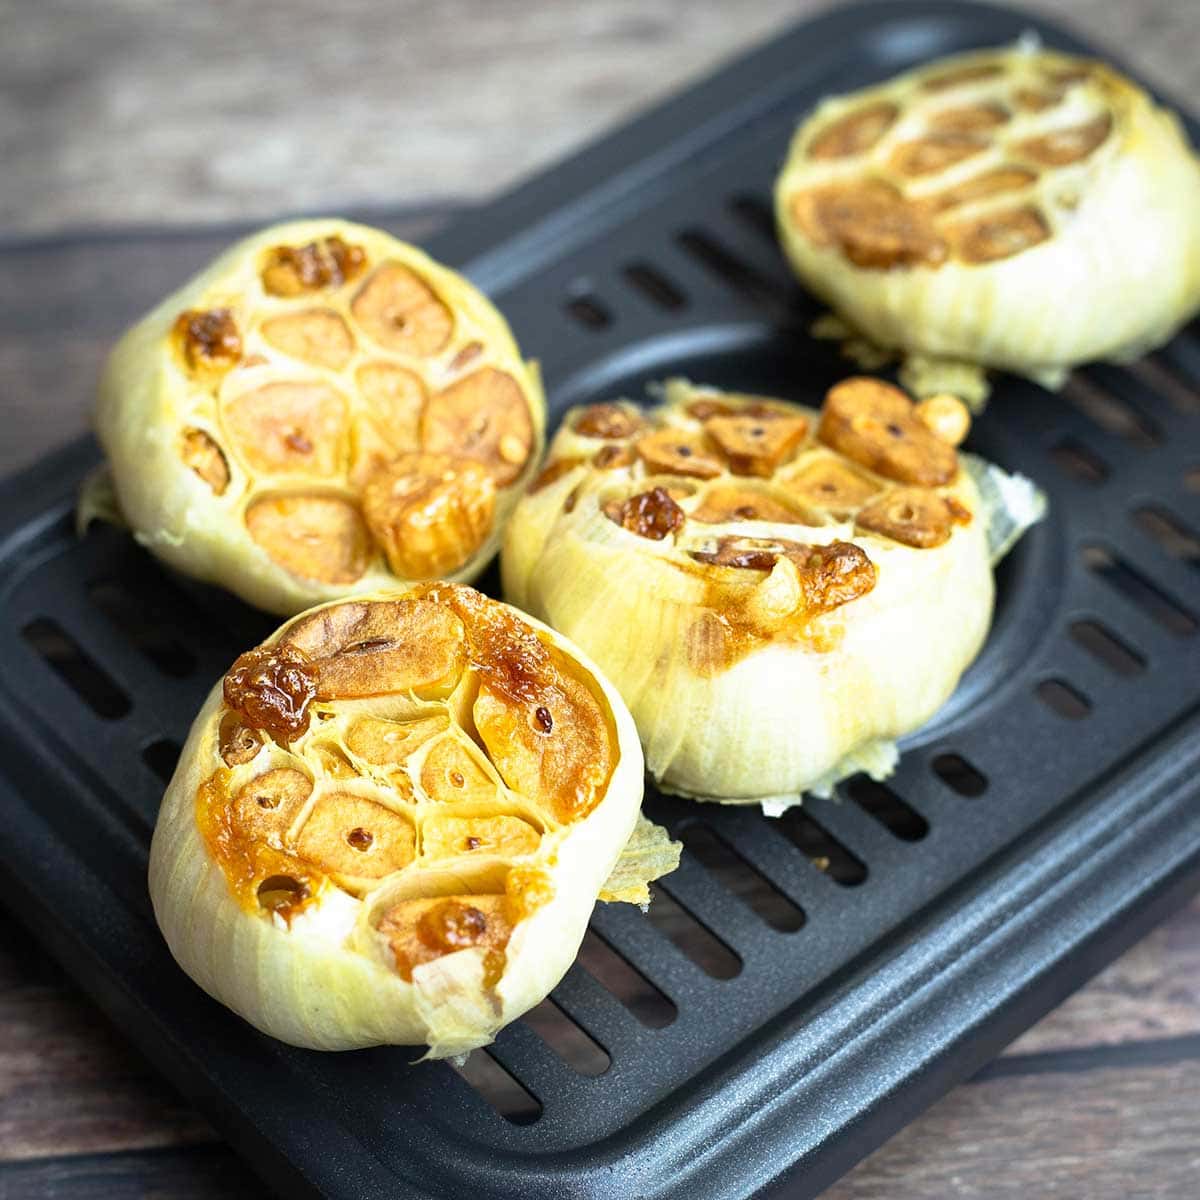
Even a simple process like how to roast garlic in air fryer can go wrong if you skip small details. Below are mistakes I’ve seen and pro tips I use to avoid them.
- Cutting too much off the top: A deep cut can make cloves fall out. Cut just enough to expose the tips.
- Not enough oil: A teaspoon per bulb is enough to encourage browning and prevent drying. High-quality olive oil improves flavor.
- Skipping the foil or dish: Wrapping keeps steam in. If you don’t wrap, the cloves can dry and scorch.
- Overcrowding the basket: Give bulbs space. Crowding reduces air flow and slows cooking.
- Assuming all air fryers are the same: Check at 18 minutes the first time to avoid burning.
For extra flavor, add a pinch of sea salt, a small sprig of fresh thyme or rosemary, or a light sprinkle of smoked paprika into the foil before sealing. These additions infuse the garlic as it roasts. If you want a milder, confit-style result, lower the temp to 320°F and roast for 30–40 minutes in foil—this produces very soft cloves with a subtle sweetness.
Safety and handling
Use tongs or an oven mitt when removing the foil pouch. Steam will be hot when you open it. Let the garlic cool slightly before squeezing or mashing the cloves out of their skins. Store roasted garlic in a clean airtight container. Keep it refrigerated for up to five days or freeze for several months in portions (ice cube tray with oil works well).
Frequently Asked Questions of how to roast garlic in air fryer
Should I peel the garlic before roasting?
No, you should keep the papery skin on the bulb while roasting. The skin acts as a protective layer that keeps the cloves moist and prevents them from drying out or burning.
Can I roast individual cloves instead of the whole bulb?
You can, but it is much faster and you risk burning them easily. It is highly recommended to keep the bulb whole to ensure the garlic turns into a soft, spreadable paste.
How long does roasted garlic last in the fridge?
Roasted garlic stored in an airtight container will stay fresh in your refrigerator for up to five days. You can also freeze the cloves for several months to use in future sauces or soups.
What temperature is best for roasting garlic?
Setting your air fryer to 380 degrees Fahrenheit provides the perfect balance of heat. This temperature allows the garlic to caramelize without turning bitter or scorching the exterior.
How can I tell when the garlic is finished cooking?
The garlic is done when the cloves are golden brown and yield easily to the pressure of a fork. If you see the garlic beginning to ooze out of the skins, it is likely perfectly roasted and ready to serve.
Can I roast many bulbs at once?
Yes. Arrange them in a single layer with space between bulbs. If you add more bulbs than the basket comfortably holds, cook in two batches or add 3–7 minutes to the cook time and check often. Good air flow is important for even roasting.
How can I use roasted garlic?
Roasted garlic is versatile. Mash cloves into butter for garlic bread. Stir into pasta or mashed potatoes. Blend into salad dressings, dips, or sauces for hummus, aioli, or vinaigrettes. Mix with olive oil and spread it on grilled chicken or roasted vegetables. It also freezes well when packed with a little oil in ice cube trays.
Conclusion
Mastering how to roast garlic in air fryer is a quick, efficient way to upgrade your cooking. This method saves time and delivers the mellow sweetness and depth of classic roasted garlic. With a little practice—choosing firm bulbs, using the foil pouch trick, and checking early—you’ll get consistent, spreadable cloves every time. Whether spread on sourdough, blended into a dressing, or stirred into a sauce, air-fried roasted garlic is an easy way to boost flavor. Now that you have the steps and tips, grab a few bulbs and try it in your kitchen tonight. If you enjoyed this guide, leave a comment below and let me know how your first air-fried batch turned out.

Appliance Review Expert
Lucas Ramirez is a trusted voice at HomeFixGrid.com, known for his clear, practical, and creatively written guides that simplify appliance care for everyday homeowners. With a strong focus on hands-on testing and real-world problem-solving, Lucas brings expert insight into appliance reviews and troubleshooting techniques. Her work empowers readers to confidently maintain, repair, and choose the right appliances for their homes.