
How To Toast Bread In Air Fryer: Quick Crispy Toast
Toast bread in an air fryer at 350°F for 3–5 minutes in a single layer, flipping once.
I’ve toasted hundreds of slices in different air fryers. I’ll walk you through exactly how to toast bread in an air fryer so you get consistent, crispy results every time. This guide blends hands-on tips, clear timing charts, and safety notes to help you master toasting white, whole wheat, artisan, and frozen bread with confidence. I write from real tests and short, repeatable routines you can use every morning.
Why toast bread in an air fryer?
Toasting bread in an air fryer is fast, even, and energy efficient. The hot, moving air crisps the edges fast while keeping the inside soft. I switched to my air fryer on busy mornings. It saves time. It gives even color without a bulky toaster. Convection cooking helps here: moving hot air speeds moisture loss and browning. That gives a crunchy exterior faster than static heat.

What you need to toast bread in air fryer
- Air fryer with a rack or basket that allows airflow.
- Slices of bread: white, whole wheat, sourdough, sandwich bread, or frozen.
- Optional: oil, butter, garlic, jam, or cheese for toppings.
- A heat-safe spatula or tongs for flipping.
Always check your air fryer manual for max temp and recommended accessories. My first air fryer warped thin bread when I stacked slices. After that I learned to toast one layer only. Single-layer toasting avoids uneven browning and soggy spots.

Step-by-step: how to toast bread in air fryer
- Preheat the air fryer for 2–3 minutes at 350°F. Preheating gives even browning.
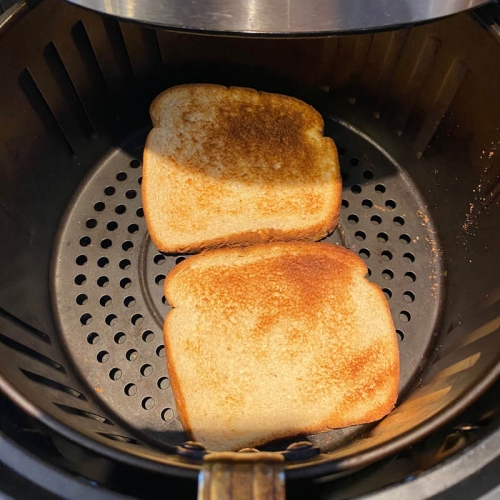
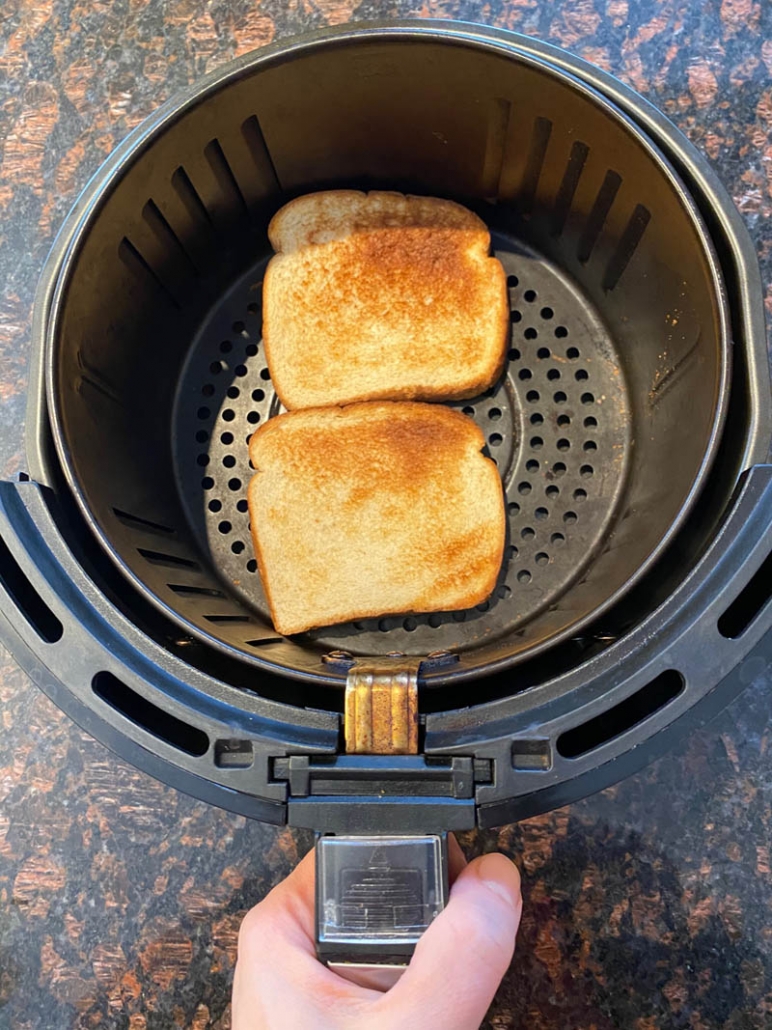
- Arrange slices in a single layer. Avoid overlap so air circulates.
- Set timer for 3 minutes. Check after 2 to avoid over-browning.
- Flip each slice with tongs or a spatula. This promotes even color.
- Continue for another 1–3 minutes until desired toast level.
- Remove carefully and add butter or toppings while hot.
I usually start at 3 minutes for standard sandwich bread and adjust based on slice thickness and taste. A short check at the first flip prevents burning and helps nail the perfect toast.
Toast time and temperature guide
- Thin sandwich bread: 325–350°F for 2–4 minutes total.
- Standard sliced bread: 350°F for 3–5 minutes total.
- Thick artisan or sourdough slices: 350–375°F for 4–6 minutes total.
- Frozen bread or waffles: 360–380°F for 4–7 minutes, flip halfway.
- Bagels: 350°F for 4–6 minutes, toasted cut-side up if possible.
Times vary by model and slice size. Start low and add 30–60 second increments until you find your sweet spot. I keep a sticky note on my fryer with favorite times for each bread type. That saves guesswork.

Tips and tricks for perfect air fryer toast
- Use a single layer to ensure airflow and even browning.
- Lightly mist or brush with oil for extra crispness and even color.
- Butter after toasting for softer interiors and browner edges.
- For garlic toast, spread butter and garlic, then return to air fryer for 1 minute to melt.
- Rotate the basket if your fryer has hot spots. I rotate mine mid-cycle for consistent results.
Small steps cut down on guesswork and give repeatable results. Try a light oil spray for thin breads. For thick slices, a quick 30-second boost at the end can help form a deeper crust without burning.
Common mistakes and how to avoid them
- Overcrowding slices: Causes uneven toasting and sogginess. Toast in batches if needed.
- Using too-high temperatures: Leads to burnt crust and cold centers; follow the time/temperature guide.
- Not preheating: Results in uneven browning. A 2-minute preheat helps a lot.
- Forgetting to flip: One side can over-brown. Flip once halfway for even color.
- Leaving crumbs in the basket: Can smoke and create odor; clean regularly.
I learned these the hard way after a few smoke-filled trials. Clean the basket after every few uses to avoid flare-ups. Also shake out crumbs before you start if you often air-fry greasy food. That cuts smoke and keeps flavors clean.

Health and safety when toasting in an air fryer
- Watch for smoke when toasting buttered bread; fats at high temps can smoke.
- Use oven mitts and tongs to remove hot toast safely.
- Keep the air fryer away from walls or flammable items while in use.
- Check manufacturer guidance for nonstick coatings and high-temperature use.
Air fryers concentrate heat. Simple care prevents burns and keeps the appliance working longer. If smoke starts, turn the unit off, remove the basket, and check for burnt crumbs or grease. Let it cool before cleaning.

Variations and quick recipes
- Classic buttered toast: Toast, then spread butter to melt into the warm slice.
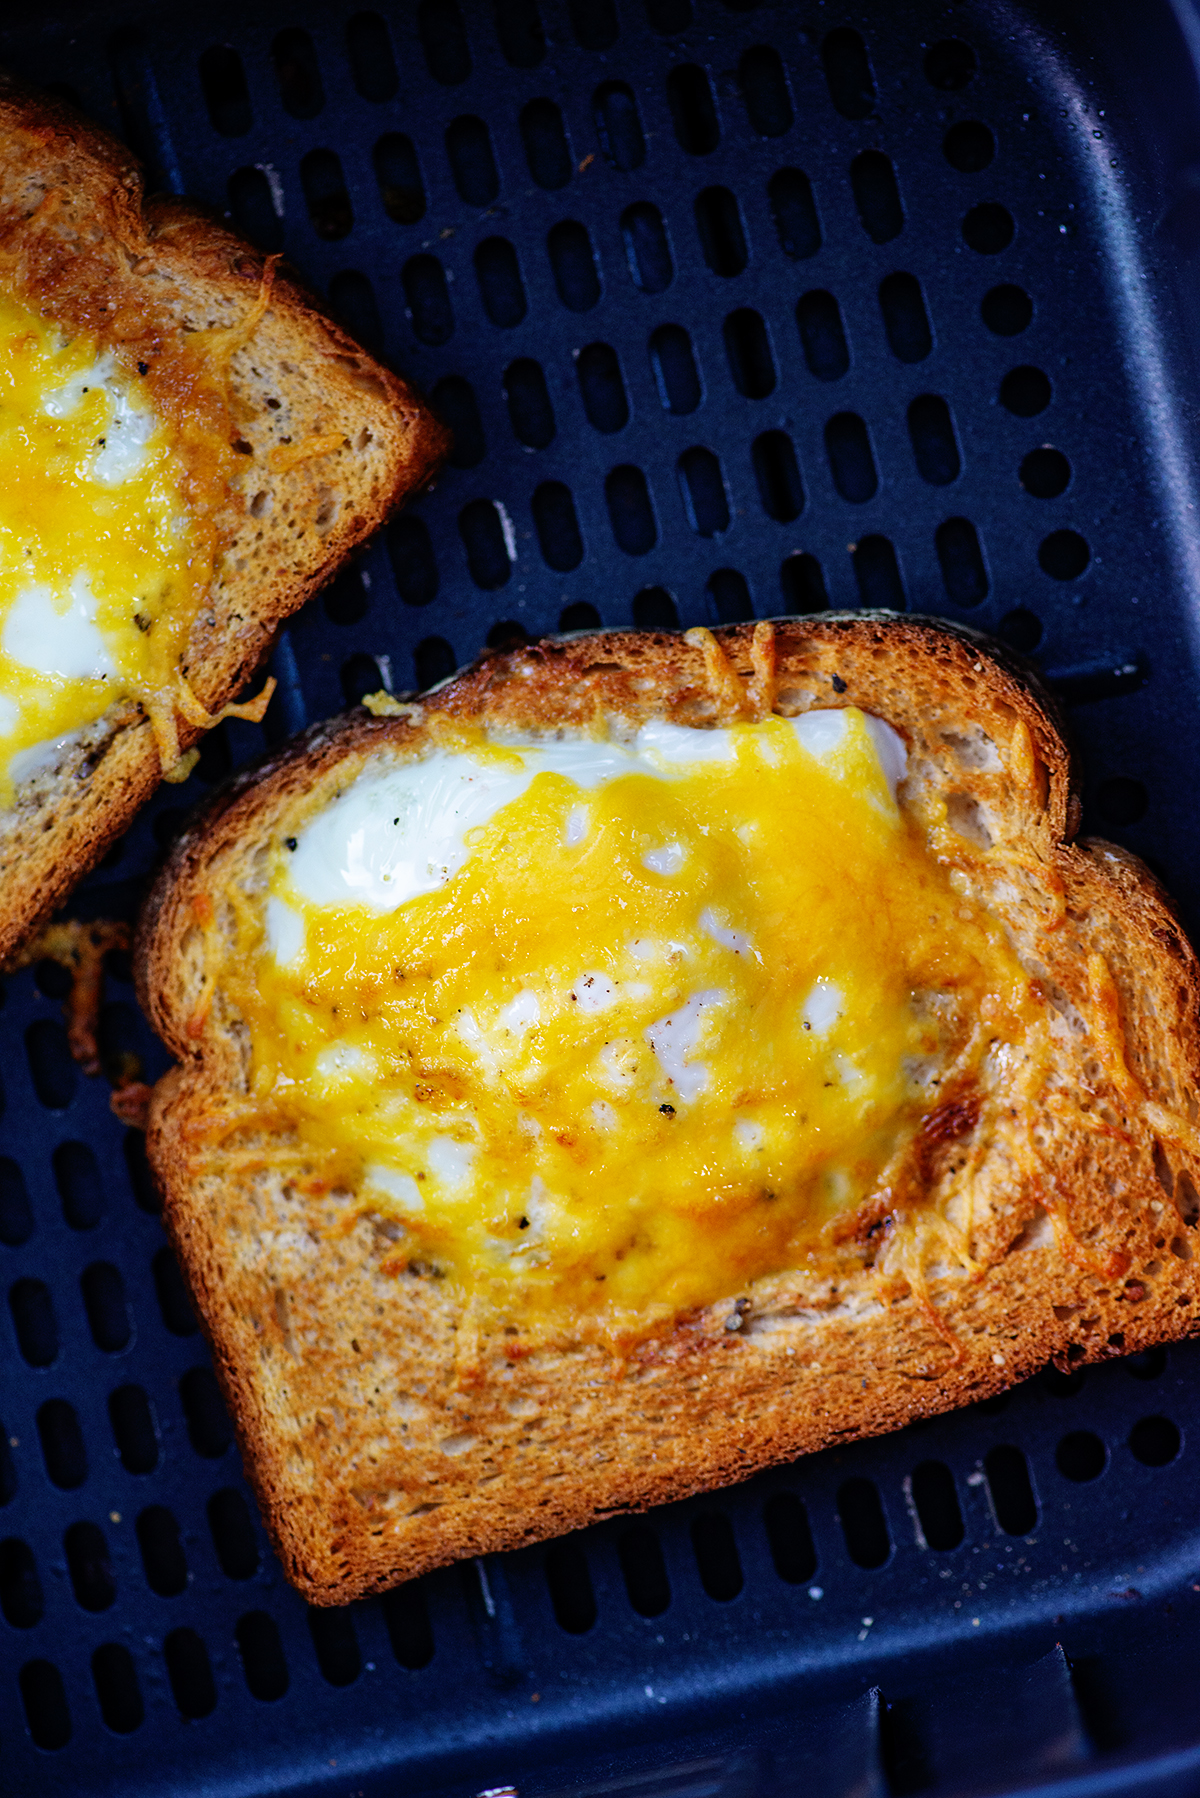
- Cheese toast: Add grated cheese, toast 1–2 minutes more until cheese bubbles.
- Cinnamon sugar toast: Brush with butter, sprinkle cinnamon sugar, toast 30–60 seconds to set.
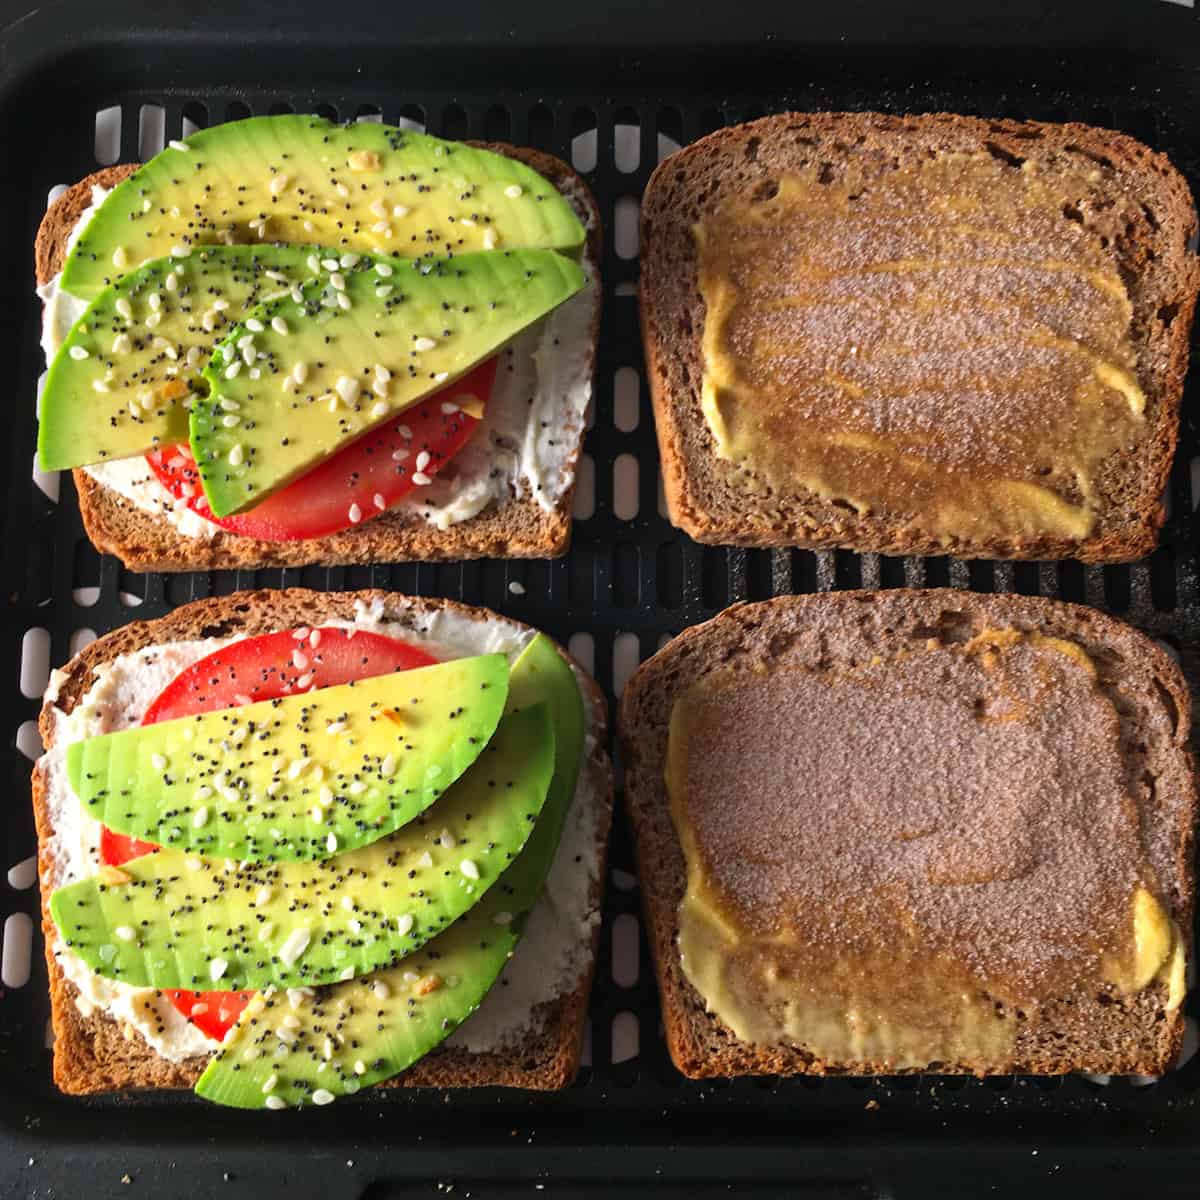
- Avocado toast: Toast, then top with smashed avocado, salt, and lemon.
- Frozen waffles/pancakes: Toast directly from frozen at slightly higher heat.
These quick ideas show how flexible the air fryer is for toasting and light baking. I use my air fryer for open-faced sandwiches and to reheat leftovers. It works well for quick melts and crisping small bakes.
How to clean and maintain your air fryer after toasting
- Let the unit cool before cleaning.
- Remove crumbs and wipe the basket with warm, soapy water.
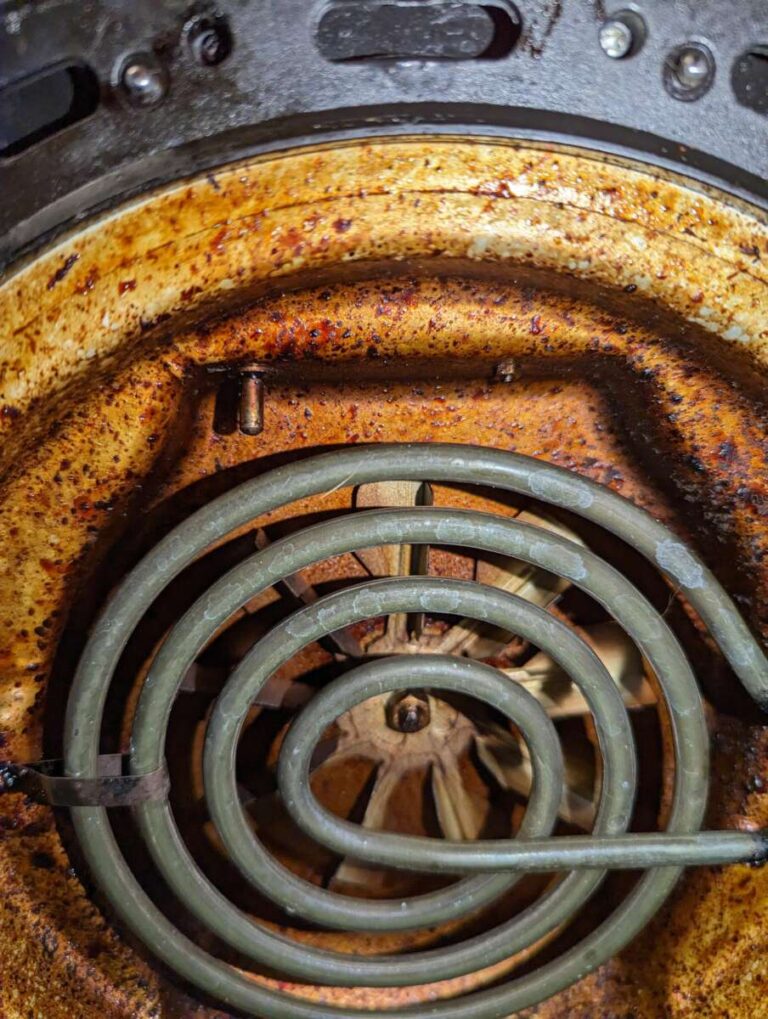
- Clean the heating element gently if crumbs accumulate.
- Avoid abrasive pads that can damage coating.
- Run an empty cycle at 350°F for a few minutes with a lemon slice if odors linger.
Regular care keeps your air fryer working like new and avoids smoky toasting sessions. Wipe crumbs away after each use. Deep clean the basket weekly if you toast often.
Frequently Asked Questions of how to toast bread in air fryer
How long should I preheat my air fryer before toasting bread?
Preheat for 2–3 minutes at the chosen temperature. Preheating evens out heat and improves browning. It is a small step that gives big, repeatable gains.
Can I toast more than one slice at a time?
Yes, but keep them in a single layer without overlap. Toasting stacked slices leads to uneven results. If you need more, toast in batches.
Is a lower temperature better for thicker bread?
A slightly higher temp with a bit more time usually works better for thick slices. That gets a crisp crust and a warm center. Adjust in 30-second steps until you’re happy.
Will an air fryer make toast crunchier than a regular toaster?
An air fryer can make toast crunchier at the edges because of strong convection. Results depend on time, temp, and bread type. Thin slices crisp faster. Thick slices benefit from a bit more time.
Can I use butter or oil before toasting?
Yes, a light brush of oil or butter gives better color and crispness. Watch for smoking at high heat if you use a lot of fat. A thin coat is usually enough.
What if my air fryer smokes while toasting bread?
Turn it off and check for grease or crumbs in the basket or heating element. Clean the unit and reduce temperature if needed. Let it cool before you touch the heating area.
Is it safe to toast frozen bread directly in the air fryer?
Yes. Increase temperature slightly and add 1–3 minutes to the time. Flip halfway through for even heating. Frozen slices often need more time than fresh ones.
Conclusion
Toasting bread in an air fryer is fast, flexible, and forgiving once you learn the key steps: single layer, sensible temps, short checks, and the right flip. Try the time and temperature guide, start conservative, and tweak for your bread type and taste. Give it a test run this week and note your favorite settings; you’ll have perfect toast on repeat. Share your results, subscribe for more kitchen tips, or leave a comment with your go-to toast hack.
Best breads and cuts for air fryer toast
Some breads toast better than others in an air fryer. Here are practical picks and why they work.
- Sandwich bread: Thin, fast, and even. Great for everyday toast.
- Sourdough and artisan: Thicker slices need slightly longer time. They make a chewy, crisp crust.
- Whole wheat: Browns well; may need a touch more time than white bread.
- Brioche or egg bread: Richer, browns quickly. Watch closely to avoid burning.
- Frozen bread and waffles: Toast from frozen with a flip for even heat.
Trim slices to an even thickness for the best results. If you like crisper edges, use a light oil or butter brush before toasting.
How to adjust settings for different air fryer models
Air fryers vary by fan strength, wattage, and basket size. Here are quick tests to dial in your settings:
- Test one slice at 3 minutes at 350°F. Note color and texture.
- If it’s too pale, add 30–60 seconds. If it’s dark, lower temp by 10–15°F.
- For thick slices, increase time in 30-second steps while keeping temp steady.
- Keep a note of each bread and the final time. Over time you’ll build a small reference list.
These quick checks help you avoid burned toast and get consistent results across different machines.
Troubleshooting common issues
Here are quick fixes for issues you may see.
- Burnt edges, raw middle: Lower temp 10–15°F and add time. Flip earlier.
- Soggy bread: Don’t overlap slices. Toast longer in short steps.
- Uneven browning: Rotate the basket and flip midway. Check for hot spots.
- Smoking: Clean crumbs and reduce temp. Avoid heavy butter/oil at high heat.
Use short tests to confirm fixes. Small tweaks make a big difference.
Quick cheat sheet: common settings
| Bread type | Temp | Time | Flip? |
|---|---|---|---|
| Thin sandwich | 325–350°F | 2–4 min | Yes, halfway |
| Standard sliced | 350°F | 3–5 min | Yes |
| Thick sourdough | 350–375°F | 4–6 min | Yes |
| Frozen slices/waffles | 360–380°F | 4–7 min | Yes, halfway |
| Bagels | 350°F | 4–6 min | Optional (cut side up) |
Use this sheet as a quick reference. Adjust for your machine and your crust preference.

Appliance Review Expert
Lucas Ramirez is a trusted voice at HomeFixGrid.com, known for his clear, practical, and creatively written guides that simplify appliance care for everyday homeowners. With a strong focus on hands-on testing and real-world problem-solving, Lucas brings expert insight into appliance reviews and troubleshooting techniques. Her work empowers readers to confidently maintain, repair, and choose the right appliances for their homes.