How Does A Refrigerator Ice Maker Work: Explained Simply
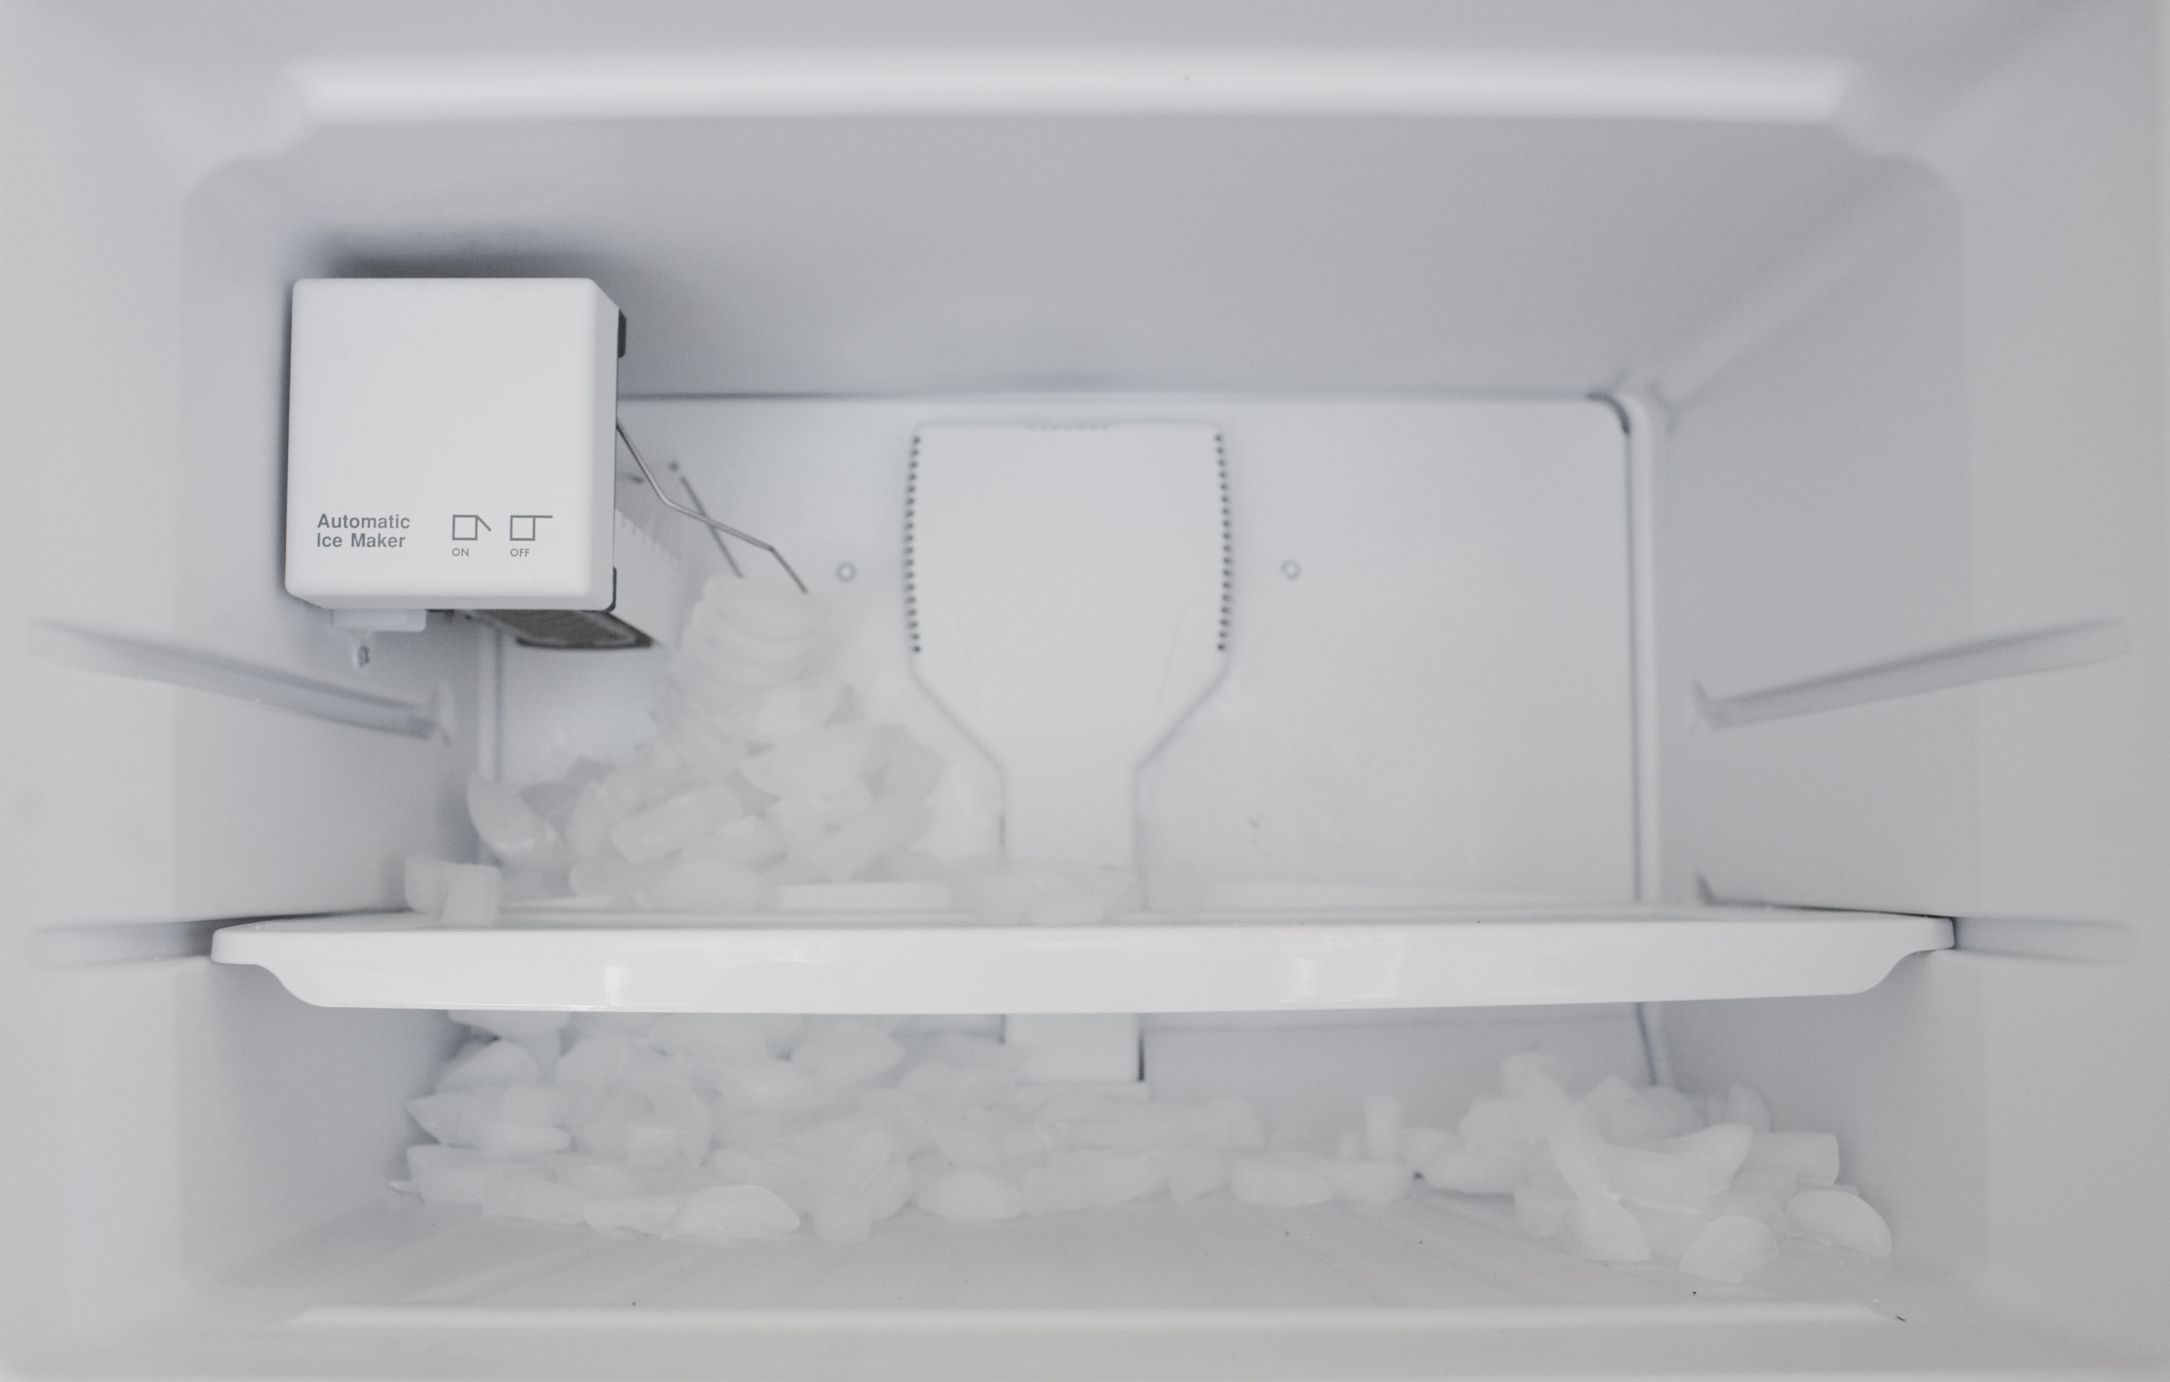
A refrigerator ice maker in a typical U.S. home is a small automatic system that fills a mold with water, freezes it, releases the ice, and stores it in a bin. A control module, water inlet valve, thermostat, motor, heater, and ejector arms work together to repeat this cycle.
Most modern ice makers sit inside the freezer. They use the freezer’s cold air rather than a separate cooling system. When the ice reaches the right temperature, the maker dumps it into the bin and starts another cycle.
The Main Parts of a Refrigerator Ice Maker
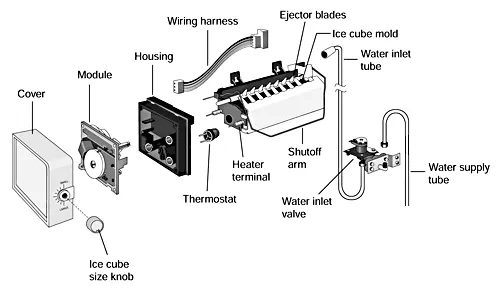
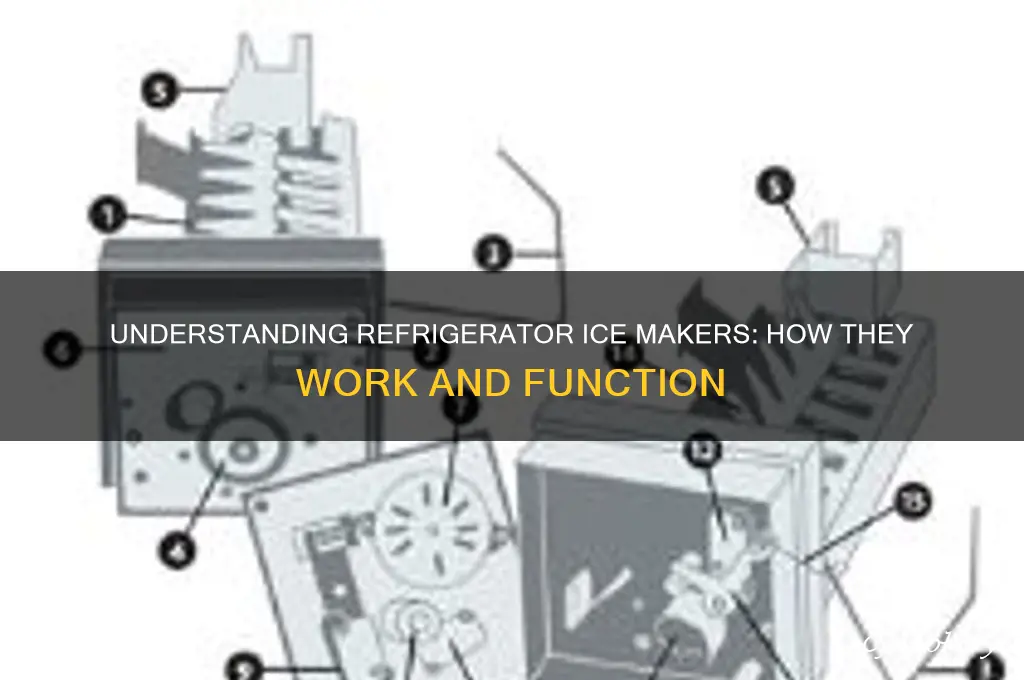
A refrigerator ice maker has several parts, and each has a clear job. The exact design varies by brand and model, but the basic parts are much the same.


| Part | What it does |
|---|---|
| Ice mold | Holds water while it freezes |
| Water inlet valve | Opens to let water enter the mold |
| Fill tube | Carries water from the valve to the mold |
| Thermostat or temperature sensor | Detects when the ice is frozen |
| Ejector motor | Turns the ice-ejector arms |
| Ejector arms | Push the ice cubes out of the mold |
| Mold heater | Loosens the ice before harvest |
| Shutoff arm or sensor | Stops production when the bin is full |
| Control module | Times and controls the ice-making cycle |
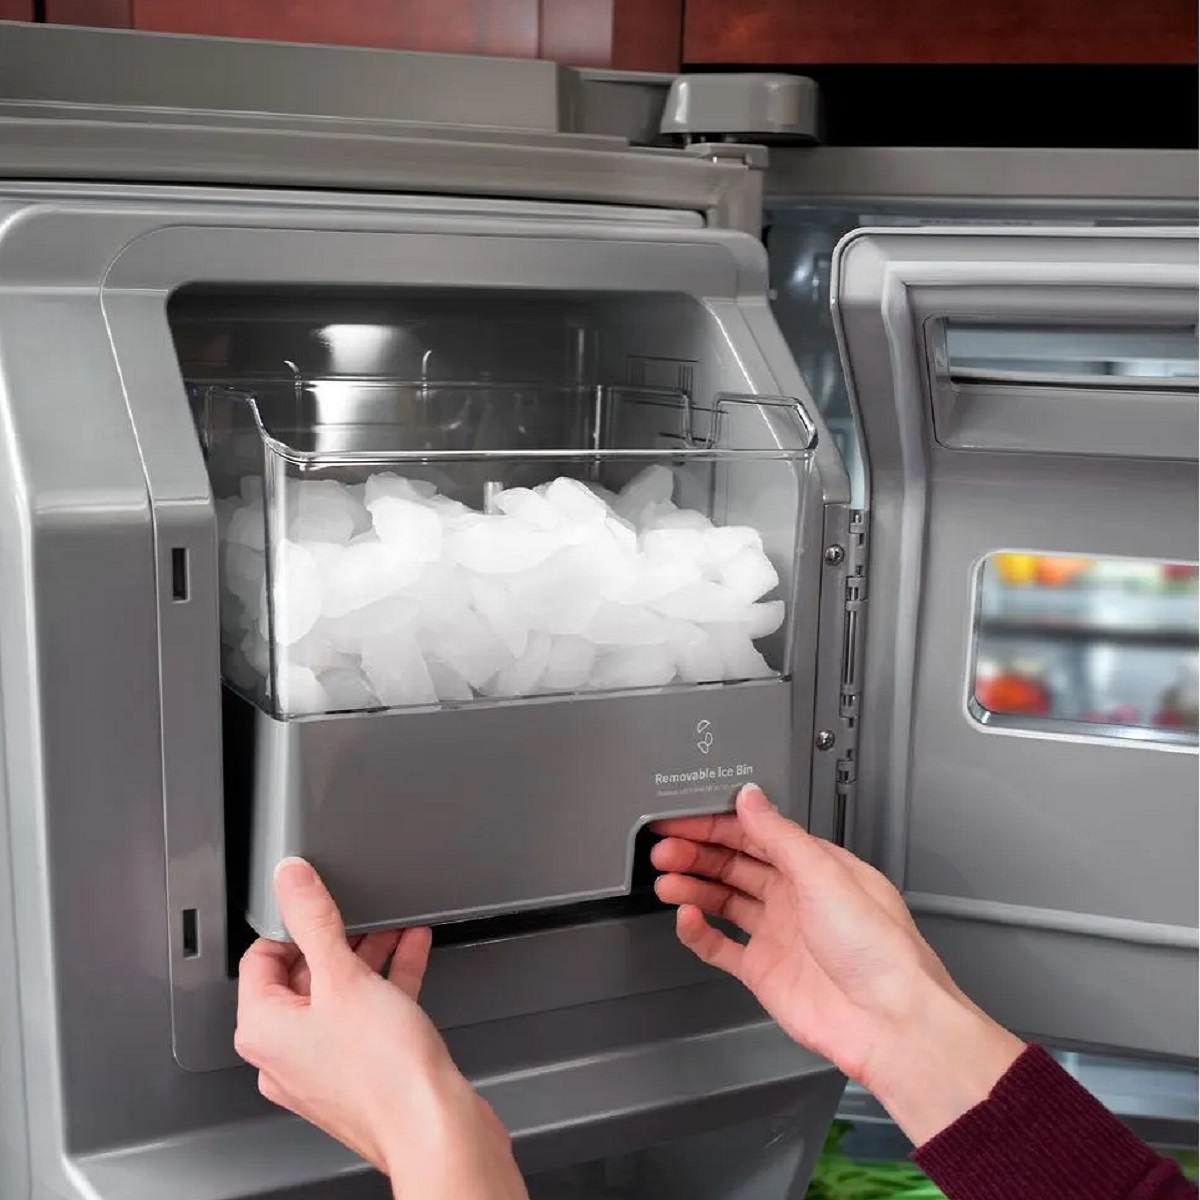
| Ice bin | Stores finished ice |
Some newer refrigerators use electronic sensors instead of a simple mechanical thermostat. Many also use an optical or infrared sensor to detect the ice level.
The ice mold
The mold is the tray that gives ice its shape. It may make crescent, cube, or other shaped pieces. The mold is often made from coated metal or plastic.
The water inlet valve
The inlet valve is an electrically controlled valve near the back of the refrigerator. When the ice maker calls for water, the valve opens for a short time.
The valve must receive the right water pressure. Low pressure may cause small cubes or no fill. Excess pressure, a faulty valve, or a clogged filter can cause leaks or overfilling.
The thermostat or temperature sensor
The sensor checks whether the water has frozen. A traditional ice maker may use a small thermostat in or near the mold. A newer unit may use a thermistor or electronic temperature sensor.
The sensor does not simply run on a fixed timer. It helps the control system decide when the ice is ready to harvest.
The ejector motor and arms
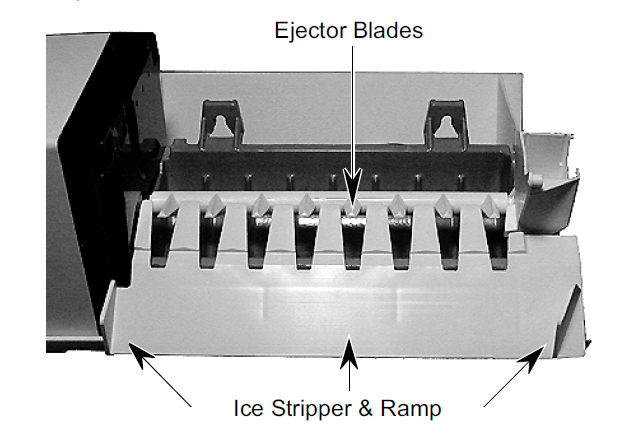
After freezing, a small motor turns the ejector arms. The arms sweep through the mold and push the cubes out.
The motor may also drive a gear or control mechanism that starts the next fill cycle. If the motor or gear breaks, the ice maker may freeze water but fail to release the cubes.
The mold heater
The heater warms the bottom of the mold for a short time. It does not melt the whole batch. It creates a thin layer of water between the ice and the mold so the ejector arms can remove the cubes.
A heater can make the mold feel warm during harvest. That is normal. The heater should not stay on continuously.
The shutoff system
the ice maker needs a way to stop when the bin is full. Older designs often use a wire shutoff arm. Newer designs may use an electronic sensor.


If the arm is raised, or if the sensor sees a full bin, the ice maker stops making ice. The refrigerator may still cool normally.
How the Ice-Making Cycle Works
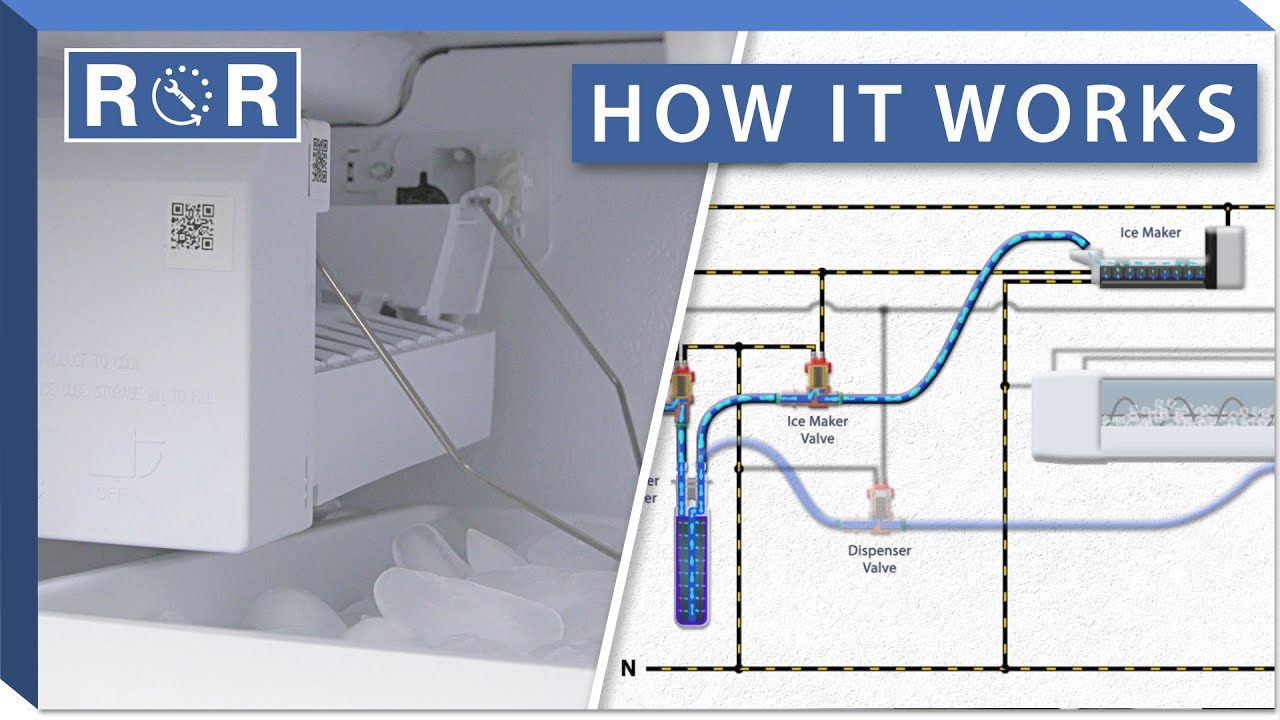
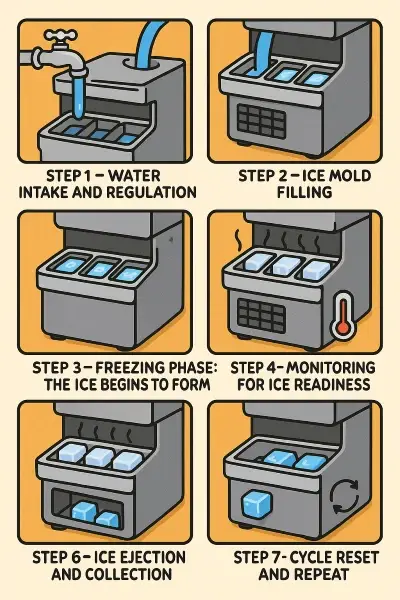
A refrigerator ice maker usually follows six basic stages: start, fill, freeze, sense, harvest, and reset.
1. The ice maker starts
When the refrigerator is turned on and the ice maker is enabled, the control system waits for the proper conditions.
The freezer must be cold enough, the shutoff system must allow production, and the ice maker must have power. Many manufacturers recommend a freezer temperature near 0°F for food storage, but the ice maker’s exact operating range depends on the model.
If the freezer is too warm, water may freeze slowly or remain partly liquid. The refrigerator can appear to work while the ice maker pauses or produces weak batches.
2. The water valve opens
When the cycle begins, the ice maker sends power to the refrigerator’s water inlet valve. The valve opens for a short, timed period.
Water flows through the household supply line, passes through the refrigerator filter if one is installed, and travels through the fill tube into the mold.
The amount of water depends on the model and its fill setting. A normal fill should reach the mold without spilling over its edges.
3. The water freezes
The mold remains in the freezer, where cold air removes heat from the water. The water changes from liquid to solid as its temperature falls.
The freezer does not need to make a new cold surface for each batch. Instead, it keeps the mold and nearby air cold enough for the water to freeze.
Freezing speed depends on several factors:
- Freezer temperature
- Room temperature
- How often the door opens
- Amount of food in the freezer
- Water temperature
- Ice maker design
- Airflow around the ice maker
- Condition of the door gasket
A full freezer can hold temperature well, but blocked vents can reduce airflow. Food should not press against the ice maker or freezer vents.
4. The sensor confirms frozen ice
Once the ice reaches the required temperature, the thermostat or sensor signals that the batch is ready.
This step prevents the ejector arms from moving too early. If the arms push into liquid or soft ice, the mold can jam and the cubes may come out misshapen.


A sensor can fail in either direction. It may signal too soon, which leads to wet or weak cubes, or fail to signal at all, which leaves a full mold stuck in the freeze stage.
5. The heater loosens the cubes
During harvest, the mold heater turns on briefly. It warms the mold surface just enough to loosen the ice.
The heater is not the main source of heat in the freezer. It works for a short period and normally cycles off before the ejector arms finish their work.
6. The ejector arms remove the ice
The motor turns the ejector arms through the mold. The arms push each cube upward and into the storage bin.
The cubes may fall into the bin at slightly different times. A few wet or fused cubes can occur, especially if the freezer temperature changes.
7. The cycle resets
After harvest, the ejector mechanism reaches its reset position. The water valve opens again, and the mold refills if the shutoff system does not detect a full bin.
This cycle repeats until the bin is full, the ice maker is switched off, or a fault prevents the next step.
Why a Refrigerator Ice Maker Stops Making Ice
A refrigerator ice maker may stop because of a simple control setting, a water problem, a temperature problem, or a failed part. Start with safe checks before testing electrical components.
Check the ice maker switch and shutoff arm
First, confirm that the ice maker is turned on. Look for:
- An on/off switch
- A wire shutoff arm
- A control on the refrigerator display
- An ice-making setting in the owner’s manual
If the shutoff arm is raised, production stops. Lower it only if the ice bin is not full and the arm moves freely.
Do not force the arm. A bent arm can prevent the ice maker from restarting.
Check the freezer temperature
The freezer should be cold enough to freeze water solid. Use a separate appliance thermometer if the temperature seems uncertain.
A setting that is too warm, frequent door opening, a weak door seal, or blocked airflow can slow or stop ice production. Do not rely only on the refrigerator’s display, since some displays show a set point rather than the actual air temperature.
Check the water supply
Make sure the refrigerator’s water supply valve is open. Check the line behind the appliance for kinks.


If the water dispenser also has low flow, the problem may involve the filter, supply line, household pressure, or inlet valve. If the dispenser works normally but the ice maker does not fill, the ice maker valve, fill tube, wiring, or control may be at fault.
Inspect the fill tube for ice
A frozen fill tube can block water from entering the mold. This often happens when water pressure is low or the inlet valve does not close fully.
Unplug the refrigerator before attempting any service that requires removing covers. Do not use a knife, screwdriver, heat gun, or open flame to remove ice. A hair dryer can damage plastic parts and create an electrical hazard around water.
For a frozen tube, use the procedure in the refrigerator’s service instructions or contact a qualified appliance technician.
Look for ice stuck in the mold
A single oversized or fused batch can stop the ejector arms. If the ice maker has a removable bin, empty the bin and check for clumps.
Do not pry hard against the mold or ejector arms. The mold, gear, and motor can break easily.
Consider the water filter
A clogged filter can reduce water flow. It can cause:
- Small cubes
- Slow filling
- Hollow cubes
- A dispenser with weak flow
- A fill tube that freezes
Replace the filter with the correct model or approved equivalent. Follow the refrigerator manual for installation and flushing instructions.
When to stop troubleshooting
Stop and seek qualified repair help if you find:
- Burned wiring
- Melted plastic
- Water near electrical parts
- A repeated tripped circuit breaker
- A damaged power cord
- A leaking valve or water line
- A motor that hums but does not turn
- A control board with visible damage
A refrigerator combines electricity, water, heat, and sharp metal parts. Unplugging the appliance does not make every repair risk-free, because some parts may still hold stored energy or may be difficult to access safely.
Common Ice Maker Problems and Likely Causes
The symptom often points to the stage where the cycle stops. This table can help narrow the problem without guessing at parts.
| Symptom | Likely causes | Useful first check |
|---|---|---|
| No ice at all | Ice maker off, warm freezer, no water supply, failed control | Check setting, freezer temperature, and water valve |
| Ice maker has water but does not harvest | Failed motor, broken gear, sensor fault, stuck cubes | Look for a frozen mold or jam |
| Small or hollow cubes | Low water flow, clogged filter, low pressure, short fill | Check filter, supply line, and dispenser flow |
| Ice maker overfills | Valve not closing, control fault, incorrect fill setting | Turn off ice maker and inspect for overflow |
| Ice clumps in the bin | Moisture, infrequent use, temperature swings | Break up clumps and keep the bin dry |
| Ice has a bad taste | Old ice, food odors, dirty bin, water quality | Discard old ice and clean the bin |
| Water leaks into the freezer | Frozen or misaligned fill tube, leaking valve | Turn off water and arrange service if needed |
| Ice has a cloudy center | Dissolved air or minerals in the water | Usually cosmetic; check water quality if taste changes |
A symptom is not proof of a failed part. For example, “no ice” does not automatically mean the ice maker itself is defective. The freezer temperature, filter, supply line, and shutoff control can create the same result.
How Long Does a Refrigerator Ice Maker Take?
A typical ice maker needs roughly one to two hours for a batch, but the actual time varies by refrigerator and conditions.
The first batch after installation or a power outage may take longer because the freezer must return to its normal temperature. A warm kitchen, frequent door openings, and a heavily loaded freezer can also delay production.
Do not judge the ice maker by the first few minutes after turning it on. Give the freezer time to cool and the ice maker time to complete its first freeze and harvest cycle.
Production also stops when the bin is full. If ice is removed, some models restart at once, while others wait for the next sensor or control cycle.
Why Ice Makers Make Noisy Sounds
Most ice maker sounds are normal. You may hear:
- A low hum when the water valve opens
- A click from the thermostat or relay
- A motor sound during harvest
- Ice dropping into the bin
- A brief buzz from the inlet valve
- Water moving through the fill tube
A loud grinding sound, repeated clicking, or a motor that runs without moving the ejector arms may indicate a jam or worn part.
A sudden water leak, burning smell, or electrical noise is not normal. Turn off the ice maker and unplug the refrigerator when safe to do so. If water can reach electrical parts, close the refrigerator’s water supply valve as well.
Does the Ice Maker Make the Freezer Colder?
No. The freezer’s cooling system makes the cold air. The ice maker uses that cold air to freeze water.
The ice maker adds a small heat load when the water enters the mold and when the mold heater runs during harvest. The freezer’s compressor and fans remove that heat along with heat from food, air entering through the door, and the refrigerator compartment.
This is why a working ice maker cannot compensate for a warm freezer. If the freezer cannot maintain a safe, stable temperature, the ice maker will usually slow down or stop.
How to Clean and Maintain an Ice Maker
Regular cleaning helps control odors, residue, and old ice. It does not fix a failed valve, motor, sensor, or control board.
- Turn off the ice maker.
- Remove the ice bin.
- Discard old or clumped ice.
- Wash the bin with warm water and mild dish soap.
- Rinse it well and dry it fully.
- Wipe accessible ice maker surfaces with a clean, damp cloth.
- Replace the bin and turn the ice maker back on.
- Discard the first batch if the manual recommends doing so after cleaning or filter replacement.
Do not immerse electrical parts. Do not use harsh chemicals unless the manufacturer specifically approves them. Do not put an ice bin in a dishwasher unless the manual says it is dishwasher-safe.
If the ice has an ongoing odor or taste, clean the bin and check nearby food for strong odors. Replace the water filter on the schedule listed by the refrigerator maker, or sooner if flow drops or the water quality changes.
Key Takeaways
- A refrigerator ice maker fills a mold, freezes the water, loosens the ice, and ejects it into a bin.
- The freezer supplies the cold; the ice maker does not have a separate cooling system.
- A thermostat or sensor tells the control when the ice is ready.
- A short heater cycle loosens the cubes before a motor pushes them out.
- The most useful first checks are the ice setting, shutoff arm, freezer temperature, water supply, and filter.
- Turn off power and water before service work, and get professional help for electrical damage, leaks, or inaccessible parts.
Frequently Asked Questions
How does an ice maker know when the bin is full?
Older ice makers use a wire shutoff arm. When the ice pushes the arm upward, the mechanism stops production. Newer models may use an optical or electronic level sensor. The exact system depends on the refrigerator model.
Can an ice maker work without a water filter?
Some refrigerators can make ice without a filter, while others require a filter bypass plug or a filter cartridge for proper water flow. Check the owner’s manual before removing the filter.
Why are the first ice cubes after installation often bad?
The first cubes may contain air, manufacturing residue, or water that sat in the supply line. Follow the manufacturer’s flushing instructions and discard the first batches if the manual recommends it.
Is cloudy ice unsafe?
Cloudiness often comes from dissolved air or minerals freezing in the cube. It is usually a cosmetic issue. If the ice has a bad smell, unusual color, or a change in taste, stop using it until the water supply and refrigerator are checked.
Why does the ice maker freeze up?
A frozen ice maker can result from low water pressure, a partially blocked fill tube, a valve that leaks after closing, warm air entering through a poor door seal, or a control problem. Do not chip at the ice with a sharp tool. Use the model’s service instructions or call a technician.
Should I turn off the ice maker when I leave home?
If the refrigerator will remain connected to water and powered, follow the owner’s manual. For a long absence, many owners turn off the ice maker and close the water supply valve to reduce the chance of a leak. Keep the refrigerator powered if it contains food.
Conclusion
A refrigerator ice maker is a timed water-and-freezing system. The water valve fills the mold, the freezer removes heat, a sensor confirms that the batch is frozen, and a heater and motor release the ice into the bin.
When ice production stops, check the controls, shutoff arm, freezer temperature, water supply, filter, and fill tube in that order. If the issue involves leaks, damaged wiring, repeated electrical faults, or a failed internal part, use the service information for the exact refrigerator model or contact a qualified appliance technician.
Sources for Further Checking
- U.S. Department of Agriculture: Freezing and Food Safety
- U.S. Food and Drug Administration: Refrigerator and Freezer Storage
- The owner’s manual and service documentation for the specific refrigerator model
- The refrigerator manufacturer’s official water-filter, ice-maker, and troubleshooting guidance

Appliance Review Expert
Lucas Ramirez is a trusted voice at HomeFixGrid.com, known for his clear, practical, and creatively written guides that simplify appliance care for everyday homeowners. With a strong focus on hands-on testing and real-world problem-solving, Lucas brings expert insight into appliance reviews and troubleshooting techniques. Her work empowers readers to confidently maintain, repair, and choose the right appliances for their homes.