How To Reverse A Fridge Door: Easy DIY Guide
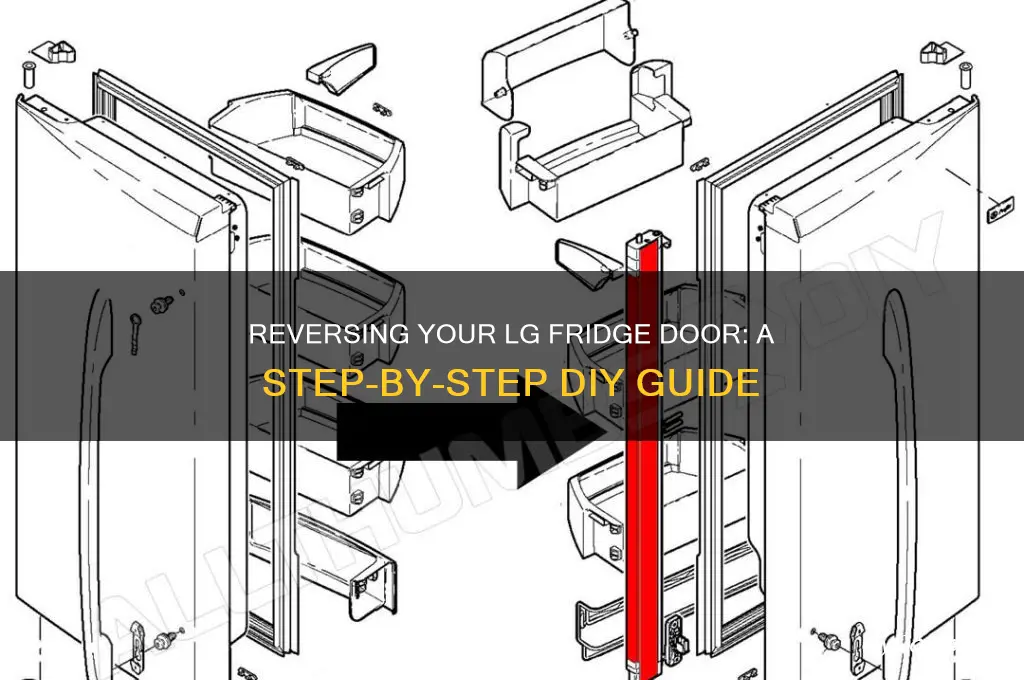
Most standard refrigerators in the United States can have the door moved from one side to the other, but the exact process depends on the model. In general, you remove the handle, hinge covers, hinges, and door, then reinstall them on the opposite side. Always check the owner’s manual first. Some French-door, built-in, water-dispenser, and smart refrigerators are not designed for this change.
Reversing a fridge door usually takes 30 to 90 minutes. You will need a clear work area, basic hand tools, and another person to support the door. Work slowly. A dropped door can damage its hinge, wiring, seal, or finish.

Check whether your refrigerator door can be reversed
The first step is to confirm that your refrigerator supports a door reversal. Look for a statement in the owner’s manual such as “reversible door,” “door swing reversal,” or “hinge reversal.”


You can also inspect the refrigerator for these signs:
- Hinge holes covered by plastic caps on both sides
- Matching screw holes on the left and right cabinet edges
- A handle that can be removed and mounted on either side
- A door gasket that fits into a removable channel
- A freezer door with matching hinge points on both sides
Do not assume that every refrigerator has this feature. The product’s model number matters more than its general appearance.
Refrigerators that may not support door reversal
Door reversal may be impossible or unsafe when the refrigerator has:
- French doors with a center divider
- A bottom freezer with drawer rails
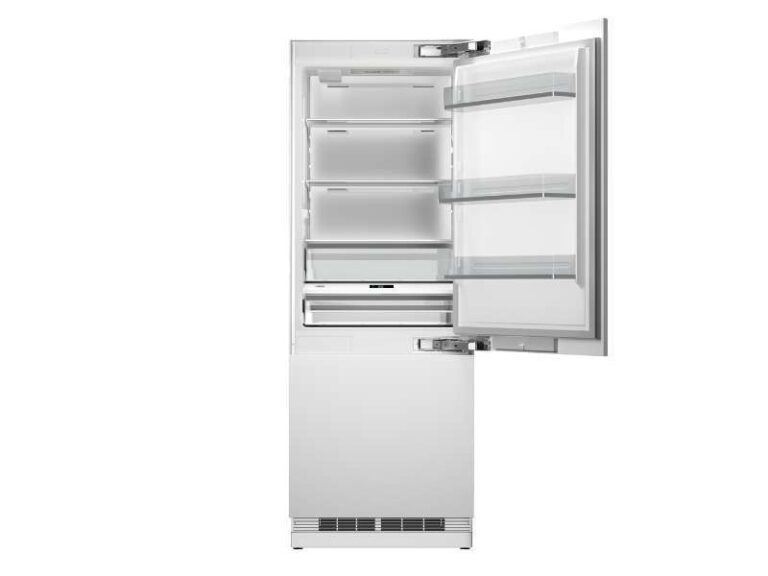
- A built-in or counter-depth design with fixed hinges
- A water or ice dispenser in the door
- Electrical wires running through the hinge
- A factory-installed door alarm or display
- An external water line or gas strut
- A door that uses different left- and right-hand parts
- A sealed hinge or welded cabinet mount
Some models need a separate left-hand hinge kit. Others require a service technician because the door wiring must be rerouted.
If the manual does not describe the conversion, stop before removing the door. A wrong hinge position can prevent the door from sealing and may void parts of the warranty.

Tools and supplies you will need
Gather the tools before you begin. The required tools vary by brand, but most standard refrigerators need:
- Phillips screwdriver
- Flat screwdriver or plastic trim tool
- Nut driver or socket set
- Adjustable wrench
- Small container for screws
- Masking tape and a marker
- Soft towels or a moving blanket
- A second person to hold the door
- Replacement hinge parts, if listed in the manual
Use the correct driver size. A loose-fitting screwdriver can strip the screw head.
Keep each screw with the part where it came from. Refrigerator screws may look alike but have different lengths or thread types. Mixing them can damage the cabinet or prevent a hinge from sitting flat.
Before starting, take photos of:
- The upper hinge
- The lower hinge
- The handle
- The wiring path, if visible
- The position of spacers and washers
These photos give you a useful reference during reassembly.


Prepare the refrigerator before removing the door
Preparation reduces the risk of injury and protects the food inside.
- Read the owner’s manual. Follow the model-specific order for removing hinges and caps.
- Empty the door shelves. Remove bottles, bins, and heavy items.
- Remove loose shelves if needed. This makes the door lighter.
- Move the refrigerator away from the wall. Leave enough room to work on both sides.
- Unplug the refrigerator. Do not work near electrical wires while it is powered.
- Protect the floor. Place a towel or moving blanket beneath the door.
- Secure the cabinet. Ask another person to hold the refrigerator steady.
- Keep the door upright. Do not lay it flat unless the manual permits this.
A refrigerator door can be heavier than it looks. Glass shelves, door bins, insulation, and wiring add weight.
Protect the food
If the refrigerator will be unplugged for only a short time, keep the doors closed as much as possible. The U.S. Department of Agriculture recommends keeping a refrigerator at 40°F or below. Perishable food should not remain above 40°F for more than two hours, or one hour when the surrounding temperature is above 90°F.
For a long repair, place food in a cooler with ice. Do not rely on the refrigerator to cool quickly after the repair if the door does not seal correctly.

How to reverse a standard top-freezer or single-door refrigerator
The following method fits many conventional U.S. refrigerators. Your model may use a different screw order, hinge design, or trim system.
1. Remove the handle
Look for screw covers at the top, bottom, or side of the handle. Pry them off with a plastic trim tool or a flat screwdriver wrapped in tape.
Remove the handle screws and set the handle aside. Some handles slide upward after the screws are loosened. Do not force the handle. Check for hidden clips before pulling.
If the handle has a locking tab, release it according to the manual.
2. Remove the hinge cover
The top hinge is often hidden under a plastic cover. Remove the cover screw or release its clips.
Place the cover and screws in a labeled container. Do not discard the small plastic caps from the opposite side. You may need to move them later.
3. Support and remove the door
Have a second person hold the door firmly. Remove the top hinge screws while your helper supports the door’s weight.
Lift the door straight up from the bottom hinge. Set it on a padded surface. Avoid dragging the lower edge across the floor.
If the door has a wire connector, unplug it only after the refrigerator is disconnected from power. Note the connector’s position and route.


4. Move the hinge parts to the opposite side
Remove the bottom hinge, hinge pin, washers, and spacers if the manual says they must move.
Transfer each part to the matching holes on the opposite side. Keep washers and spacers in the same order. They control the height and alignment of the door.
Some bottom hinges are not symmetrical. Turn the hinge around only when the instructions show that it should be flipped.
5. Transfer the door stop and bushing
The bottom or side edge of the door may have a door stop, pin, or plastic bushing. These parts limit how far the door opens and help the door sit at the correct height.
Remove them and install them on the opposite side. If you skip this step, the door may open too far, sit unevenly, or strike the cabinet.
6. Reinstall the door
Place the door onto the lower hinge pin. Keep the door upright while your helper supports it.
Install the upper hinge on the opposite side. Tighten the screws enough to hold the door, but do not fully tighten them yet.
Close the door gently and check its position. The top and side gaps should look even. Adjust the hinge before final tightening.
7. Reinstall the handle
Move the handle to the opposite side. Install its screws and replace the screw covers.
Check that the handle is level and secure. Do not overtighten screws in plastic trim.
8. Reconnect power
Only plug the refrigerator in after all parts are installed and all wiring is secured. Keep wires away from the hinge and door edge.
Do not turn the refrigerator back on if a wire is pinched, cut, or stretched. Contact the manufacturer or a qualified appliance technician.

How to align and test the door
A door that looks closed may still leak cold air. Test it before putting food back inside.
Check the door gap
Stand in front of the refrigerator and inspect the gaps around the door. Look for:


- An even gap along the hinge side
- A door that sits level with the cabinet
- No rubbing at the top or bottom
- A gasket that touches the cabinet all the way around
If one corner is high or low, loosen the hinge slightly and adjust the door. Tighten the hinge again while keeping the door in position.
Test the gasket with paper
Close the door on a sheet of paper. Pull the paper gently.
The gasket should grip the paper with light resistance. Test several points around the door, especially the top corner and hinge side. If the paper slides out easily in one area, the gasket may be folded, dirty, damaged, or misaligned.
Clean the gasket with warm water and mild dish soap. Do not use sharp tools or harsh chemicals.
Test the door swing
Open the door fully, then let it close. Many refrigerators use a slight cabinet tilt or a hinge cam to help the door close by itself.
If the door stays open, check:
- Whether the refrigerator is level
- Whether the hinge is loose
- Whether a shelf or bin is blocking closure
- Whether the door stop is installed correctly
- Whether the gasket is twisted
Do not compensate for a poor seal by turning the temperature control colder. Find and correct the alignment problem first.
Common problems after reversing a refrigerator door
Most problems come from a misplaced hinge part, a damaged gasket, or poor alignment.
| Symptom | Likely cause | What to check |
|---|---|---|
| Door will not close | Shelf, bin, hinge, or door stop is in the wrong position | Remove obstructions and compare the hinge with the manual |
| Door sits too low | Missing washer, spacer, or hinge adjustment | Recheck the lower hinge parts |
| Door rubs on the cabinet | Hinge is not centered or fully seated | Loosen, align, and retighten the hinge |
| Cold air escapes | Gasket is folded or the door is uneven | Test the seal with paper |
| Handle feels loose | Wrong screw or loose mounting bracket | Use the original handle hardware |
| Door opens too far | Door stop is missing or reversed | Move the door stop to the required side |
| Alarm or display does not work | Wire connector is loose or pinched | Unplug the refrigerator and inspect the connector |
| Refrigerator runs constantly | Door is not sealing or the unit is still cooling down | Check the gasket and temperature after several hours |
| Frost forms near the door | Warm air enters through a poor seal | Inspect the full gasket perimeter |
| Door swings the wrong way | Parts were moved without following the model instructions | Compare each part with the manual |
A refrigerator may run longer for a while after being unplugged. That is normal as it returns to its set temperature. Continuous running, rising food temperature, or frost along the gasket is not normal if it continues after the door is correctly aligned.

When you should not reverse the door yourself
Stop the job and arrange professional help if:
- The door contains wiring that you cannot disconnect safely
- The hinge holes do not match on the opposite side
- The door is too heavy for two people to control
- The cabinet metal is bent or cracked
- A hinge screw spins without tightening
- The door gasket is torn
- The manual requires a special conversion kit
- The refrigerator is built into cabinetry
- The appliance is still under a warranty with installation restrictions
- You smell burning, see damaged wires, or find a loose electrical connection
Do not drill new holes in the refrigerator cabinet. The cabinet may contain insulation, refrigerant lines, or electrical parts. Creating new holes can cause serious damage.
Do not use glue, extra washers, or random screws to make the door fit. A door hinge carries repeated loads, so an improvised repair may fail without warning.

Frequently asked questions
Can one person reverse a refrigerator door?
It is best to use two people. One person can remove small trim pieces, but the other person should support the door while the hinge is removed. This reduces the risk of dropping the door or bending the hinge.
Do I need to turn off the water supply?
Only if the refrigerator has a water connection that passes through or near the door. Shut off the water supply before disconnecting any water line, and follow the manual’s procedure. A standard refrigerator without a dispenser does not need a water shutoff.
Should I replace the door gasket after reversing the door?
Usually not. Reversing the door does not automatically require a new gasket. Replace it if it is torn, hard, cracked, badly warped, or unable to seal after careful alignment.
How long should I wait before putting food back in?
Wait until the refrigerator returns to 40°F or below. A thermometer is more reliable than touch. The time can vary with room temperature, food load, model, and how long the refrigerator was unplugged.
What if my refrigerator door is not listed as reversible?
Do not attempt a conversion based only on appearance. Contact the manufacturer with the full model number. The manufacturer can confirm whether a hinge kit, different door, or service visit is required.

Final check before using the refrigerator
Before you finish, confirm that:
- Every hinge screw is installed and tight
- The door handle is secure
- The gasket is clean and fully seated
- The door closes without rubbing
- The door stays closed on its own
- No wire or water line is pinched
- The refrigerator is level
- The door alarm and dispenser work, if included
- The refrigerator reaches 40°F or below
The safest approach is simple: follow the manual, support the door, preserve every spacer and screw, and test the seal before restocking food. If the model uses hidden wiring or does not clearly support a reversed swing, stop and use the manufacturer’s service instructions instead.

Appliance Review Expert
Lucas Ramirez is a trusted voice at HomeFixGrid.com, known for his clear, practical, and creatively written guides that simplify appliance care for everyday homeowners. With a strong focus on hands-on testing and real-world problem-solving, Lucas brings expert insight into appliance reviews and troubleshooting techniques. Her work empowers readers to confidently maintain, repair, and choose the right appliances for their homes.