Can You Steam Milk In The Microwave: Easy Frothing Guide
Yes, you can heat milk in the microwave, but a microwave does not create steam in the same way as an espresso machine. It warms the milk from within the container. You then need to add air with a milk frother, whisk, French press, or another tool to create foam.
For a latte or cappuccino at home in the United States, the easiest method is to microwave the milk in short bursts, stir it, check the temperature, and froth it after heating. Use a microwave-safe container, never seal the milk, and stop before it boils.
What “steamed milk” means
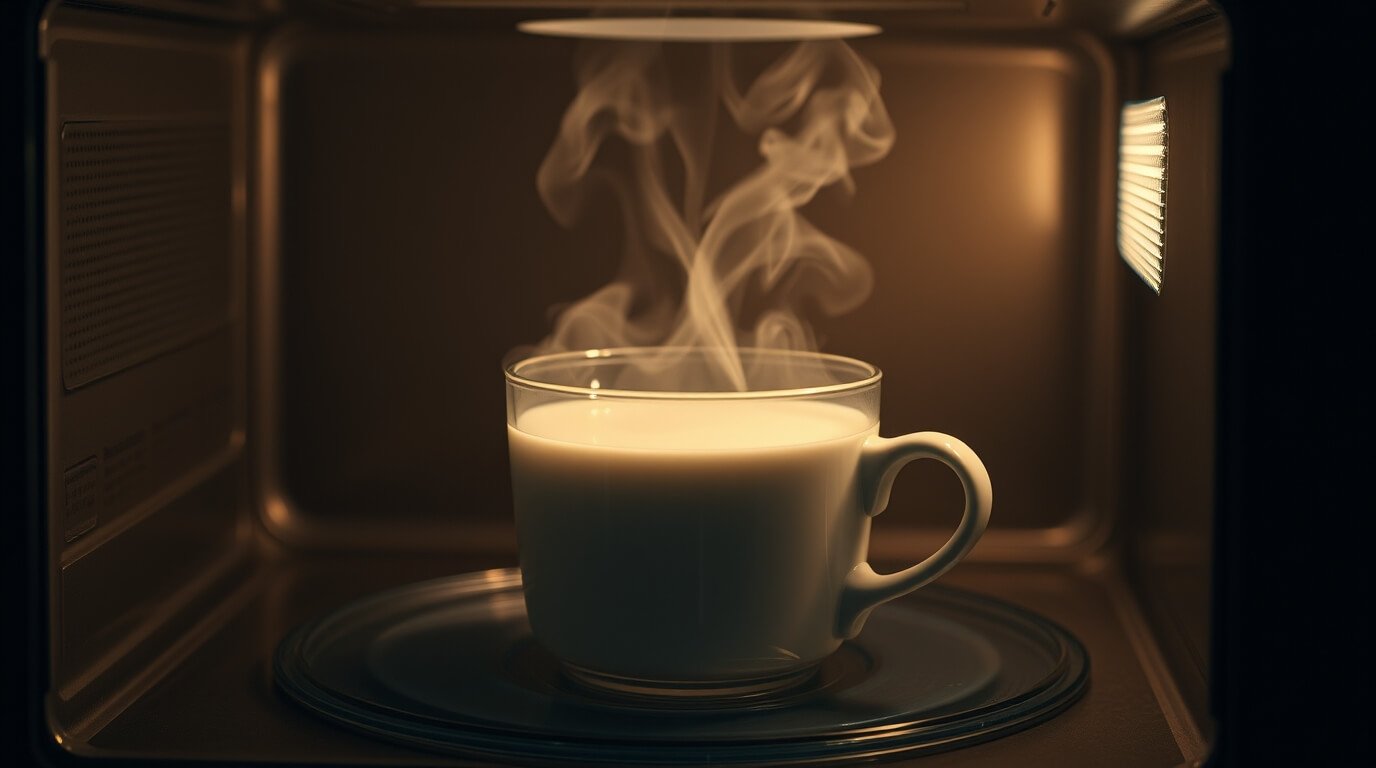
Steamed milk has two parts: hot milk and air-filled foam. An espresso machine uses a steam wand to do both jobs at once. The wand heats the milk while pulling air into it.
A microwave only heats the milk. It does not mix in air. That means microwaved milk may taste warm and creamy, but it will not become thick foam unless you froth it afterward.
This distinction matters when making coffee drinks:
- Latte: Mostly hot milk with a small layer of foam.
- Cappuccino: Less milk and more foam.
- Flat white: Hot, finely textured milk with a thin foam layer.
- Hot chocolate: Warm milk mixed with chocolate, usually with little or no foam.
Microwaving is useful when you need warm milk quickly. It is less suitable when you want the smooth, glossy foam made by a steam wand.

How to steam milk in the microwave
The safest approach is to heat a small amount of milk in short intervals. This reduces the chance of hot spots, scorching, and overflow.
What you need
- Milk
- A microwave-safe glass or ceramic container
- A spoon
- A thermometer, if available
- A milk frother, whisk, French press, or jar with a loose lid for frothing
Do not fill the container to the top. Leave room for the milk to rise and for foam to form.
Step-by-step method
-
Pour the milk into a microwave-safe container.
Use a container that is at least twice as large as the starting volume of milk. A wide container makes stirring and frothing easier. -
Microwave the milk for 30 seconds.
Use full power as a starting point. The exact time depends on the amount of milk and the power of your microwave. -
Stir the milk.
Stirring spreads the heat and helps reduce hot spots. -
Continue in 15- to 30-second bursts.
Stir after each burst. For a small serving, the milk may be ready after 45 to 90 seconds. Larger servings may need more time. -
Stop when the milk is hot but not boiling.
For coffee, many people prefer milk around 140°F to 150°F. If you do not have a thermometer, the container should feel hot, but the milk should not bubble hard or form a thick skin. -
Froth the milk after heating.
Use a handheld frother, whisk, or French press. If using a French press, pump the plunger slowly until the milk expands and forms foam. -
Pour the milk into your drink.
Add the liquid milk first, then spoon or pour the foam over the top.
Best microwave timing by amount
Microwave power varies, so these times are starting points rather than fixed rules.
| Milk amount | Starting time at full power | Best practice |
|---|---|---|
| ½ cup | 45–75 seconds | Stir once or twice |
| 1 cup | 75–120 seconds | Use 20- to 30-second bursts |
| 2 cups | 2–3 minutes | Stir often and use a large container |
These estimates assume a typical American household microwave. A 1,000-watt microwave may heat milk faster than a lower-power model. Start with less time and add more as needed.

How to make better foam without a steam wand
Microwaved milk can produce good foam if you add air soon after heating. The method you choose changes the texture.
Handheld milk frother
A battery-powered or electric handheld frother is usually the easiest option. Place the whisk just below the milk’s surface, then move it slightly up and down.
Do not keep the whisk at the surface for too long. That can create large bubbles instead of fine foam. Once the milk has expanded, tap the container gently on the counter and swirl it to break up large bubbles.
French press
A small French press can make a large amount of foam. Pour in the warm milk, but do not fill the press more than one-third full. The milk needs space to expand.
Move the plunger up and down for about 10 to 20 seconds. Use slow, steady strokes. Fast pumping can create coarse bubbles and may force milk out of the top.
Whisk
A standard whisk works, but it takes more effort. Whisk the milk briskly after heating. This method usually creates lighter, less stable foam than a frother.
Jar method
A jar can aerate milk, but hot milk makes this method risky. Do not tightly seal a jar containing hot liquid. Pressure can build as the liquid and air heat, causing the lid to pop or the container to break.
If you use a jar, leave the lid loose, avoid shaking very hot milk, and handle the container with care. A handheld frother is a safer and more controlled choice.
The best temperature for microwaved milk
For coffee drinks, aim for hot milk rather than boiling milk. A useful target is about 140°F to 150°F.
At this range:
- The milk is hot enough for coffee and cocoa.
- Foam is less likely to collapse right away.
- The milk is less likely to taste cooked or scorched.
- You have more control when adding it to your drink.
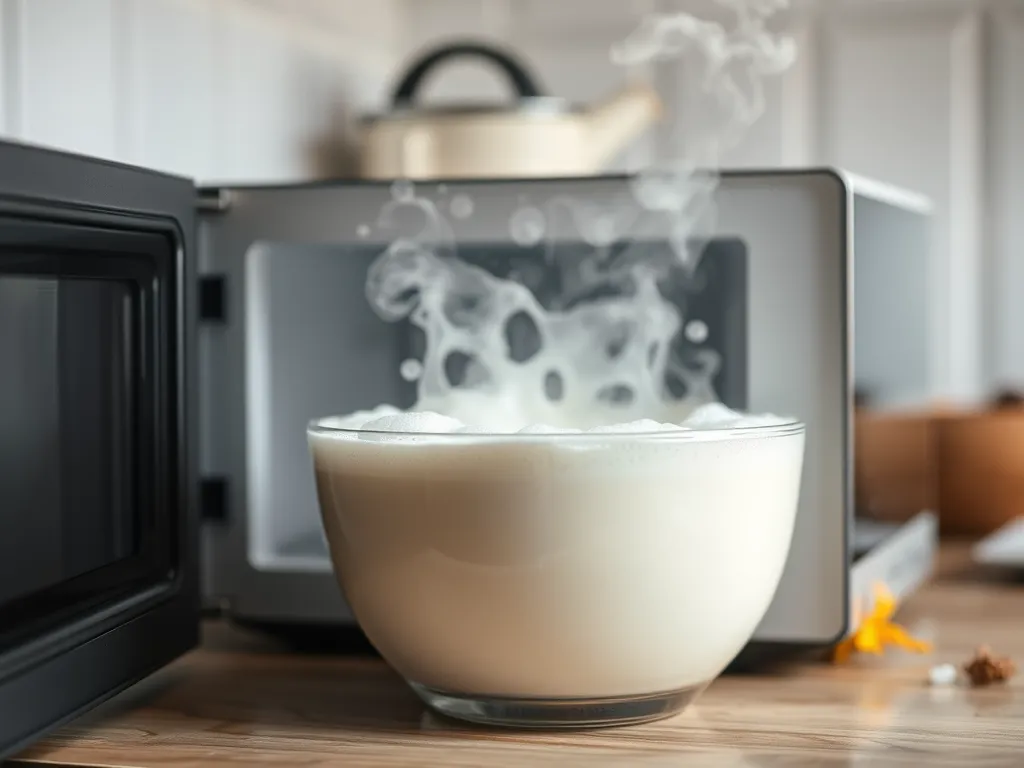
Milk can develop a cooked flavor when overheated. Boiling can also create a thick film on the surface and make the milk harder to froth.
A thermometer gives the most reliable result. Insert it into the milk without touching the bottom or side of the container. Stir before checking because microwave heating can be uneven.
If you are serving the drink to a child, let it cool and test the temperature first. A microwave can create hot pockets even when the surface looks only warm.
Can you microwave milk without burning it?
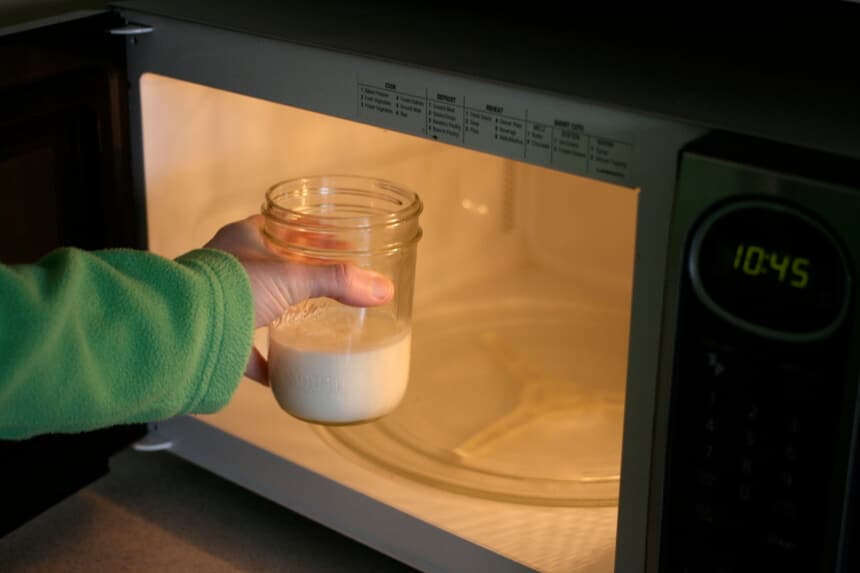
Yes, but use short heating periods and stir often. Milk may burn or stick because its proteins and sugars can collect on hot areas of the container.
Follow these steps to lower the risk:
- Use a clean glass or ceramic container.
- Avoid heating a very small amount in a very large dish.
- Use 15- to 30-second intervals near the end.
- Stir between intervals.
- Do not leave the milk unattended.
- Stop before it boils.
- Wipe spills from the microwave after the milk cools.
If the milk smells sour, looks curdled before heating, or has passed its safe storage period, do not use it. Heating does not make spoiled milk safe.

Which milk works best in the microwave?
Most types of milk can be warmed in a microwave, but they do not all foam in the same way.
Whole milk
Whole milk creates a rich texture and usually tastes smooth in coffee. Its fat content can make the drink feel creamy, but too much fat may produce less airy foam than lower-fat milk.
Low-fat and skim milk
Lower-fat milk often creates more visible foam. The foam can feel lighter and may have larger bubbles if you froth it too aggressively.
Oat milk
Barista-style oat milk is often made to heat and foam well. Regular oat milk may separate or produce loose foam. Heat it gently and avoid boiling.
Almond milk
Almond milk may foam less than dairy milk. Some brands separate when overheated, so use shorter bursts and stir often.
Soy milk
Soy milk can produce good foam, but it may curdle when combined with acidic coffee. Pour it slowly into the coffee and avoid overheating it.
Coconut milk
Coconut milk varies widely by product. Beverage-style coconut milk may foam lightly, while canned coconut milk is thicker and has a higher fat content. Stir canned coconut milk well before heating.
The best choice depends on the drink you want. For thick foam, use a milk labeled for coffee or barista use. For a rich latte, whole milk or a creamy plant-based beverage may work better.

Microwave milk safety: what to avoid
Microwaving milk is generally simple, but hot liquid can cause burns. Follow basic microwave safety rules.
Do not heat milk in a sealed container
Steam and pressure can build inside a sealed bottle, jar, or travel mug. The container may leak, burst, or spray hot milk when opened.
Do not assume the surface shows the true temperature
Milk can be much hotter below the surface than it looks. Stir it before tasting or serving.
Do not use metal containers or foil
Metal can damage a microwave or cause arcing. Use a container marked microwave-safe.
Do not boil milk for coffee
Boiling is not needed for a latte or hot chocolate. It can create a cooked taste, skin, overflow, and uneven heat.
Do not shake very hot milk in a closed jar
Pressure and hot liquid can cause burns. Use a frother or whisk instead.
Do not leave heated milk at room temperature for a long time
If you are not using the milk right away, refrigerate it promptly. Do not repeatedly warm and cool the same milk.
The U.S. Food and Drug Administration provides general microwave safety guidance, and the U.S. Department of Agriculture provides food-handling guidance for heating and storing perishable foods. Follow the instructions for your microwave and the milk product when they are more specific.
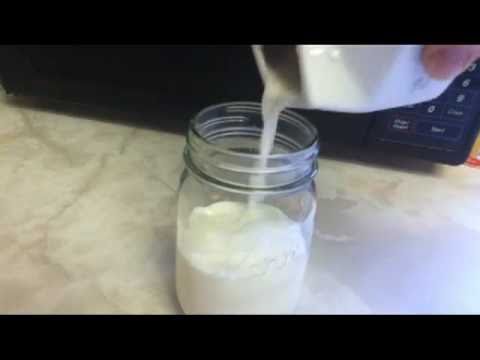
Why did the milk not foam?
The most common reason is that the milk was heated but not aerated. A microwave cannot create foam by itself.
Try these fixes:
| Problem | Likely cause | What to do |
|---|---|---|
| No foam | Milk was only heated | Froth it after microwaving |
| Large bubbles | Frother was held at the surface | Keep the whisk just below the surface |
| Foam disappears fast | Milk was too hot or bubbles were coarse | Use shorter heating bursts and swirl the milk |
| Milk separates | Plant-based milk overheated | Lower the time and use a barista-style product |
| Milk tastes cooked | It boiled or nearly boiled | Stop around 140°F to 150°F |
| Hot and cold spots | No stirring | Stir after each heating interval |
| Milk overflowed | Container was too small | Use a larger container and leave headspace |
If the foam remains thin, try warming less milk. A smaller amount is easier to froth and gives the whisk more control.
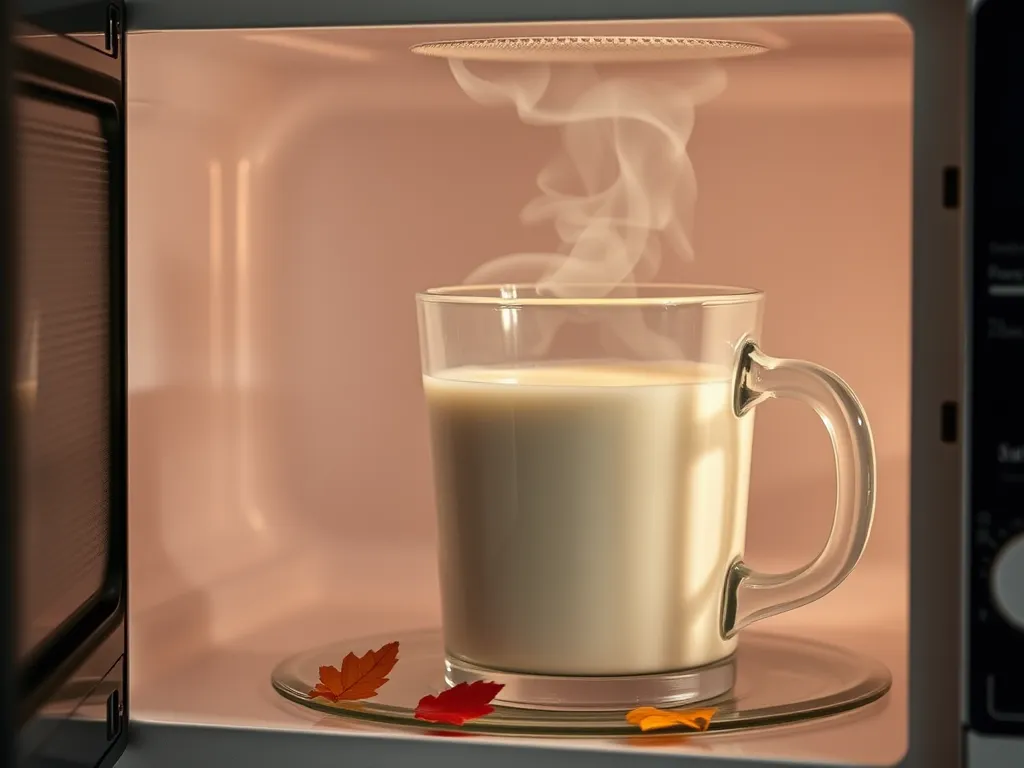
Microwave milk versus a steam wand
A microwave is convenient, but it cannot fully replace a steam wand.
| Feature | Microwave method | Steam wand |
|---|---|---|
| Heating speed | Fast for small servings | Fast after practice |
| Foam quality | Depends on a separate frother | Fine, smooth microfoam |
| Equipment cost | Low | Requires an espresso machine or steamer |
| Skill level | Easy | Takes practice |
| Control | Moderate | High |
| Best use | Hot milk and simple foam | Lattes, cappuccinos, and latte art |
Choose the microwave when convenience matters most. Choose a steam wand when you want smooth microfoam, precise texture, or latte art.
A microwave and a separate frother can still make a pleasant home coffee. The result may not match café foam, but it can be quick, inexpensive, and consistent with practice.
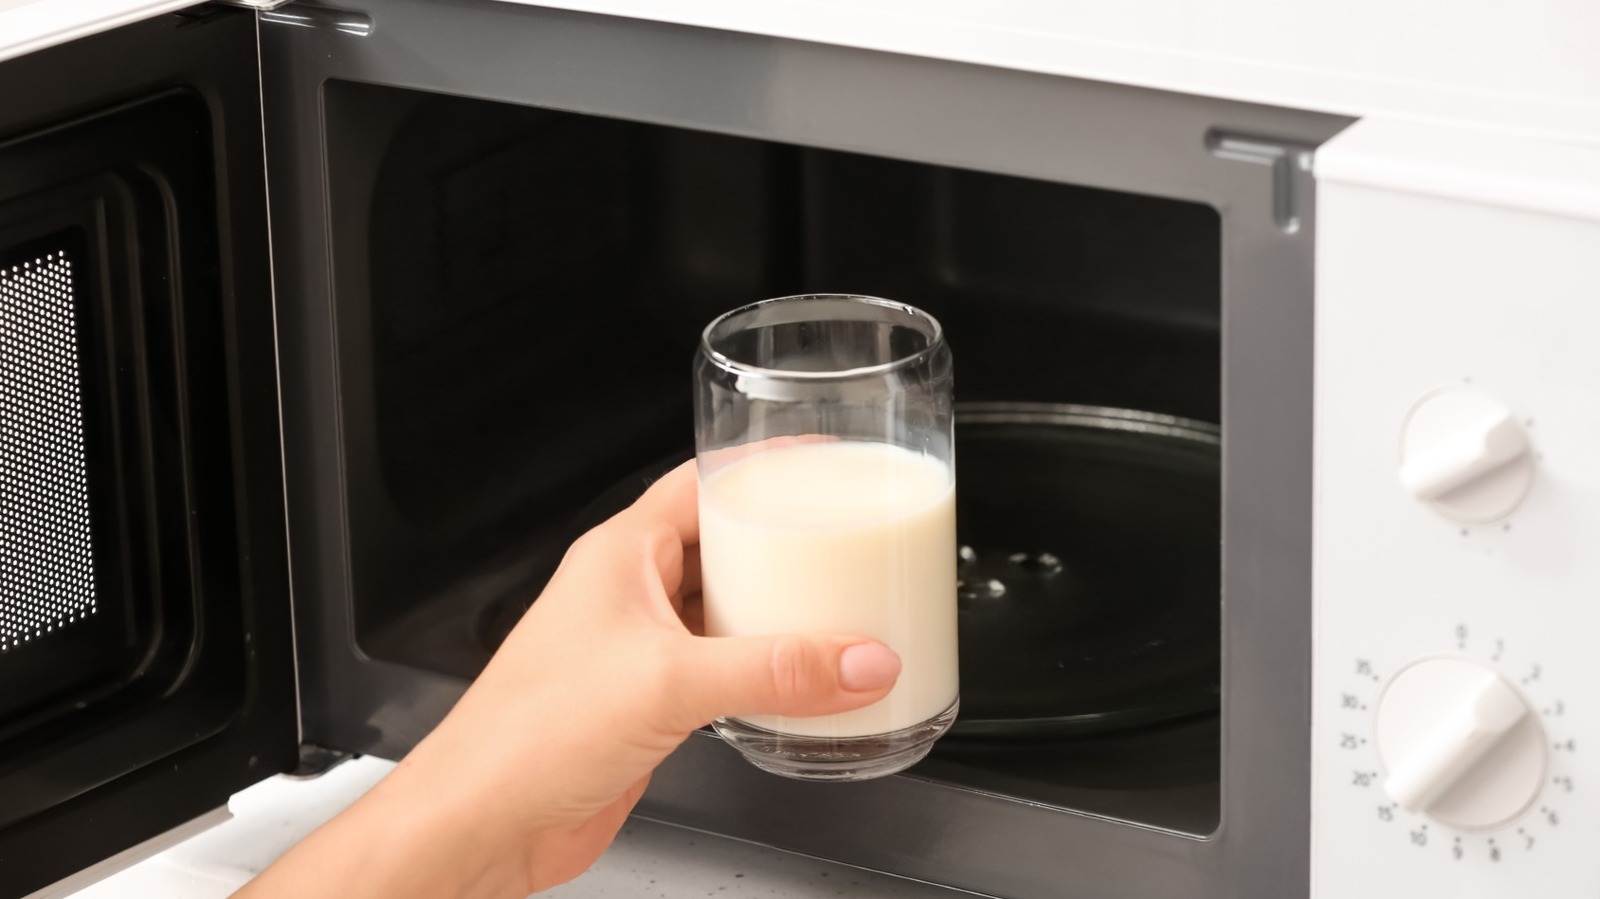
Can you steam milk in the microwave for hot chocolate?
Yes. Microwave heating works especially well for hot chocolate because the milk does not need a perfect foam texture.
Place the milk in a large microwave-safe container. Heat it in short intervals, stirring between each one. Add cocoa powder, chocolate, or a prepared mix after the milk is warm, then stir until smooth.
If you add dry cocoa before heating, mix it well so it does not form a dry layer on top. Stop before the milk boils. For a child, cool the drink and test it before serving.

Key takeaways
- You can heat milk in the microwave, but the microwave does not steam or froth it by itself.
- Use a microwave-safe container with plenty of room.
- Heat in 15- to 30-second bursts and stir between bursts.
- For coffee, aim for about 140°F to 150°F.
- Froth the milk after heating with a handheld frother, whisk, or French press.
- Do not seal hot milk, use metal, or shake a closed jar.
- Stop if the milk boils, smells cooked, or begins to overflow.
FAQs
Is it safe to microwave milk?
Yes, it is generally safe when you use a microwave-safe container, heat the milk in short intervals, and stir it. Do not use a sealed container. Check for hot spots before drinking or serving.
How long should you microwave milk for coffee?
A half cup may take about 45 to 75 seconds, while one cup may take about 75 to 120 seconds in a typical household microwave. Wattage, starting temperature, container shape, and milk volume all affect the time.
Can you froth cold milk in the microwave?
No. A microwave heats milk, but it does not create foam. Heat the milk first, then froth it with a handheld frother, whisk, French press, or another tool.
Can you steam milk in a mug in the microwave?
Yes, if the mug is labeled microwave-safe and has enough room for the milk. A larger container is safer because milk can rise and overflow as it heats.
Is microwaved milk good for a latte?
It can make a good simple latte, especially when paired with a separate frother. It will usually have less smooth and less stable foam than milk heated with a steam wand.
Conclusion
You can steam milk in the microwave in the everyday sense of heating milk for coffee, tea, or hot chocolate. Technically, the microwave only warms the milk. To make real foam, heat the milk gently and add air with a frother or whisk.
For the best result, use short bursts, stir often, and stop before the milk boils. That small amount of care helps prevent hot spots, burnt flavor, overflow, and weak foam.

Appliance Review Expert
Lucas Ramirez is a trusted voice at HomeFixGrid.com, known for his clear, practical, and creatively written guides that simplify appliance care for everyday homeowners. With a strong focus on hands-on testing and real-world problem-solving, Lucas brings expert insight into appliance reviews and troubleshooting techniques. Her work empowers readers to confidently maintain, repair, and choose the right appliances for their homes.