
How To Sterilize Tommee Tippee Bottles: Microwave Steps
Introduction
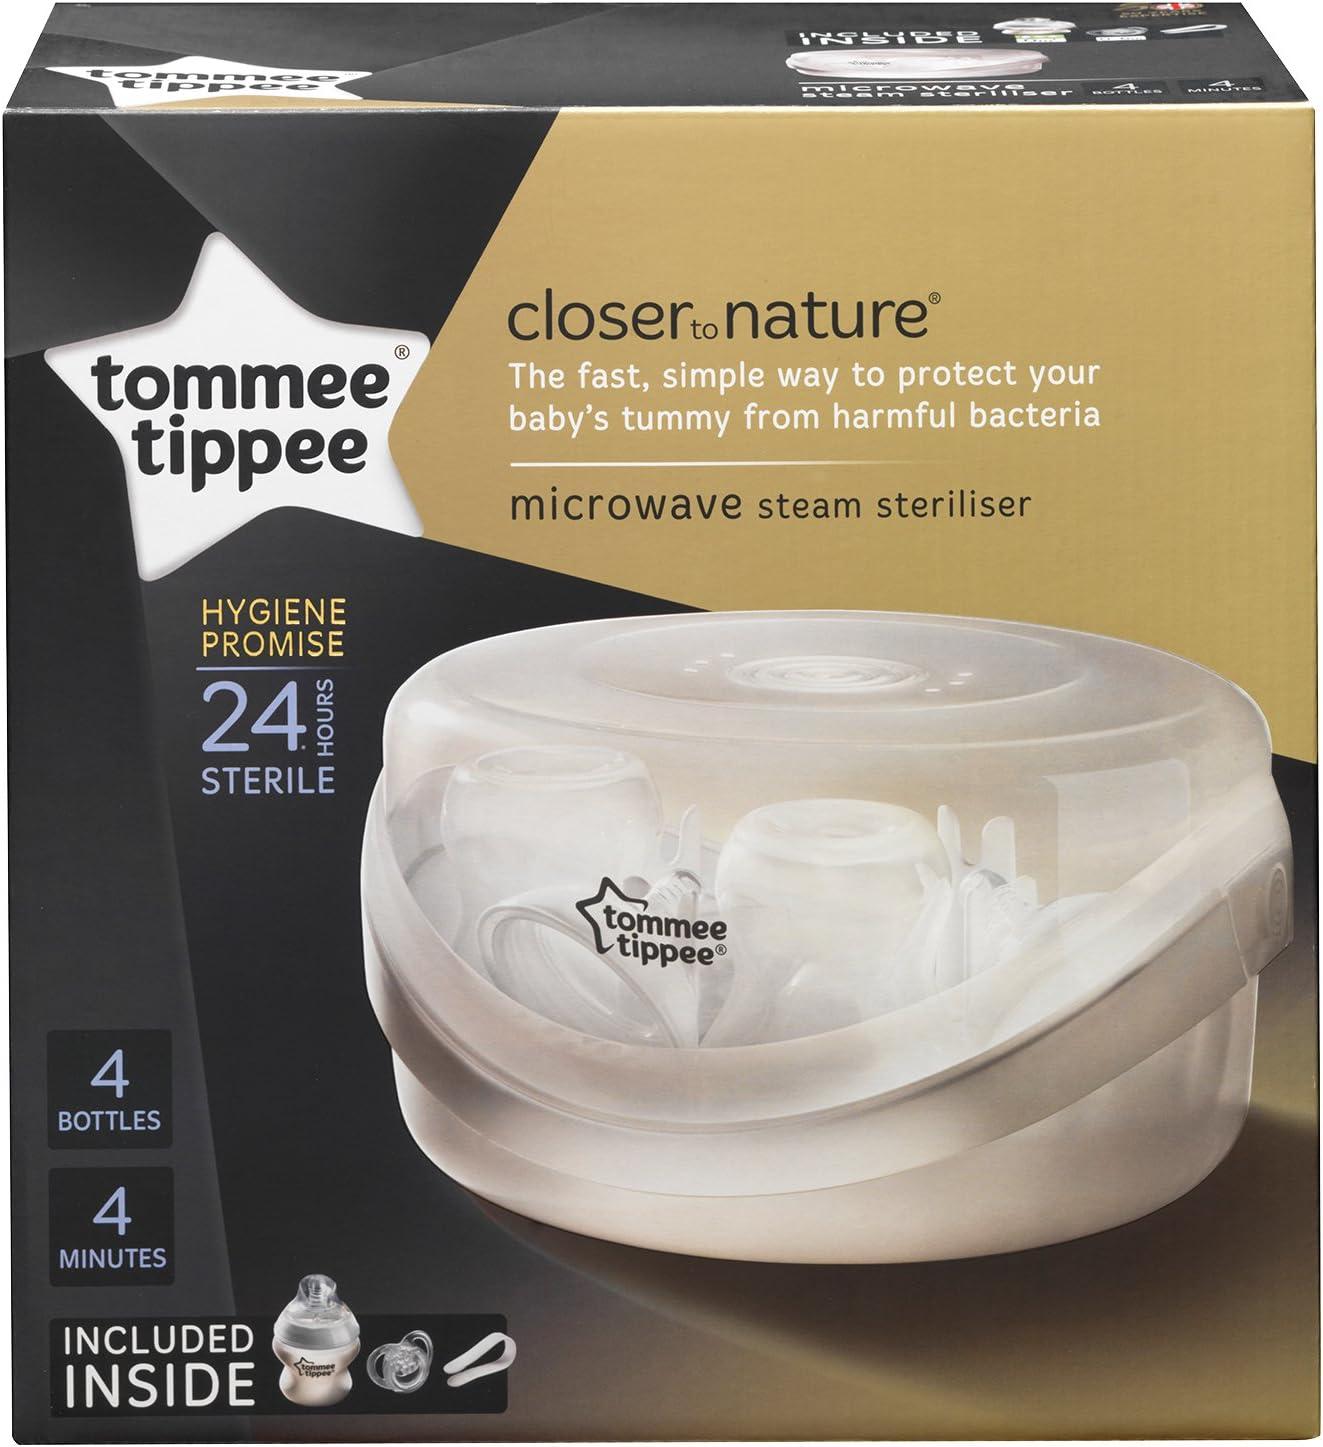
If you live in the United States and use Tommee Tippee baby bottles, you can sterilize them in a microwave with a Tommee Tippee microwave steam sterilizer. Do not place loose bottles or bottle parts directly on the microwave turntable.
The basic process is simple: wash and rinse every bottle part, add the correct amount of water to the sterilizer, load the parts with care, and microwave it for the time listed for your microwave’s wattage. Steam then sanitizes the bottle parts.
Always check the instructions for your exact Tommee Tippee sterilizer model. Time, water level, and load limits can vary.


What You Need Before You Start
You need four things:
- A Tommee Tippee microwave steam sterilizer
- Clean Tommee Tippee bottles and parts
- Clean water
- A microwave with a working turntable
You also need dish soap, a bottle brush, and a clean drying area.
Use a microwave sterilizer—not the bottle alone
A microwave sterilizer is a heat-safe container that holds water and creates steam. The steam reaches the bottle parts inside the closed unit.
- A bottle with no water inside
- A sealed bottle
- Loose metal parts
- Foil
- Bottle parts that are not labeled microwave-safe
- A sterilizer with too little water
Heat can build pressure inside a closed bottle. This may cause burns, spills, or damage.
Check your bottle parts
Before sterilizing, separate each bottle into its parts:
- Bottle
- Screw ring
- Nipple
- Hood or cap
- Anti-colic valve, if your model has one
- Any other removable insert
Tommee Tippee bottle designs differ. Some anti-colic bottles have extra valve parts. Read the care guide for your specific bottle before using heat.
Wash before sterilizing
Sterilizing does not replace washing. Milk residue can protect germs from heat.
Wash each part with hot water and dish soap. Use a clean bottle brush to reach the inside of the bottle. Rinse well. Take apart valves and nipples so water can reach all surfaces.
The U.S. Centers for Disease Control and Prevention recommends cleaning infant feeding items after every use. It also advises sterilizing items daily for babies younger than 2 months, babies born prematurely, or babies with a weakened immune system, unless a health care professional gives different advice.
How to Sterilize Tommee Tippee Bottles in a Microwave
Follow these steps for most Tommee Tippee microwave steam sterilizers. Your model’s manual takes priority if it gives different instructions.


1. Wash your hands and clean the work area
Wash your hands with soap and water. Clean the counter where you will place the sterilizer and the bottle parts.
A clean area helps prevent germs from getting back onto the parts after sterilization.
2. Take the bottles apart
Separate all bottle parts. Do not sterilize a fully assembled bottle unless the product instructions specifically allow it.
For an anti-colic bottle, remove the valve and any small insert. Small parts need special care because milk can collect inside or around them.
3. Wash and rinse every part
Wash the parts in hot, soapy water. Scrub the bottle, ring, and hood. Use a nipple brush or carefully squeeze soapy water through the nipple hole if the care instructions allow it.
Rinse until no soap or milk remains. Look at the inside of the bottle and the nipple. If you see cloudy film, oil, or dried milk, wash the part again.
4. Add water to the sterilizer
Add the amount of water stated in the sterilizer instructions.
Many Tommee Tippee microwave sterilizers use about 200 milliliters, or 7 U.S. fluid ounces, of water. However, do not guess if your model shows a different fill line or amount.
Too little water may leave parts under-steamed. Too much water may cause spills or affect the cycle.
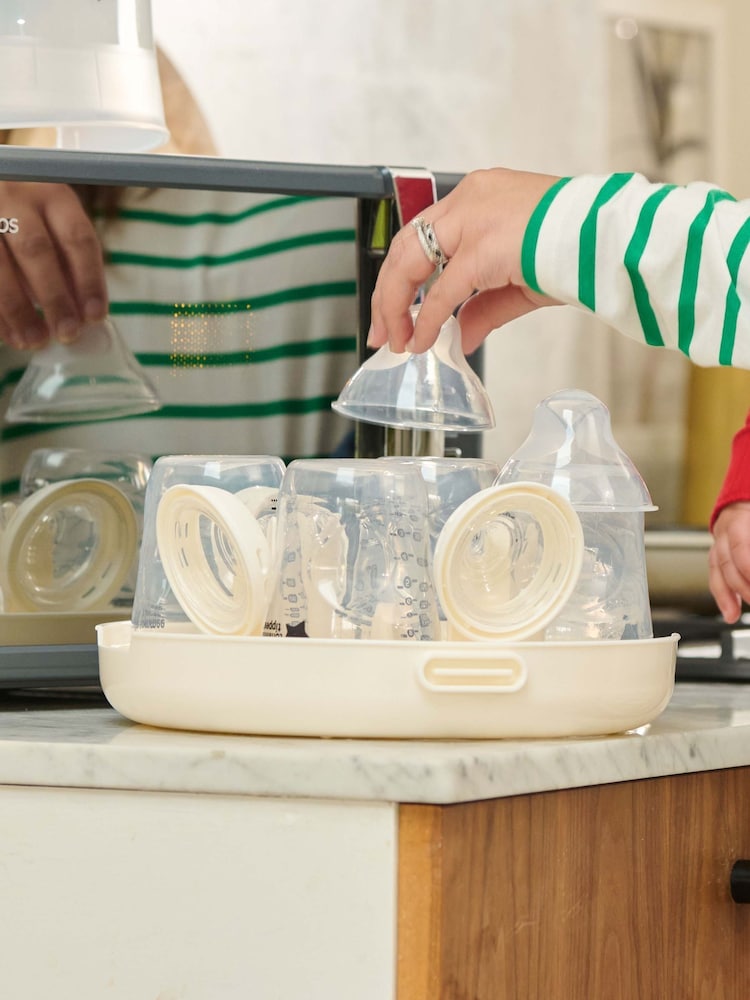
5. Load the bottle parts correctly
Place the bottle parts inside the sterilizer as the manual shows.
Common loading guidance includes:
- Put bottles upside down over the steam vents or bottle holders.
- Place nipples and small parts in the basket or central area.
- Keep parts separated where possible.
- Do not overfill the sterilizer.
- Make sure steam can move around every part.
Do not stack parts tightly. A crowded unit may prevent steam from reaching every surface.
6. Close the lid fully
Check that the lid is secure. The sterilizer must stay closed during the microwave cycle.
Do not open the lid right away. Hot steam can escape when the lid is lifted.
7. Set the microwave time
Use the time listed in your Tommee Tippee instructions for your microwave’s power rating.


A common Tommee Tippee microwave sterilizer guide uses settings similar to these:
| Microwave power | Approximate cycle time |
|---|---|
| 500–700 watts | 8 minutes |
| 800 watts | 6 minutes |
| 1,000 watts | 4 minutes |
These times are examples from common manufacturer instructions, not a universal setting for every model. Check your manual before choosing a cycle.
If you do not know your microwave’s wattage, look for a label inside the door, on the back, or in the owner’s manual. You can also search the exact microwave model number on the manufacturer’s website.
8. Let the sterilizer cool
When the cycle ends, leave the sterilizer closed for about 5 minutes, or for the time stated in the instructions.
The lid, water, steam, and bottle parts may be very hot. Use heat-resistant gloves if you must move the unit before it cools.
9. Remove the parts safely
Open the lid away from your face. Let steam move away from you.
Use clean sterilizer tongs, if supplied, to remove the parts. Do not touch clean nipples or bottle interiors with unwashed hands.
Place the parts on a clean, unused towel or drying rack. Let them air-dry. Avoid wiping the inside of a bottle or nipple with a dish towel because the towel may transfer germs or lint.
How Long Do Tommee Tippee Bottles Stay Sterile?
The parts remain protected only while they stay inside a closed, clean sterilizer.
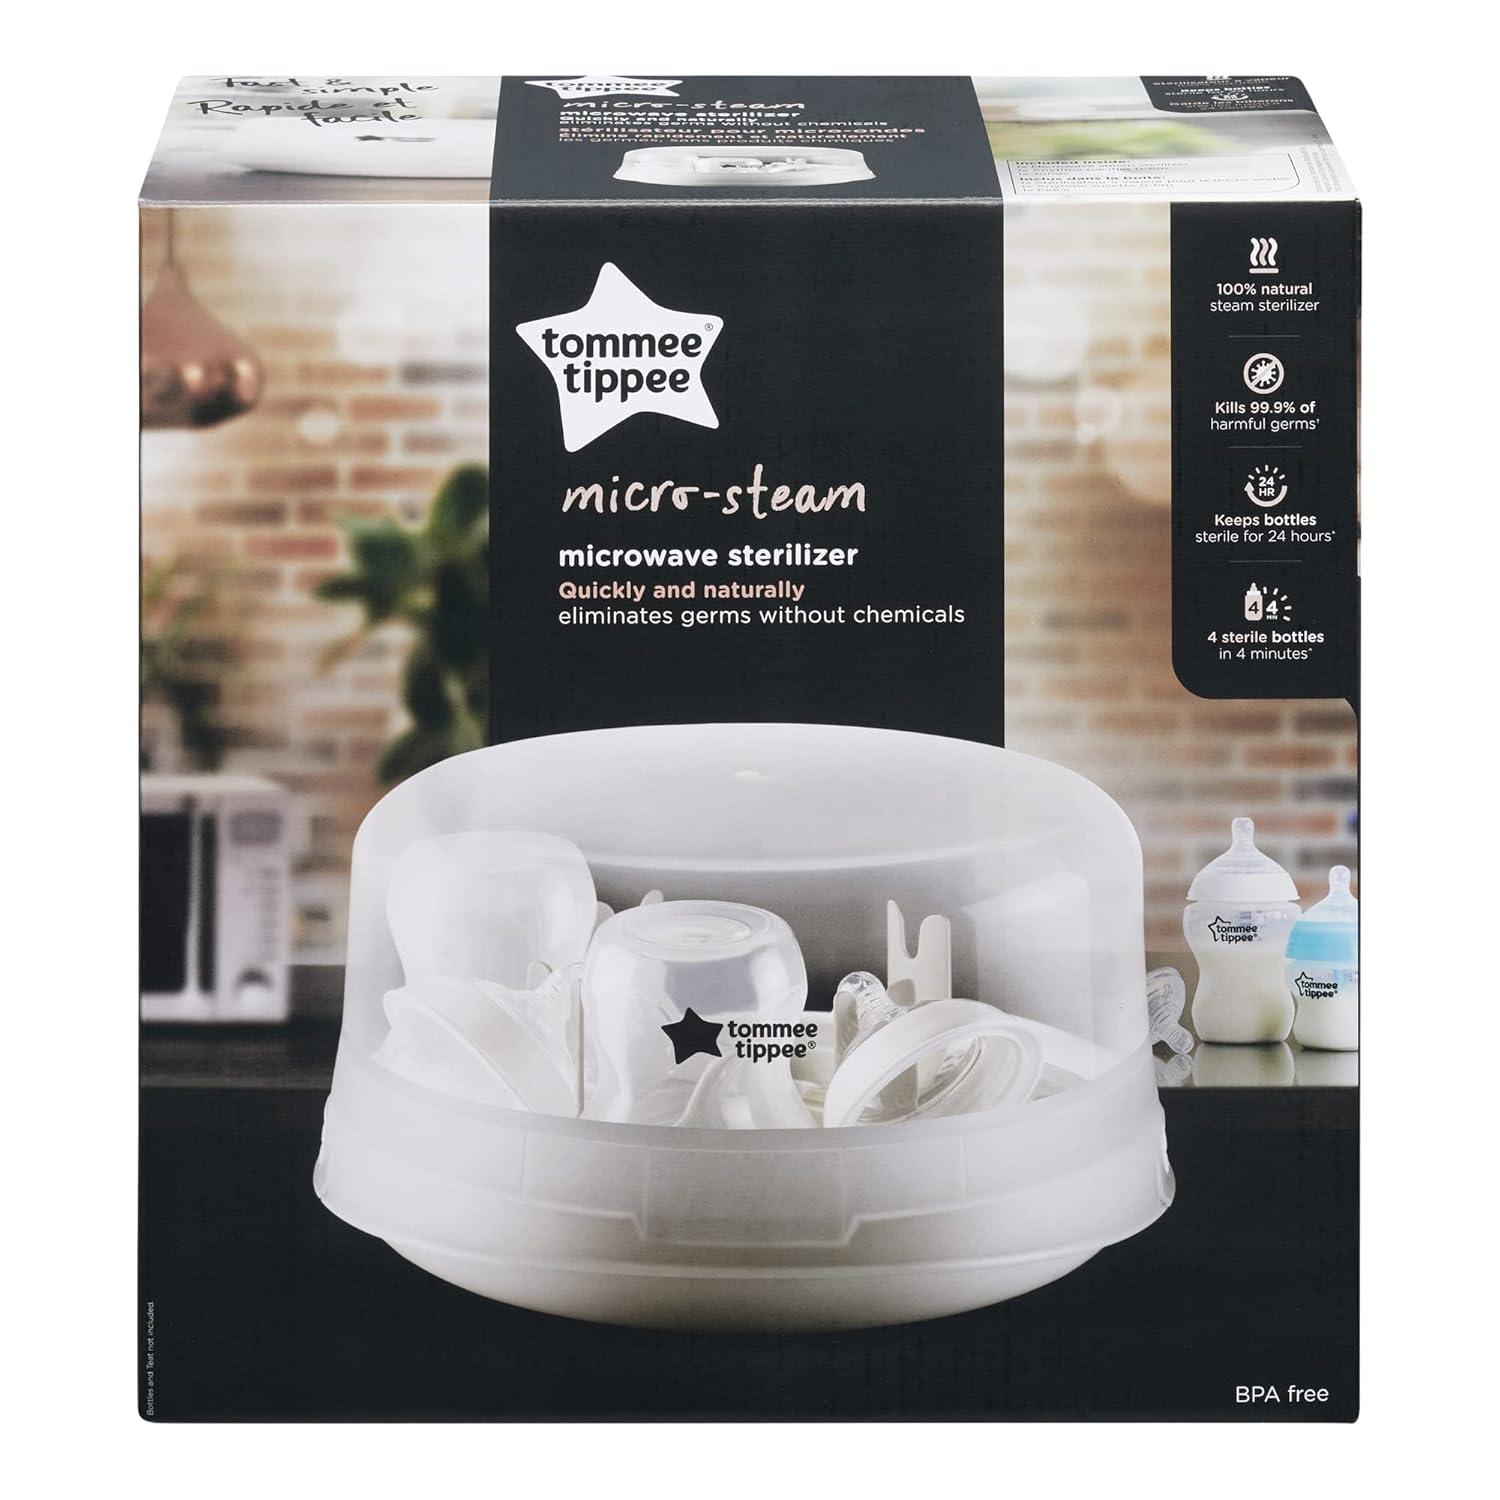
If you keep the lid closed, many Tommee Tippee instructions state that the contents can remain sterile for up to 24 hours. Once you open the lid, the parts are exposed to the air and should be used soon.
For the best protection:
- Sterilize the parts.
- Keep the lid closed.
- Wash your hands before opening it.
- Assemble the bottle with clean hands.
- Store unused parts in a clean, covered place.
Do not treat an open sterilizer as a sterile container. Do not leave clean parts on a damp counter.
Should you dry the bottles after sterilizing?
Let bottles and parts air-dry. Do not rinse them with tap water after the steam cycle. Rinsing can add germs back to the clean parts.
If a small amount of clean water remains inside the bottle, allow it to drain and air-dry. Do not use a cloth to dry the inside.


Can you assemble the bottles before storing them?
You can assemble them with clean hands after they cool. Some parents prefer to store parts separately so they dry fully.
If you assemble a bottle while any part is wet, trapped moisture may support microbial growth. Make sure the bottle, nipple, valve, and ring are clean and dry before long-term storage.

Microwave Safety Rules
Microwave steam sterilizers are safe only when used as directed. Follow these rules every time.
Never run the sterilizer without water
Water creates the steam that sanitizes the bottle parts. Without enough water, the unit may overheat or become damaged.
Do not exceed the fill line
More water does not create a better cycle. It can increase the risk of boiling water spilling from the container.
Do not open it immediately
Steam burns can be serious. Wait for the recommended cooling time. Open the lid slowly and point it away from your face and hands.
Do not use damaged equipment
Replace the sterilizer if the lid is cracked, warped, or no longer closes well. Do not use bottles, nipples, or valves that are cracked, split, sticky, or badly discolored.
Damaged silicone or plastic can hold residue and may not clean well.
Keep metal away from the microwave
Some bottle accessories may contain metal or have metal decoration. Do not place them in a microwave unless the manufacturer clearly says they are microwave-safe.
Do not use bleach and microwave heat together
Never add bleach, cleaning chemicals, or disinfectant to the sterilizer water. Use only the type and amount of water specified by the manufacturer.
Check the microwave after the cycle
If the sterilizer smells burned, looks melted, or has changed shape, stop using it. Unplug the microwave if you see smoke or sparks, and follow the microwave manufacturer’s safety instructions.
Troubleshooting Common Problems
The bottles are still wet
A small amount of water after steam sterilization is normal. Let the parts air-dry in a clean place.
If water pools inside the bottle, turn the bottle upside down on a clean rack. Do not wipe the inside with a used towel.
The parts feel cold after the cycle
A cold load may mean the microwave cycle did not run correctly, the unit had too little water, or the microwave has a problem.
Check that:
- The microwave started and completed the cycle.
- The sterilizer contained the correct water amount.
- The lid was closed.
- The microwave power setting matches the manual.
- The sterilizer was not overloaded.
If the water did not heat, do not use the parts as sterilized. Wash them and run a new cycle according to the instructions.
Parts look cloudy or smell like milk
Cloudiness or odor usually means residue remains. Sterilizing cannot remove heavy milk film.
Wash the parts again. Check the nipple hole, valve, screw threads, and bottle base. Replace a part if the smell remains after proper cleaning or if the material feels sticky.
The sterilizer leaks
A leak can result from too much water, an uneven surface, a damaged lid, or a poor seal.
Stop using it until you identify the cause. A leaking unit can release hot water and steam. Check the manual for the correct lid position and water level. Replace the unit if it is cracked or warped.
The microwave time seems wrong
Microwave power varies. A 1,200-watt microwave heats differently from a 700-watt microwave.
Use the wattage table in your Tommee Tippee instructions. Do not add extra time simply because the bottles look wet. Steam and moisture are expected. Add time only if the manual directs you to do so or if the cycle did not produce steam.
The nipple or bottle has warped
Warping can happen when a part is not microwave-safe, the unit is overloaded, the microwave is too powerful for the selected time, or the sterilizer is used incorrectly.
Stop using any warped part. Check the care instructions for your exact bottle and sterilizer model. Do not use a nipple that no longer sits securely in its ring.
Microwave Sterilizer vs. Other Methods
The microwave is one option, not the only one.
| Method | Main advantage | Main concern |
|---|---|---|
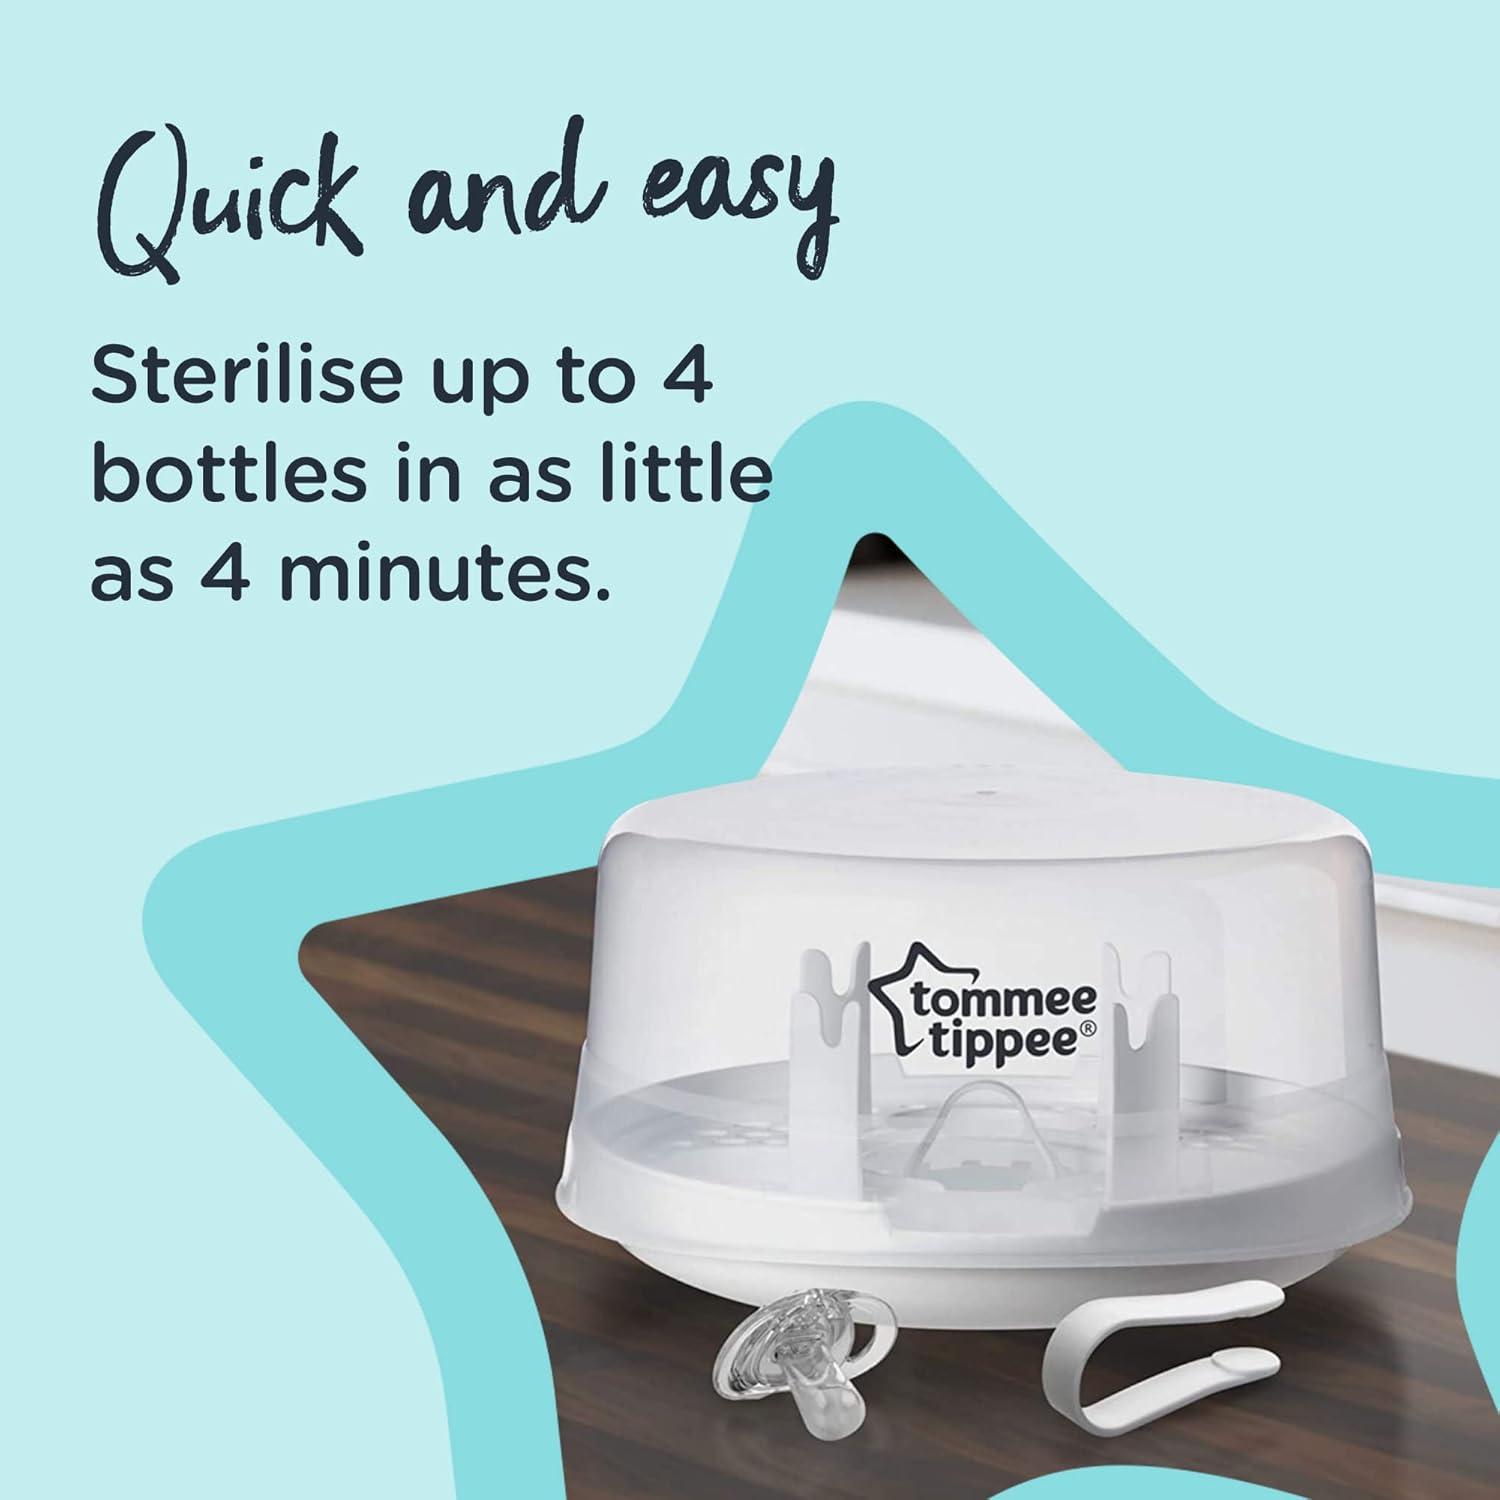
| Microwave steam sterilizer | Quick and useful when a microwave is available | Requires correct water, time, and loading |
| Electric steam sterilizer | Runs without a microwave | Needs counter space and electrical power |
| Boiling water | Does not require a sterilizer unit | Burns, water use, and material limits |
| Dishwasher sanitizing cycle | Combines cleaning and heat | Only suitable for dishwasher-safe parts and a qualifying cycle |
| Cold-water chemical sterilizer | Works without heat | Requires exact chemical concentration and contact time |
The best choice depends on your equipment, bottle material, and the instructions from Tommee Tippee and your health care provider.
A dishwasher can clean and sanitize some feeding items when the items are dishwasher-safe and placed correctly. Check the bottle packaging or manufacturer care instructions first.
Boiling is not automatically safe for every bottle part. Repeated high heat may damage some plastics, valves, or silicone parts. Use the method approved for your exact product.

How Often Should You Sterilize Tommee Tippee Bottles?
Clean bottles after every feeding. Sterilize them as often as recommended for your baby’s age and health.
The CDC advises daily sanitizing for babies who are:
- Younger than 2 months old
- Born prematurely
- Immunocompromised
For older, healthy babies, daily sterilizing may not be needed if feeding items are carefully cleaned after every use. The CDC still recommends sanitizing more often when the items are not cleaned soon after use or when the baby has special health needs.
Ask your pediatrician for personal advice if your baby was premature, has a weak immune system, or has a medical condition that affects infection risk.

Key Takeaways
- Use a Tommee Tippee microwave steam sterilizer. Do not put loose bottles directly in the microwave.
- Wash and rinse every bottle part before sterilizing.
- Use the exact water amount listed for your sterilizer. Many models use about 200 milliliters, or 7 U.S. fluid ounces.
- Match the cycle to your microwave’s wattage.
- Let the sterilizer cool before opening it.
- Air-dry the parts in a clean place.
- Replace cracked, warped, sticky, or damaged parts.
- Follow the CDC’s daily sanitizing advice for young, premature, or immunocompromised babies.
Frequently Asked Questions
Can I sterilize Tommee Tippee bottles without a sterilizer?
Do not place loose Tommee Tippee bottles in the microwave. You may use another approved method, such as boiling, a dishwasher sanitizing cycle, an electric steam sterilizer, or a cold-water sterilizing system.
The method must be suitable for the specific bottle material and parts. Follow Tommee Tippee’s care instructions.
Can I microwave Tommee Tippee nipples?
Only place nipples in a microwave steam sterilizer that is approved for them. Do not microwave nipples by themselves or inside a sealed bottle.
Inspect nipples after heating. Replace them if they split, become sticky, lose shape, or develop a larger hole.
Can I sterilize bottles with the cap on?
Load the cap or hood according to the sterilizer instructions. Do not leave the bottle fully assembled unless the manufacturer says it is safe.
Separating the parts lets steam reach the bottle, nipple, ring, and valve.
What happens if I forget to add water?
Do not use the cycle as a sterilization cycle. Let the unit cool fully before touching it. Check the sterilizer for damage, then wash the parts and run a new cycle with the correct water amount if the unit is safe to use.
If you smell burning or see melting, stop using the sterilizer.
How do I know my microwave’s wattage?
Look for a label inside the microwave door, on the back, or on the side. The owner’s manual and the manufacturer’s product page may also list the wattage.
Use the wattage listed for the microwave’s cooking power, not its electrical input rating, when the two numbers differ.
Can I leave sterilized bottles in the microwave?
No. The microwave is not a clean storage space. Keep sterilized parts inside the closed sterilizer or move them to a clean, covered area after they cool.
Never start the microwave while the sterilizer is inside unless you are running the sterilization cycle.
Conclusion
To sterilize Tommee Tippee bottles in a microwave, first wash and separate every part. Put the parts in an approved microwave steam sterilizer, add the stated amount of water, and use the cycle time that matches your microwave’s wattage.
Wait before opening the lid, handle the hot parts with care, and let them air-dry. When the instructions for your bottle or sterilizer differ from general guidance, follow the exact Tommee Tippee manual.

Appliance Review Expert
Lucas Ramirez is a trusted voice at HomeFixGrid.com, known for his clear, practical, and creatively written guides that simplify appliance care for everyday homeowners. With a strong focus on hands-on testing and real-world problem-solving, Lucas brings expert insight into appliance reviews and troubleshooting techniques. Her work empowers readers to confidently maintain, repair, and choose the right appliances for their homes.